Skip to content
The Procreate

Procreate tutorials for your first drawing

Make one small illustration, learn the tools it needs, then choose your next skill. Start here if a blank canvas feels harder than the drawing itself.
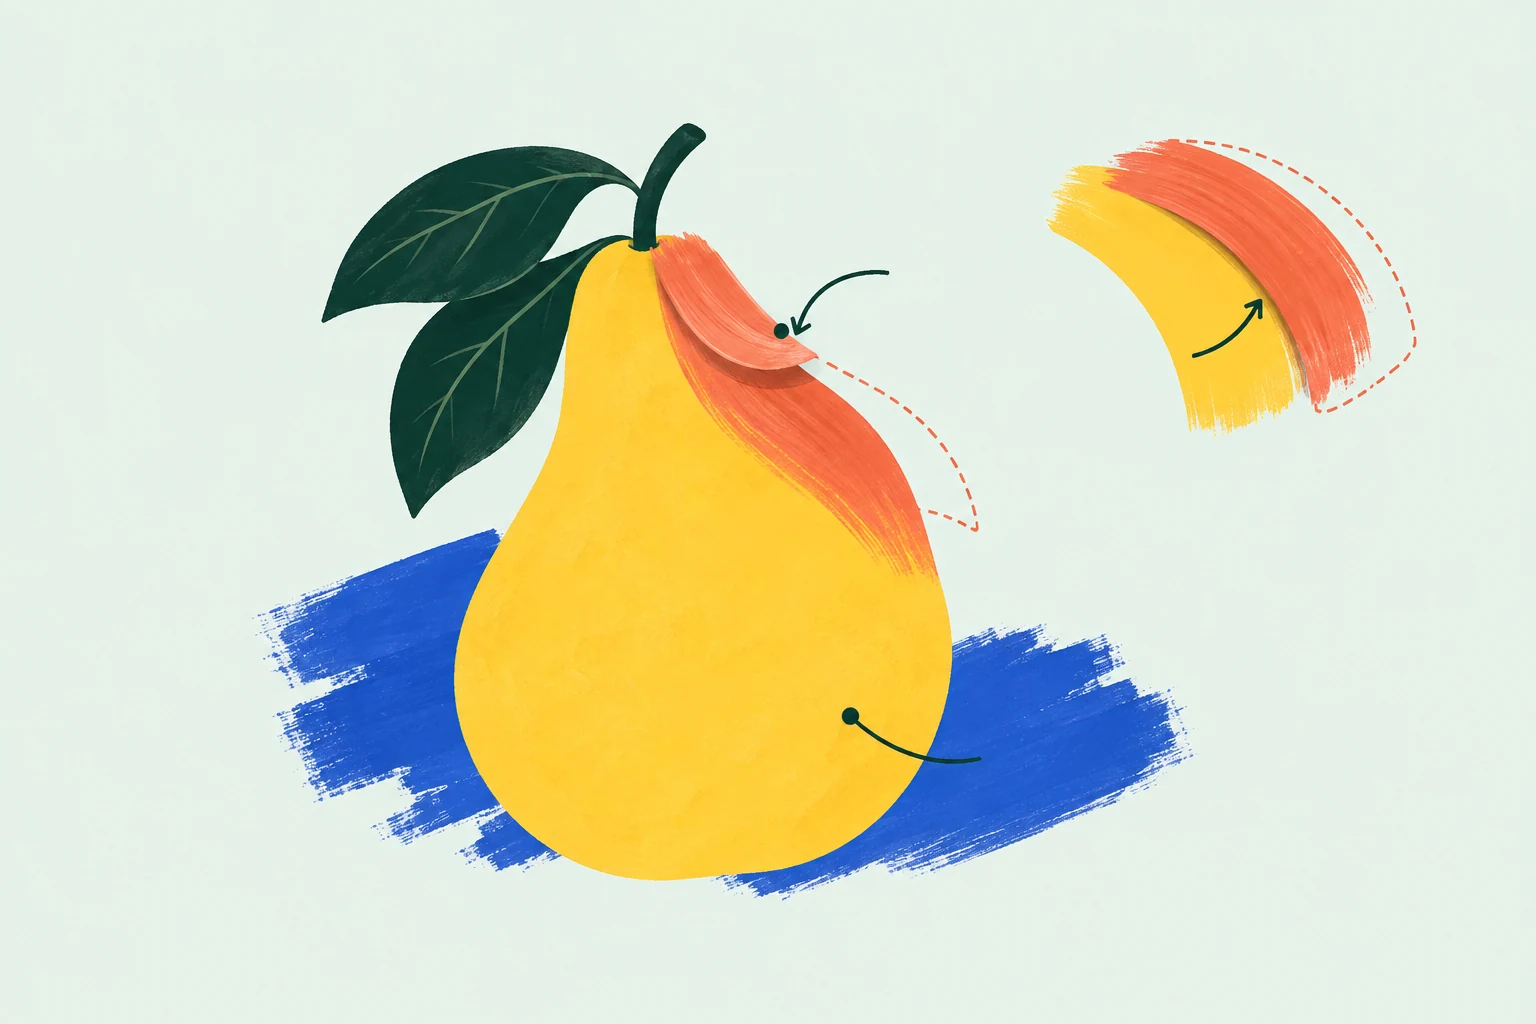
A painted pear with a leaf against cobalt brushstrokes

Start with one finished shape

I recommend a leaf or another simple shape for a first session. Draw its silhouette in one color, then add a few details in a second color. Use that small project to learn a brush and a simple layer stack before saving the result. The useful outcome is understanding those decisions.

Follow the first Procreate illustration guide for that complete drawing route. Return here when you want to choose what to learn after it.

If you prefer a video-led introduction, Procreate's official four-part beginner series moves from fundamentals through painting and editing to actions and animation. You can leave animation until a project needs it.

Learn the tools in the order you need them

  1. Choose the destination. Decide whether this drawing is an exercise, a screen image or something you want to print. The canvas and export hub helps you make the size and file decisions before detailed work.
  2. Choose one brush and a small palette. Spend the first session learning how a mark behaves. Collecting more brushes can wait; the brush guides explain the difference between changing a setting and choosing another tool.
  3. Separate what you want to edit. Keep the main shape and details on separate layers when you expect to change them independently. The Layers handbook explains how stacked image elements let you work without altering everything underneath.
  4. Finish a small composition. Give it an edge, a color relationship and a clear stopping point. Add masks, guides or effects when they solve a visible problem in that drawing.
  5. Keep the working artwork and the delivery file. Procreate's native .procreate format retains layers, masks and effects; a normal PNG or JPEG image export flattens artwork. Keep an editable version if you expect to return to the drawing.

For a backup, keep a separate editable copy in a cloud or external storage destination you can access. Procreate's artwork backup guidance explains manual export from the Gallery. A second file on the same iPad does not protect against losing that device; confirm that your chosen destination has received the file.

Choose the next lesson by the problem

The line feels wrong
Open Brushes to distinguish the tool's texture and stroke settings from an Apple Pencil response problem.
One edit changes too much
Open Layers to choose between a selection, a clipping mask, Alpha Lock and a layer mask.
The colors or fill need attention
Open Color for palette, ColorDrop and profile decisions. Choosing colors and preparing colors for output are different jobs.
The file is the obstacle
Use Canvas for size, export and keeping copies. If something has stopped behaving as expected, use Fixes to choose a symptom-specific route.

Follow a drawing or learn one tool

Choose a complete project when you need a starting point. Use the focused lessons when you already know what you want to change.

Make a first drawing

Start with a complete small project, then use the focused drawing and reference guides when the task calls for them.

Before you call the first drawing finished

  • You can identify which layer contains the shape and which contains its details.
  • You know which brush and colors you would use to continue it.
  • You have kept the editable artwork rather than relying only on a flattened image.
  • You have opened the exported file in its intended destination and checked its size, edges and background.

Then pick the skill that would improve this drawing. A more controlled line, a cleaner fill or a better-organized layer stack is a useful next lesson; completing the entire library is not a prerequisite for making another picture.