Your first Procreate illustration: draw a leaf with built-in brushes
Make one leaf with 6B Pencil and Monoline. Follow a concrete layer sequence from rough sketch to filled shape, clipped shadow, editable backup and PNG.
Choose a topic to find published guides for the part of your drawing or file workflow you are working on.
First drawings, drawing aids, project setup and choosing a workflow.
Brush settings, imports, organization and Apple Pencil response.
Start with the mark you want to change, then adjust its control on a duplicate. Learn what spacing, smoothing, pressure, grain, and wet mixing actually do.
Identify the Pencil model first: USB-C has no pressure sensitivity. For pressure-capable models, check pairing and the Classic Library diagnostic brushes.
Masks, selections, transforms, blend modes and layer room.
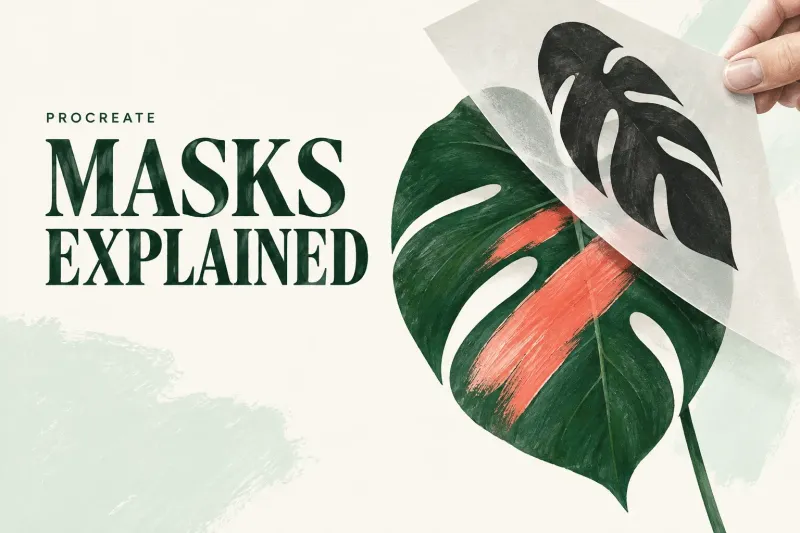
Clipping Mask keeps new paint separate, Alpha Lock edits existing pixels, and Layer Mask hides or reveals artwork. Choose by the revision you need to preserve.
Check the clipping base and layer order first. In a duplicate, disable Alpha Lock before a temporary full-layer fill, then undo that diagnostic change.
Choose and refine a selection, then copy, recolor, or move the region. Work on a duplicate to retain the original, and save useful selection boundaries.
Check this canvas's capacity, keep a native master, and consolidate only finished layers. Changing DPI alone does not create extra room.
Palettes, ColorDrop, document profiles and color handoffs.
Locate a ColorDrop leak, pale rim or wrong fill boundary. Check the contour, threshold and Reference layer without treating one symptom as proof of one cause.
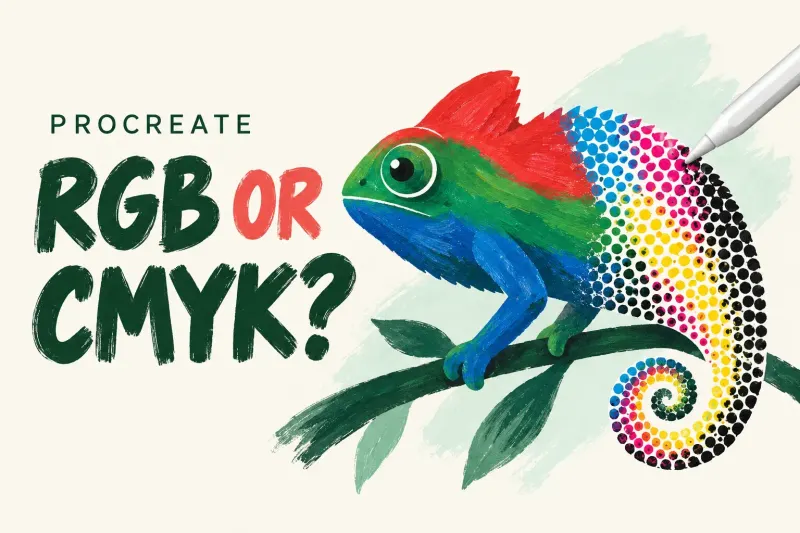
Choose RGB or CMYK from the destination's actual specification. Procreate cannot switch an existing canvas between them, so keep the native master for each handoff.
Canvas dimensions, resizing, export, print, handoffs and backups.
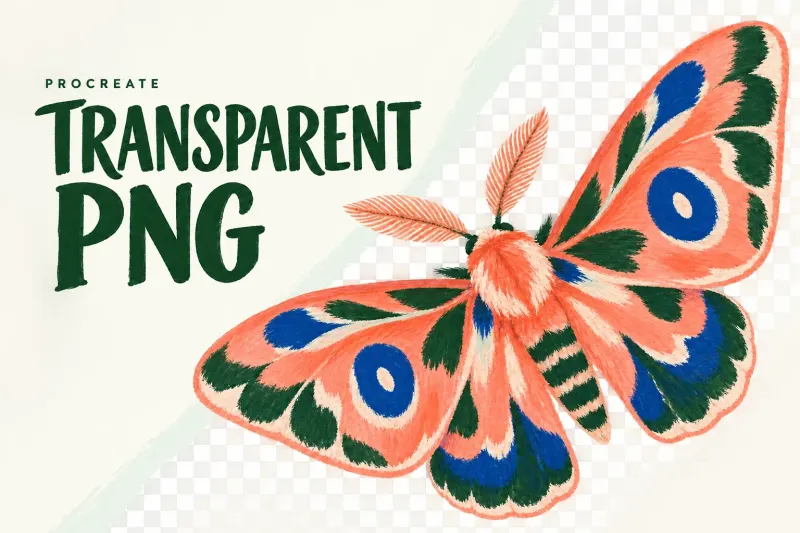
Hide Background color and any painted backdrop, export PNG, then inspect the actual saved file over light and dark backgrounds before delivery.
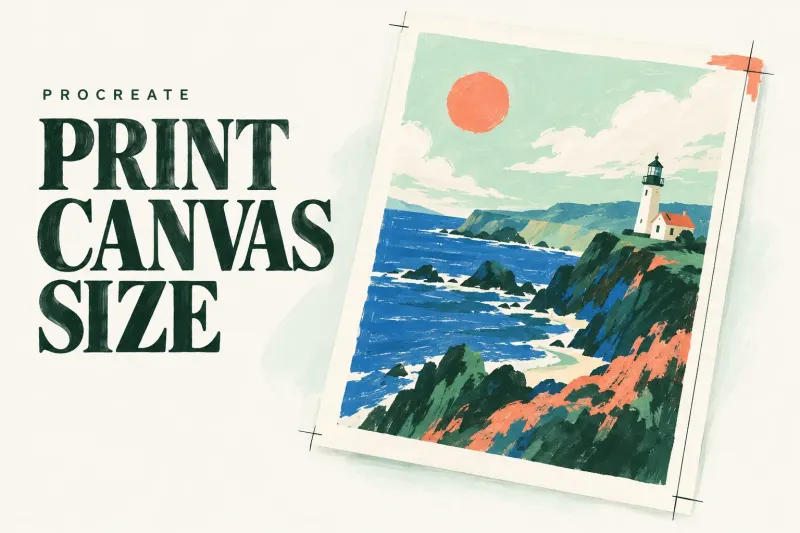
Calculate canvas pixels from the printer's trim size, bleed and requested PPI, then check the aspect ratio, layer capacity and delivery profile.
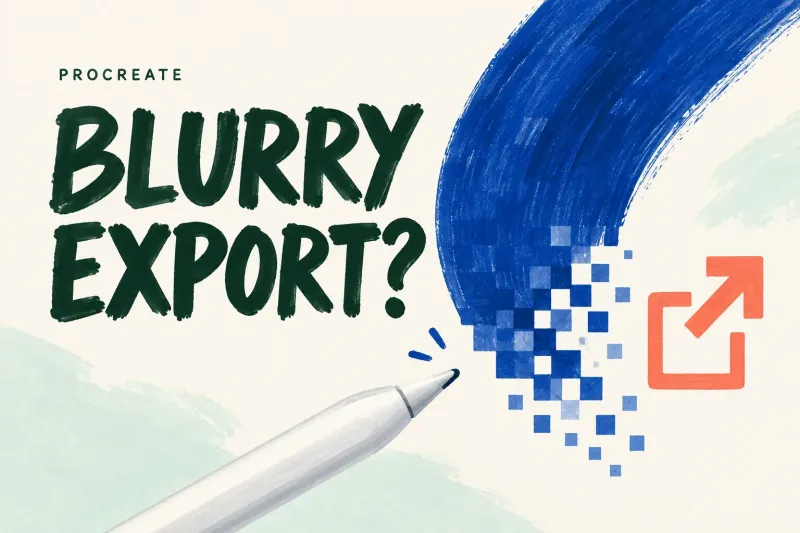
Record source and file pixel dimensions, inspect actual copies in a viewer with a documented native-pixel mode, and find where sharpness first changes.
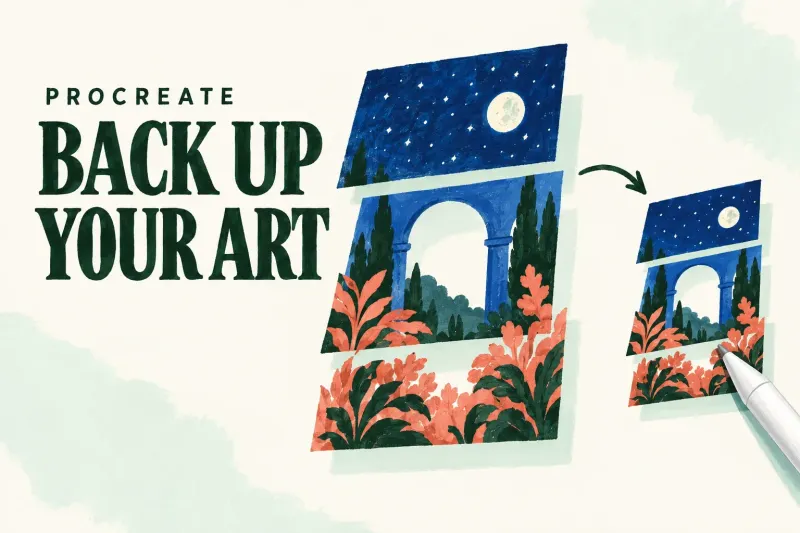
Export native Procreate copies to secure locations, keep dated checkpoints, and check that a restored copy opens before deleting or migrating artwork.
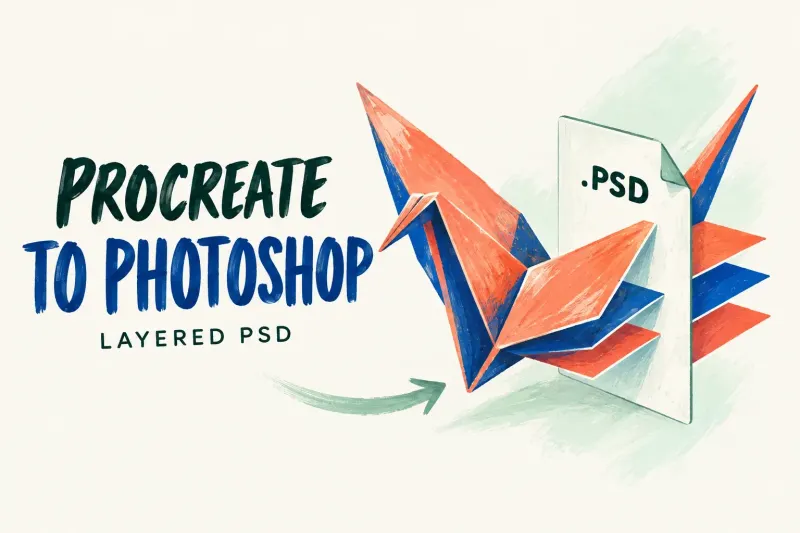
Move your drawing with Actions → Share → PSD, then File → Open in Photoshop. Keep the native source and check layers, appearance and color before editing.