Procreate Brush Settings: Choose the Control That Changes the Mark
Start with the mark you want to change, then adjust its control on a duplicate. Learn what spacing, smoothing, pressure, grain, and wet mixing actually do.
Find a brush for the line or texture you want. Then decide whether to adjust the stroke, edit the brush itself, import a tool or investigate an input problem.
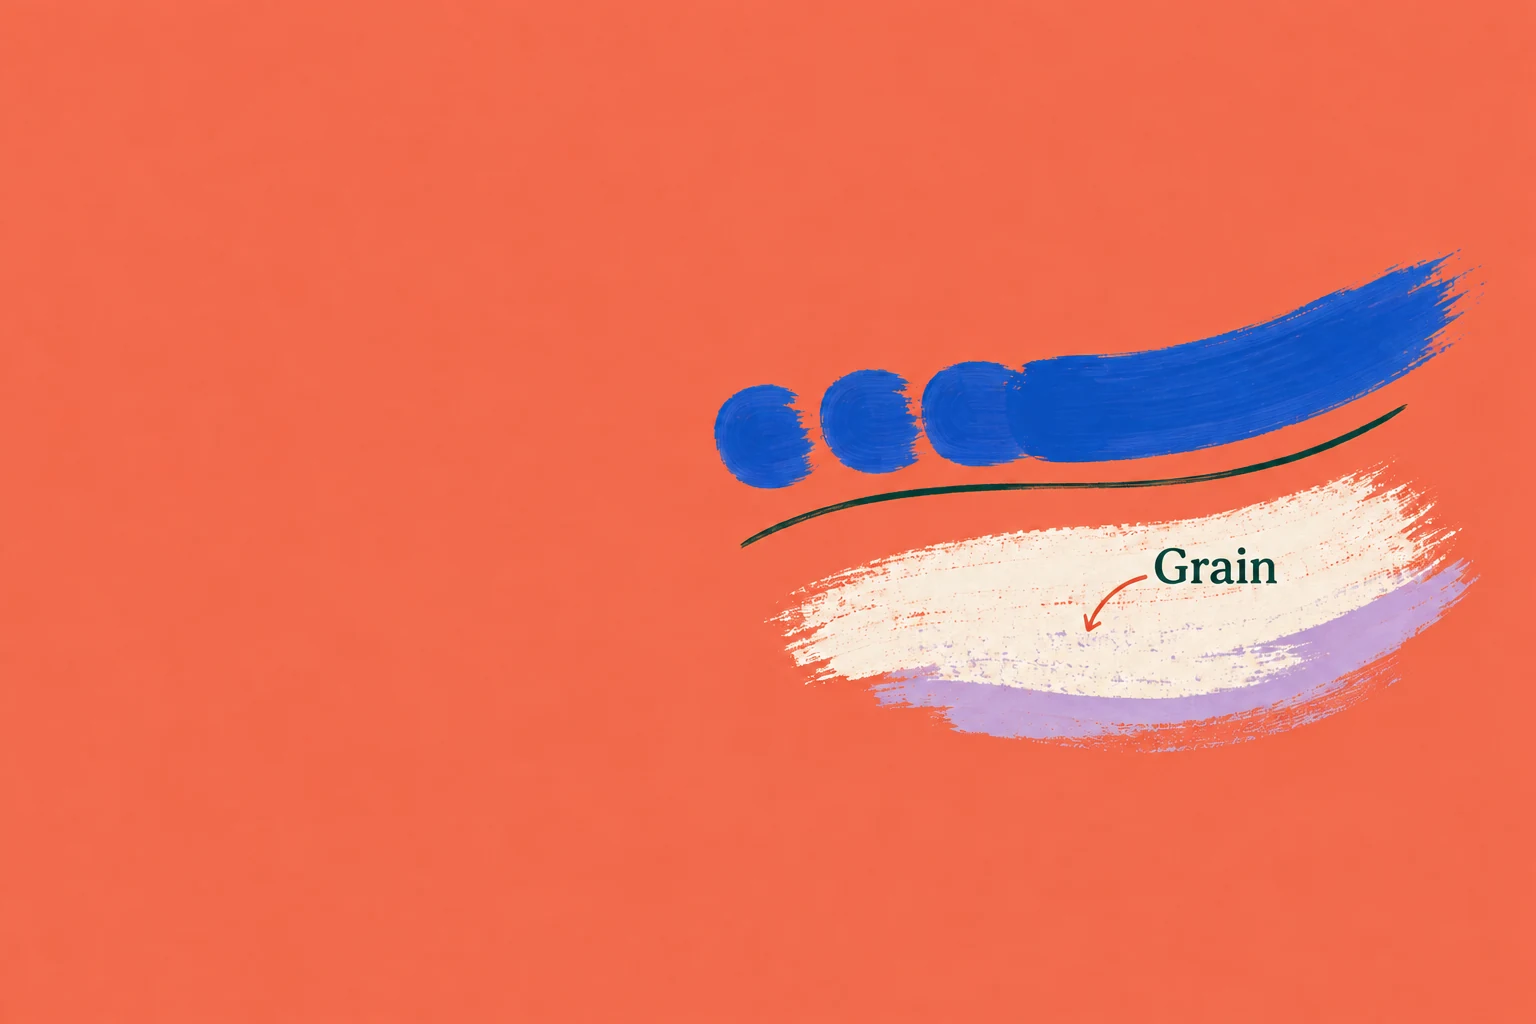
A textured brush and a clean inking brush should leave different marks. Start by describing the change you want: a narrower line, more transparency, a smoother path or a different surface. That separates a working adjustment from a change to the brush's design.
I would keep a familiar brush as a reference and change a duplicate when exploring its design. Procreate documents duplicating a brush or set in the library, so you can keep the original separately. A duplicate inside the same library is a working copy; export a separate backup when you need protection against deletion or device loss.
In Brush Studio, the Drawing Pad updates as settings change. Use that preview to compare the particular behavior you are adjusting. A broad change to several controls makes it harder to identify the setting that helped. Confirm with Done when you want to keep the change, or use Cancel to dismiss it.
The Procreate brush settings guide explains the control families in more detail. Open it once you can name the stroke problem you are trying to solve.
If a brush seems to disappear only on part of the drawing, consider the active layer, a mask or a selection. The layers hub helps distinguish a painting boundary from brush behavior.
The current import documentation supports .brush, .brushset, .brushlibrary and Photoshop .abr files. Check which type you received before following an installation guide. A single brush, a set and a complete library do not represent the same amount of content.
Library instructions are version-sensitive. In Procreate 5.4, the Brush Libraries handbook describes storage shared with Files: moves, edits and deletions can affect the same underlying tools in both places. Renaming also belongs in the main Brushes interface or Files rather than the older About this Brush route.
Use a brush's name and library search to locate an import. For valuable custom tools, export a copy to a separate storage destination before reorganizing or deleting originals. Confirm where that copy was saved; seeing a library in two interfaces does not establish that you have two independent backups.
Start with behavior when an existing brush almost does the job. Look for a different tool when you need a genuinely different texture or drawing style.
Use the settings guide to understand behavior. Choose a line-art or watercolor route when you already know the kind of mark the drawing needs.
Importing and organizing tools is a different job from fixing a Pencil response problem. Pick the route that matches the symptom.
Separate an unwanted mark from missing input. A brush that paints with the wrong edge calls for a different investigation from a Pencil that produces no pressure response. Keep the artwork while you narrow the symptom.
Use the Apple Pencil pressure troubleshooting guide when pressure response is the problem. Note the Pencil model, the iPad and whether other brushes behave the same way before changing global controls.
For a fill that escapes its outline, continue to ColorDrop and color decisions. For a frozen interface or a file problem, choose the matching route in Procreate troubleshooting.