Clipping Mask vs Alpha Lock vs Layer Mask
Clipping Mask keeps new paint separate, Alpha Lock edits existing pixels, and Layer Mask hides or reveals artwork. Choose by the revision you need to preserve.
Keep elements on separate layers when you need to change them independently. Choose a mask by what you want to protect, then check the active layer before painting.
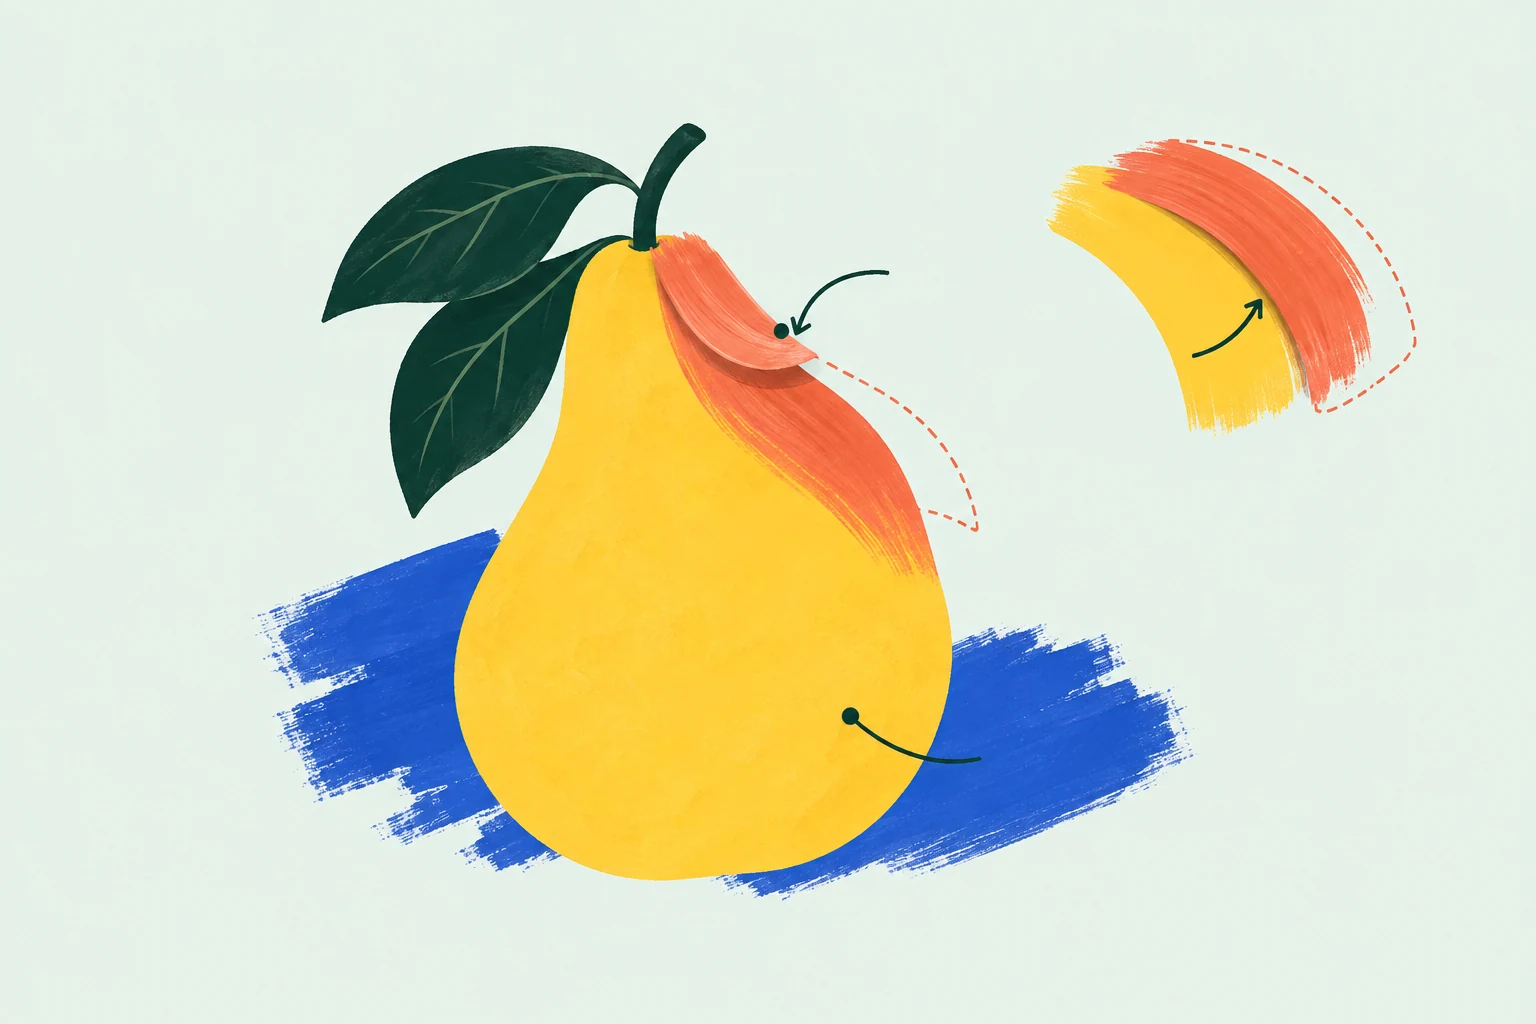
A useful layer stack follows the drawing's likely revisions. For a simple fruit study, for example, you might keep the fruit separate from its background so a background change leaves the fruit alone. Add shading separately if you expect to revise its strength or position later. This is a planning example, not a required stack for every drawing.
I recommend naming a layer for its job before the stack becomes difficult to read. More layers are useful only when they preserve a decision you may want to revisit. The Layers handbook explains how separate elements can be moved, edited and blended without changing unrelated artwork.
The tool names sound similar, but the result matters more than the name. Procreate's masking and locking documentation distinguishes these four operations.
| Your aim | Choose | What stays separate |
|---|---|---|
| Add shading inside an existing silhouette | Clipping Mask | The new paint stays on its own layer. Its visibility follows the content and transparency of the layer below. |
| Repaint pixels already on the layer | Alpha Lock | There is no separate paint layer: you change the existing layer while its transparent areas remain protected. |
| Hide part of the artwork while keeping it available | Layer Mask | The parent artwork remains intact; the mask controls which parts are visible. |
| Protect a finished layer from edits | Layer Lock | The whole layer is protected from editing. This serves a different purpose from Alpha Lock. |
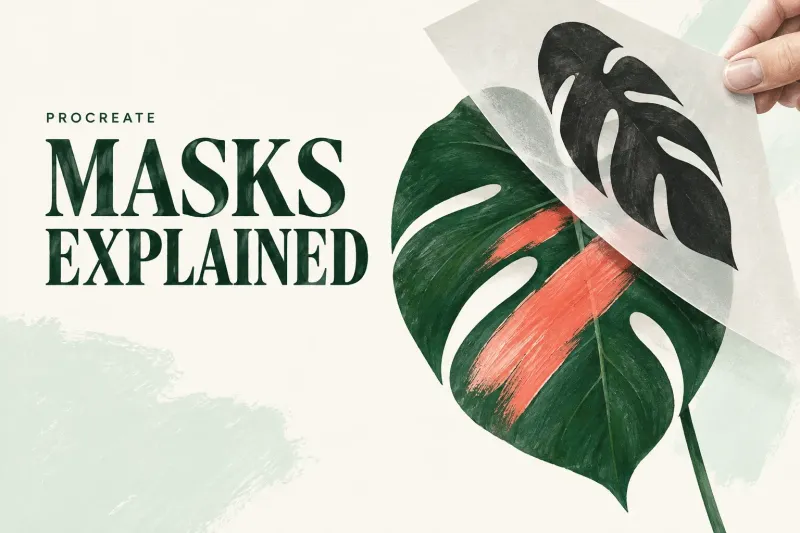
For a layer mask, select the mask before painting on it: black hides, white reveals and gray makes the parent partially visible. If you paint those colors on the parent artwork instead, you are changing the image itself.
A clipping layer needs content beneath it. A completely transparent base provides no visible area for the clipped paint, and the bottom layer cannot itself become a clipping mask. Check the stack before assuming the brush has stopped working.
Procreate sends drawing and painting to the primary active layer. Selecting several layers for a group operation does not mean a stroke will paint on all of them. Selecting whole layers is also different from selecting a region of pixels.
Before changing brushes, identify the active layer and check whether it is visible or locked. Then check any mask that limits the area. The visibility checkbox hides a layer without deleting its content, so a missing object may still be in the stack.
If the layer state is correct but the mark itself needs work, continue to the brush settings and input hub. For fills that should follow linework on another layer, the color hub explains the Reference-layer decision.
A group keeps related layers together while retaining their separate contents. Merge Down combines two layers into one, so they can no longer be edited as separate objects. Preserve an editable copy before merging work you may need to change.
A duplicate in the same document is useful for comparing edits, but it consumes layers and does not protect against losing the document. Keep an independent exported copy for that purpose.
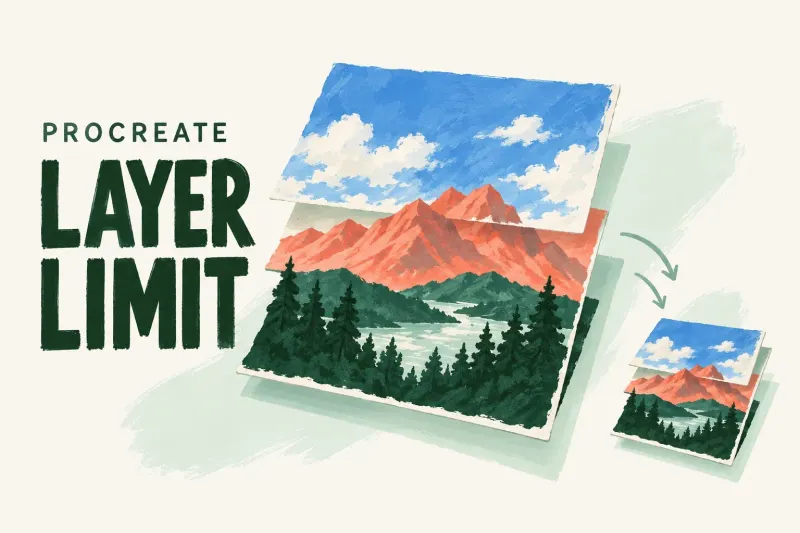
There is no single Procreate layer limit for every canvas. The official layer-limit explanation identifies iPad RAM and canvas pixel dimensions as the main constraints. Changing DPI alone, with the pixel dimensions unchanged, is a different operation from adding pixels. Use the canvas planning hub before starting a larger piece.
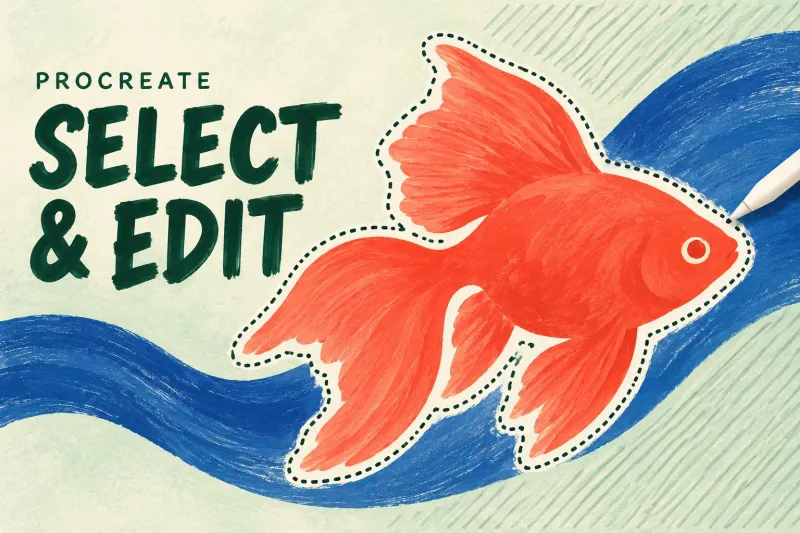
Choose the smallest operation that gives you the result. A selection can isolate part of an image for an edit; a clipping layer can keep later paint inside an existing shape. The guides below handle those tasks separately.
Start with the comparison if the tool names are unfamiliar. Use the individual guide when you have chosen how the new paint should relate to the existing shape.
Clipping Mask keeps new paint separate, Alpha Lock edits existing pixels, and Layer Mask hides or reveals artwork. Choose by the revision you need to preserve.
Check the clipping base and layer order first. In a duplicate, disable Alpha Lock before a temporary full-layer fill, then undo that diagnostic change.
Plan around your iPad and canvas dimensions before combining artwork. Blending changes how layers appear together; it does not replace a layer budget.
Use these guides when you need to isolate pixels, soften a boundary or transform part of the artwork rather than constrain new paint.