Canvas Size for Print: Pixels, Inches and PPI
Calculate canvas pixels from the printer's trim size, bleed and requested PPI, then check the aspect ratio, layer capacity and delivery profile.
Choose pixel dimensions for the finished destination and leave room for the layers you need. Keep an editable master separately from the image you deliver.
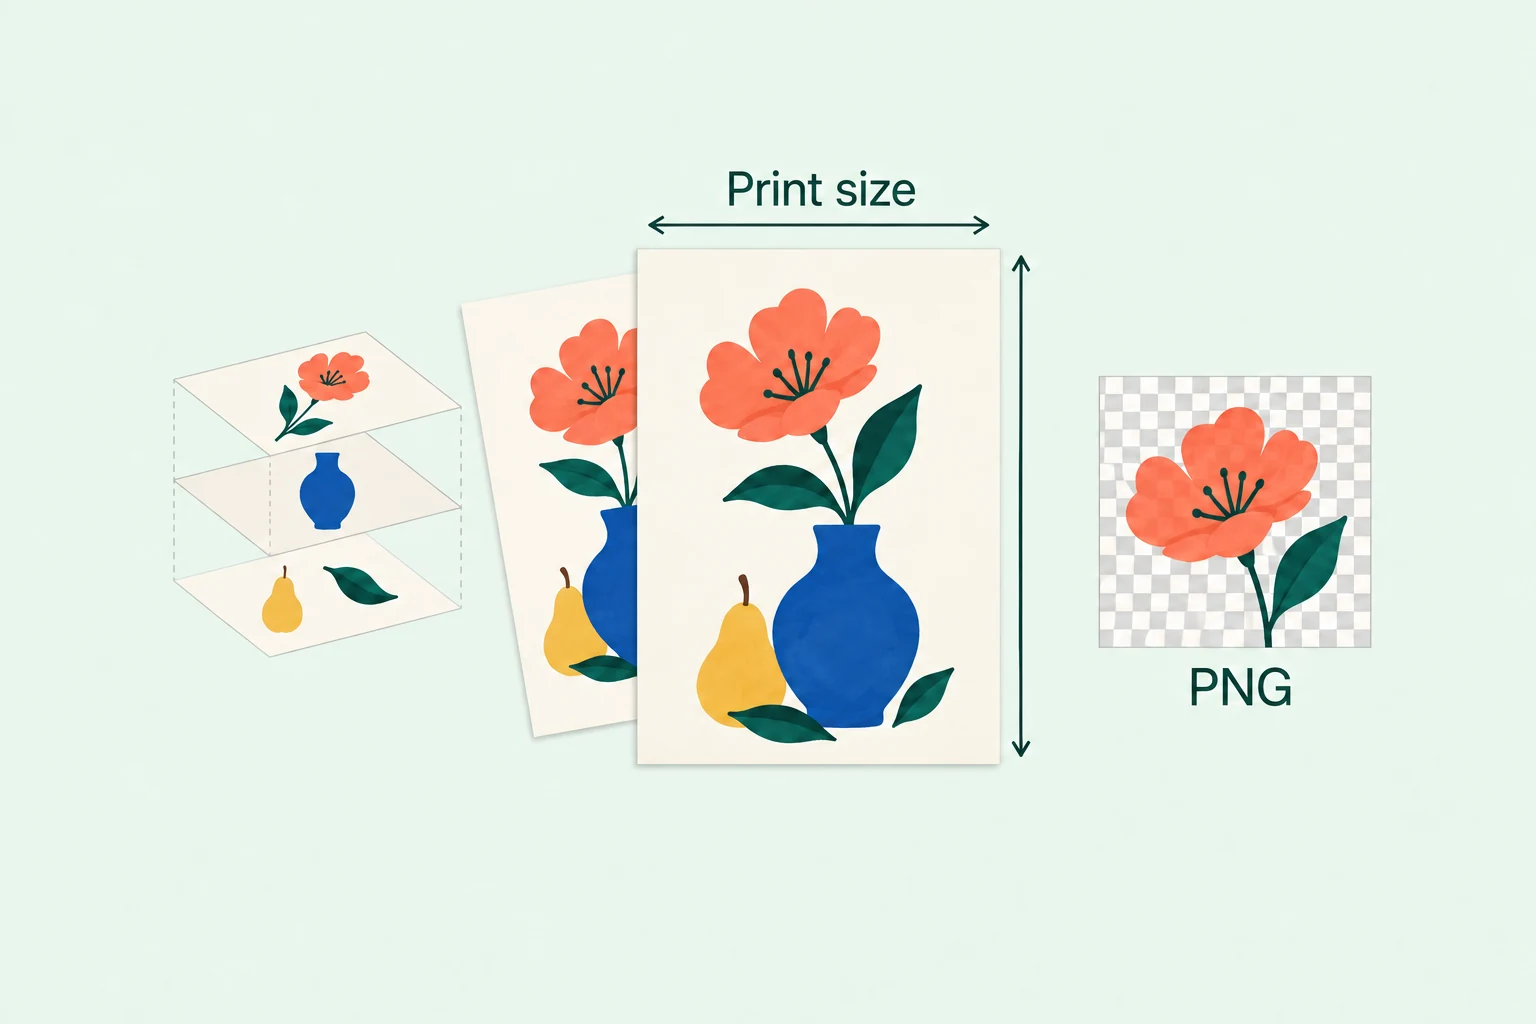
There is no single best canvas size for every Procreate project. A square social image and a portrait print have different shapes and delivery requirements. I would settle those requirements before choosing a large canvas simply because the iPad permits it.
The color-space decision belongs here too. A suitable canvas size does not compensate for choosing an output color space the recipient cannot use.
Pixel dimensions describe the image's width and height in pixels. The DPI setting relates those pixels to a physical size. Procreate's Canvas handbook states that changing DPI alone does not change the pixel dimensions. Raising that number does not add detail to the drawing.
For a calculated example, suppose a provider requests an 8 × 10 inch image at 300 pixels per inch. Multiply each physical dimension by 300: the image needs 2400 × 3000 pixels. The 300 value belongs to this example; it is not a universal print-quality threshold.
Work from the actual output specification rather than a generic square preset. If the job's requirements are uncertain, resolve them before treating a calculator result as the final canvas choice.
Procreate's maximum canvas size has both a total-pixel limit and a longest-edge limit, with the limits depending on the iPad model. The largest permitted document is not automatically the most useful size for a project.
Canvas size also affects the available layers. Check the allowance for the actual iPad and dimensions before committing to a piece that needs many independently editable elements. The layers hub explains grouping and merging so you can plan the stack without flattening your only editable copy.
Use Actions, Canvas, Crop and Resize to work on the canvas dimensions. Before saving a consequential change, distinguish a different frame from a scaled version of the existing artwork.
Resample scales the image and creates new data from existing pixels when enlarging. That interpolation cannot recover original detail that was never present. Keep a copy before a major resize so you can return to the starting artwork if the new size does not serve the job.
The Share Image documentation distinguishes the native Procreate file from flattened image exports. Choose the format for the next task.
.procreate file to retain layers, masks and effects. Keep it separately from the finished image.Procreate stores artwork locally on the iPad and recommends manual exports for backup. Save a native copy to an independent storage destination and confirm that the file has finished saving there. A copy held only on the same iPad does not protect against losing that device.
If artwork is already missing, preserve what remains and use the troubleshooting hub to identify a next step. A backup plan is useful before a loss; it is not a promise that a deleted canvas can be recovered.
Plan a new canvas first, inspect an export when finishing, or protect the editable artwork before maintenance. The next guide depends on which of those jobs you need to complete.
Choose dimensions before drawing a new piece. Use the resize route for existing work, where changing the frame and scaling the image have different consequences.
Choose the output by what the recipient needs: a transparent image, a print file or an editable handoff. Start with the blur guide when the exported result is the problem.
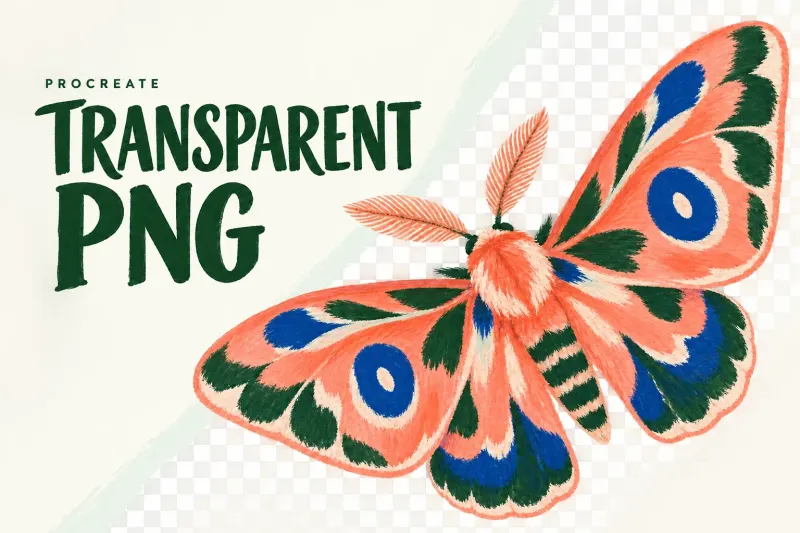
Hide Background color and any painted backdrop, export PNG, then inspect the actual saved file over light and dark backgrounds before delivery.
Record source and file pixel dimensions, inspect actual copies in a viewer with a documented native-pixel mode, and find where sharpness first changes.
Move your drawing with Actions → Share → PSD, then File → Open in Photoshop. Keep the native source and check layers, appearance and color before editing.
Make an independent editable backup before maintenance or destructive changes. Preserve existing files if you are investigating missing artwork.