For a broken or dotted line, start with Stroke Path → Spacing. For a wobbly curve, use Stabilization. For width or transparency that changes with pressure, look under Apple Pencil. Texture belongs mainly to Shape and Grain, while paint buildup and mixing involve Rendering and Wet Mix.
I recommend choosing the visible problem first and changing one control on a duplicate. Copying a complete set of percentages from another brush can change the parts you already like. This guide follows Procreate 5.4 for iPad; older tutorials and Procreate Pocket can have different menu locations.
Open Brush Studio on a copy
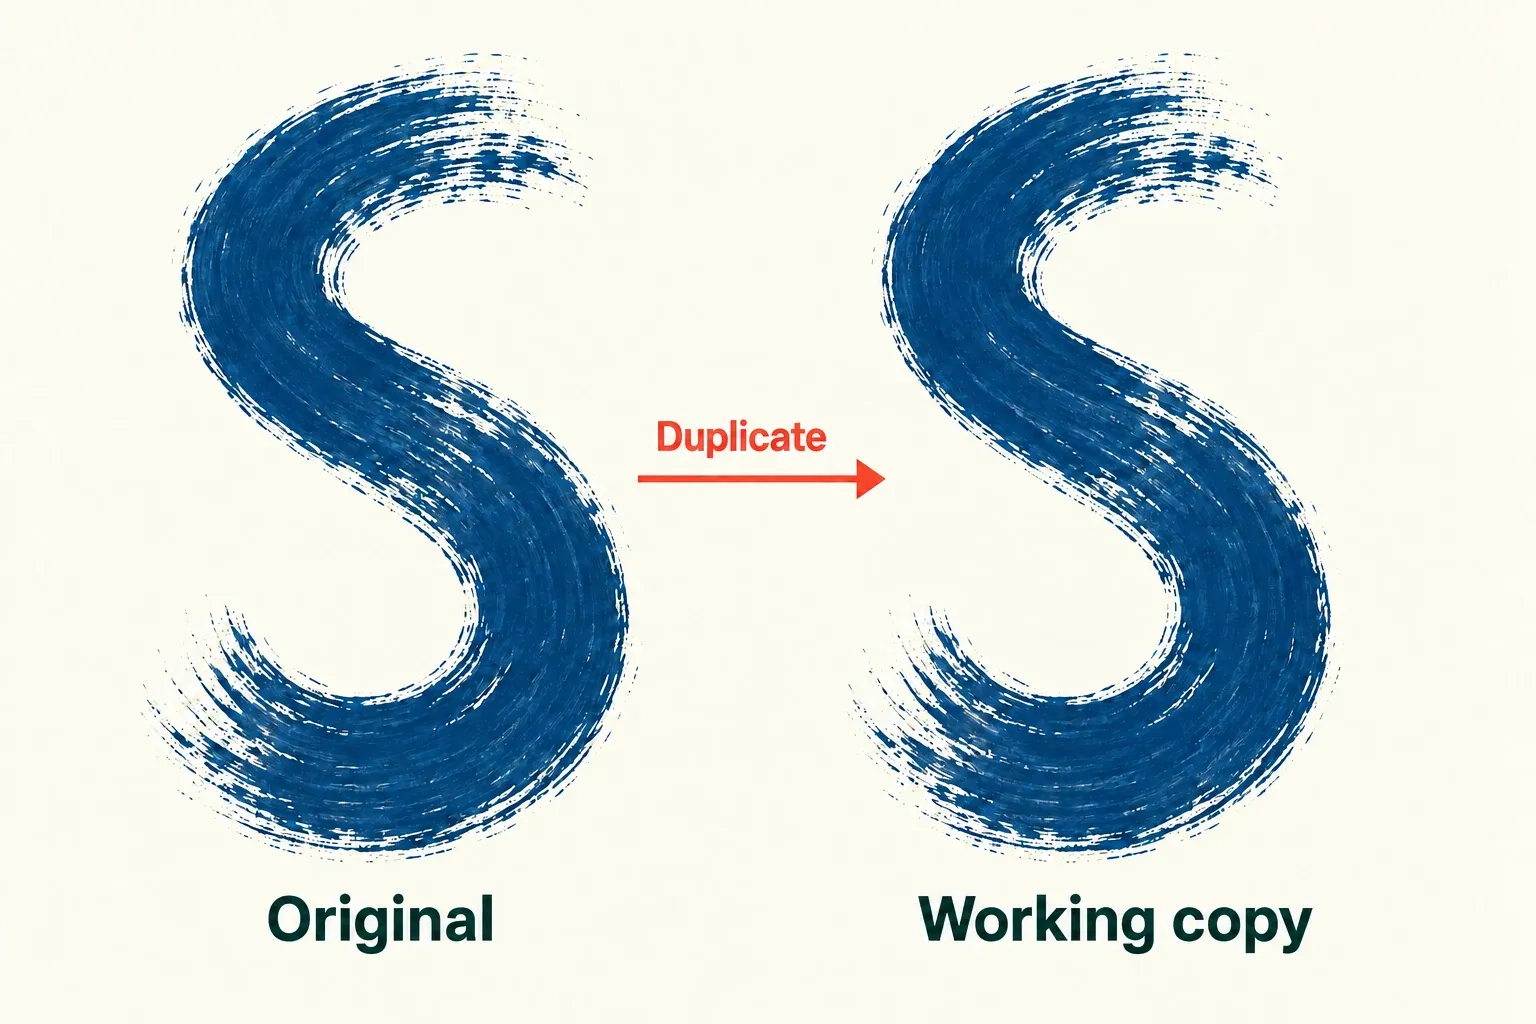
- Open Brushes from the Paint, Smudge, or Erase tool. Swipe left on the brush and choose Duplicate.
- In Procreate 5.4, tap and hold the copy in Brushes and choose Rename. Use a name that describes its purpose, such as
Ink — softer pressure. Renaming happens here, outside Brush Studio. - Tap the copy once to select it, then again to open Brush Studio. Choose an attribute on the left; its controls appear in the middle, with the Drawing Pad on the right.
- Draw a short comparison in the Drawing Pad, change one control, then try it again. Tap Done to save your changes or Cancel to dismiss them.
After saving the copy, check the brush on a spare canvas at the size you will use in the drawing. The Drawing Pad helps you inspect settings quickly; your canvas provides the relevant layer, background, and working scale.
Choose the setting from the mark
| What you want to change | Start here | What to inspect |
|---|---|---|
| Separate dots or gaps in a continuous line | Stroke Path → Spacing; then Spacing Jitter | A long, uninterrupted stroke |
| Wobble, or curves that feel overcorrected | Stabilization → StreamLine Amount | A slow curve and a deliberate corner |
| Pressure changes width or opacity too much or too little | Apple Pencil → Pressure → Size or Opacity | A light-to-firm stroke with a pressure-capable Pencil |
| A grain pattern is too large or too faint | Grain → Scale or Depth | A broad patch at your intended brush size |
| Paint becomes too dark, transparent, or mixed | Rendering; then Wet Mix if the brush uses wet effects | One pass beside two overlapping passes |
| The brush cannot reach the size you need | Properties → Maximum / Minimum Size | The sidebar size slider and an actual canvas mark |
Keep the brush size, color, canvas, layer opacity, and input device consistent during a comparison. Change only the factor you are trying to understand.
Spacing: make the stamps join
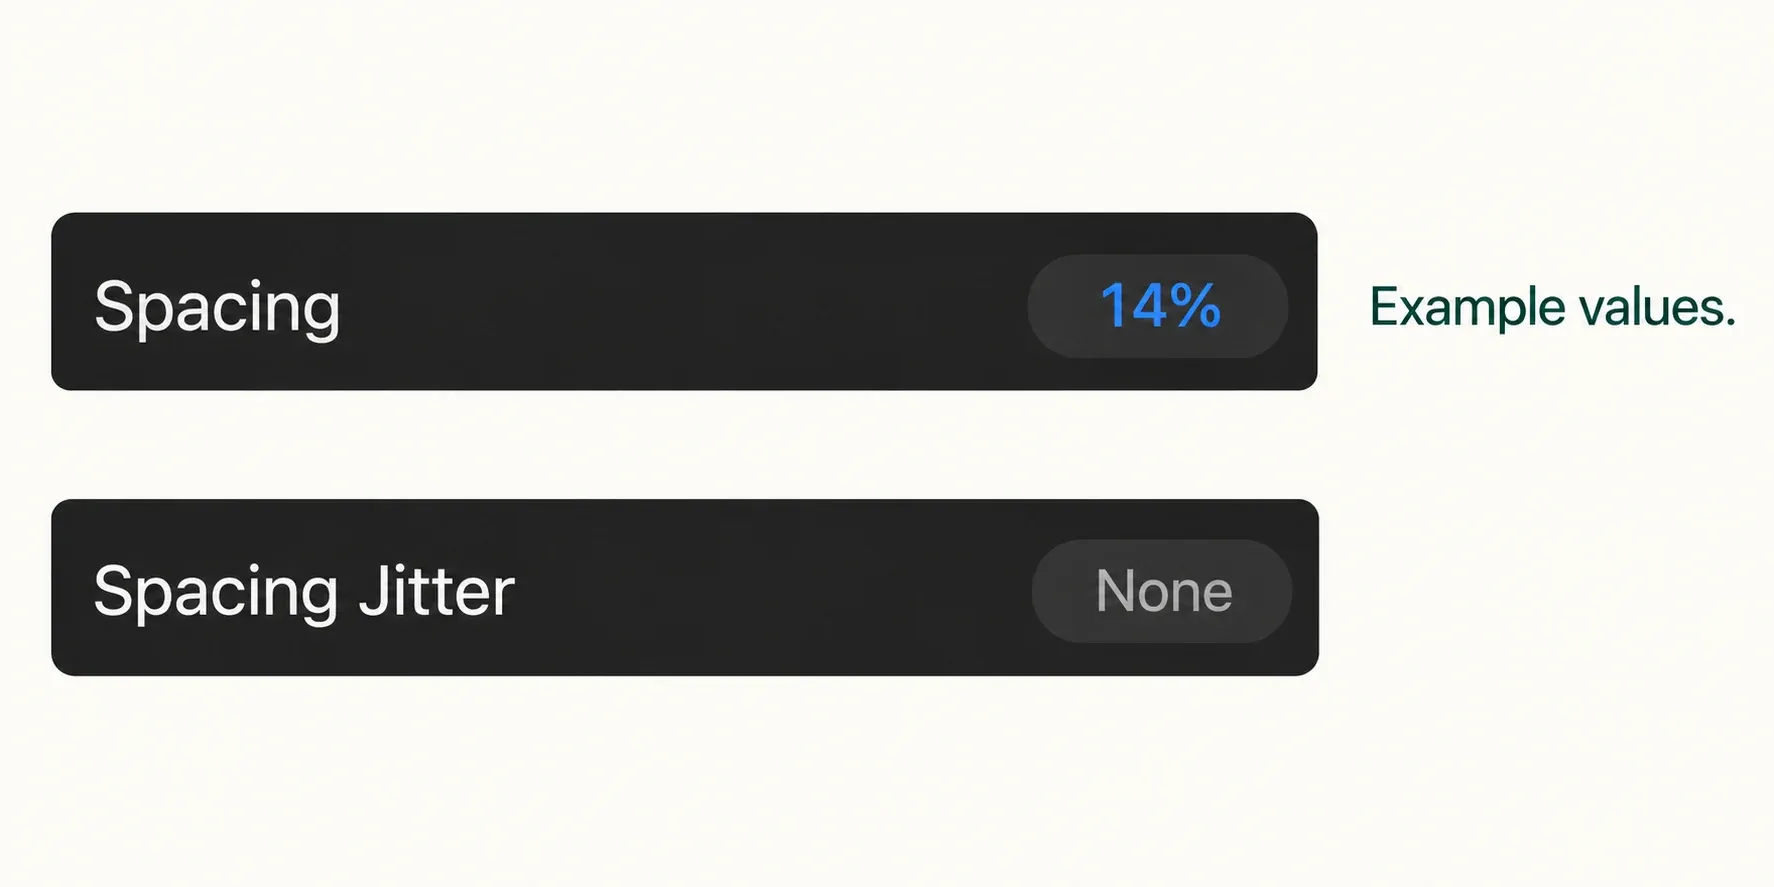
A stroke is made from repeated brush shapes. Stroke Path → Spacing controls how closely those shapes repeat. Lower it if a brush intended for continuous lines leaves separate stamps; raise it when you deliberately want dots or spaced marks.
If the spacing remains uneven, inspect Spacing Jitter. It varies the distance between stamps, and the handbook notes that it can still produce spacing changes even when the base Spacing value is zero. Setting Spacing to zero is therefore not a complete fix for every dotted brush.
Jitter Lateral scatters stamps across the path, while Jitter Linear shifts them along it. Leave those effects alone if the scattered edge is part of the brush’s character. For a cleaner line, reduce the relevant jitter on the copy and compare again.
For a stroke that gradually disappears, check Fall Off if you want to remove a distance-based fade. A wet brush can also lose intensity through its paint-loading settings, which are covered under Wet Mix below.
Smoothing: one brush or the whole app?
For one brush, use Brush Studio → Stabilization. For a consistent adjustment across brushes, the app-level controls are under Actions → Prefs → Pressure & Smoothing. Note the global settings before diagnosing an individual brush, and keep them unchanged while comparing copies.
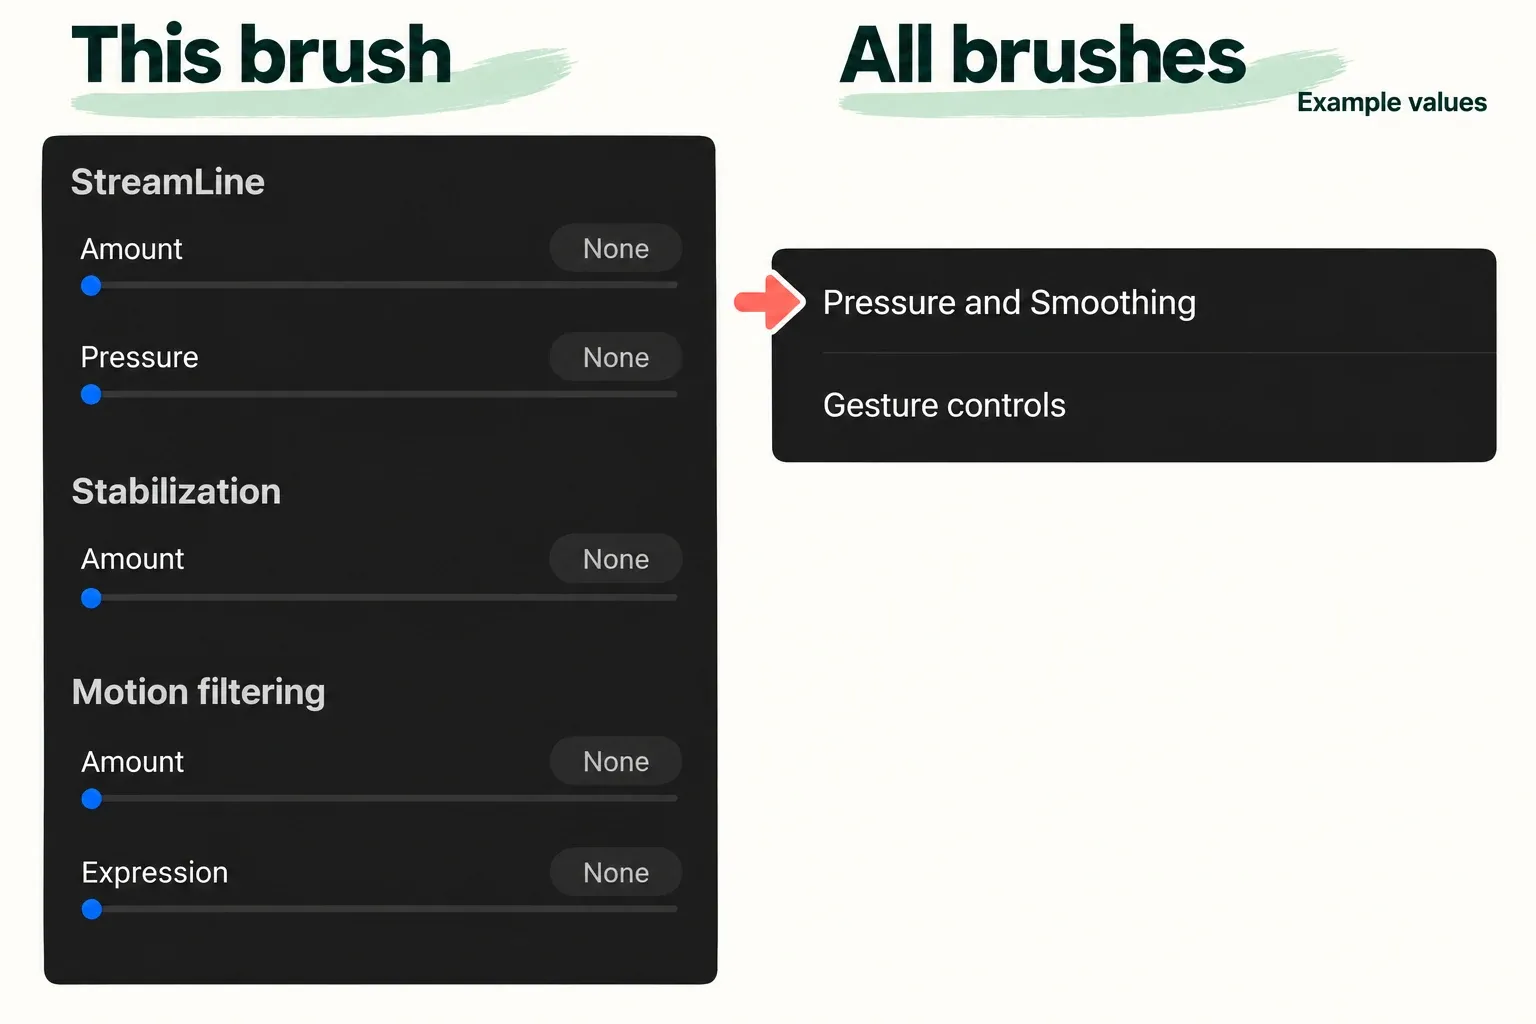
Within Brush Studio, the controls do different jobs:
- StreamLine Amount smooths the line. Increase it when a curve needs more assistance; reduce it when the correction removes movement you want to retain.
- StreamLine Pressure smooths the application of pressure along the stroke. It is useful when pressure transitions need attention, rather than the contour itself.
- Stabilization Amount averages the stroke’s movement. Its smoothing increases with drawing speed, so compare a slow curve and a faster one.
- Motion Filtering Amount removes the extremes of wobbles and works independently of stroke speed. If the result becomes too straight, reduce the filtering or explore Expression.
- Motion Filtering Expression restores some expressive movement, but it only works when Motion Filtering is enabled. Its influence becomes smaller at high filtering levels.
Use a curve, a corner, and a short hatch to make the decision. A setting that tidies a long curve may be a poor choice for marks where the small irregularities matter. Keep the lowest amount that gives you the control you need; there is no single best percentage for every brush and drawing style.
Pressure: separate the input from the brush response
First check the Pencil model. Apple Pencil (USB-C) has no pressure sensitivity. Changing a pressure curve cannot add that hardware capability. Finger strokes use Touch Taper rather than Apple Pencil pressure when you want an artificial taper.
With a pressure-capable Pencil, Apple Pencil → Pressure in Brush Studio maps pressure to Size, Opacity, Flow, and Bleed. If you want less variation in line width, inspect Size first. If the width is right but light strokes disappear, inspect Opacity and Flow instead of changing every pressure setting together.
The brush’s Pressure Graph controls its pressure-driven settings, but it still respects the app-level pressure settings under Pressure & Smoothing. If many pressure-aware brushes have the same problem, follow the Apple Pencil pressure troubleshooting guide before compensating inside every brush.
For the beginning and end of a stroke, use Taper’s Pressure Taper controls. Taper changes the thickness and opacity at the ends; it is a separate adjustment from the pressure response along the whole stroke. Inspect a complete stroke, including how you lift the Pencil, before keeping the change.
Texture: check Shape before replacing Grain
Shape is the stamp that contains the brush’s grain. Tap once on the canvas with your finger or Apple Pencil to see the brush’s stamped shape, then draw a line to see how repeated stamps combine. A patchy source shape can produce a rough contour even if you change the grain. Shape’s Scatter randomizes stamp rotation; it is different from Stroke Path’s jitter in stamp position.
For the texture inside the mark, start with these Grain controls:
- Scale changes the size of the grain texture. Use it when a pattern is too coarse or too fine for the drawing.
- Depth changes the strength of the texture against the brush color. Raising it strengthens the grain; reducing it can make that texture less apparent.
- Moving makes the grain move with the stroke, allowing dragged or streaky effects. Texturized keeps a static texture behind the stroke for a clearer, consistent pattern.
- With Moving grain, Zoom offers Follow Size, which scales grain with brush size, and Cropped, which keeps its size fixed. Check this before assuming Scale is changing unpredictably.
Compare a filled patch and a curve at your intended size, then at a larger size. Decide whether the repeated pattern suits your work. Change the source image only if the existing pattern is unsuitable; preserve the original brush and use a texture you have permission to use.
Rendering and Wet Mix: control buildup and blending
If the shape and texture look right but overlapping marks behave differently than you want, inspect Rendering. Light Glaze is the lightest rendering mode, while Intense Blending is the strongest and gives a pronounced Wet Mix effect. Choosing a different mode can change how strokes interact, so compare a single pass with an overlapping pass.
Rendering → Flow changes how much color and texture the brush lays down. Apple Pencil → Pressure → Flow instead changes how the deposit responds to pressure. The shared name does not make these interchangeable controls.
The main Wet Mix controls for a wet-media brush are:
- Dilution: increase it for a more transparent paint effect.
- Charge: sets the initial paint load. The color becomes less intense as that load runs out along a stroke; lifting and starting another stroke recharges it.
- Attack: controls how much paint sticks to the canvas. Higher values produce a bolder, more even application.
- Pull: controls how strongly the brush drags paint around, including color already laid down.
Change one of these at a time while leaving the rendering mode fixed. Then compare the interaction if you need to change the mode too. A brush that deposits color, a brush that pulls existing color, and one that does both are different choices for the same drawing.
When a setting seems to do nothing
For a brush that stays too small even at the top of the sidebar slider, check Properties → Maximum / Minimum Size. These limit the sidebar’s working size range. The size of a library thumbnail or a Drawing Pad preview is a display setting, so judge the actual canvas mark.
Other attributes can explain a surprise. Dynamics can tie size, opacity, and spacing to stroke speed; Color Dynamics can change color through jitter or input from the Pencil. If the brush changes only when you draw faster, or its color varies within a mark, inspect those attributes before treating it as a pressure failure.
The handbook notes that brush settings can cancel out one another. Revisit the relevant neighboring controls, one at a time, rather than replacing the entire configuration. If a change does not help, return its value before trying the next explanation.
Keep the version you like and a way back
Once a copy behaves the way you want, use About this Brush → Create New Reset Point before experimenting further. A brush has only one active reset point, so creating another replaces the previous checkpoint. Keep separate duplicates if you want several variations.
Reset brush returns that brush to its reset point. If none exists, it returns to its created or imported state. It removes subsequent changes, so check which version you want to preserve before resetting.
For a brush you rely on, swipe left on it and use Share to export a .brush file. Keep the original download too. Save your comparison canvas with the brush name, Pencil model, Procreate version, and intended use so the next adjustment has a clear starting point.