Liquify warps the pixels of a layer, so before bending a finished drawing, duplicate the layer and run Liquify on the copy. The original then stays available for comparison. Liquify is unavailable in 3D Painting.
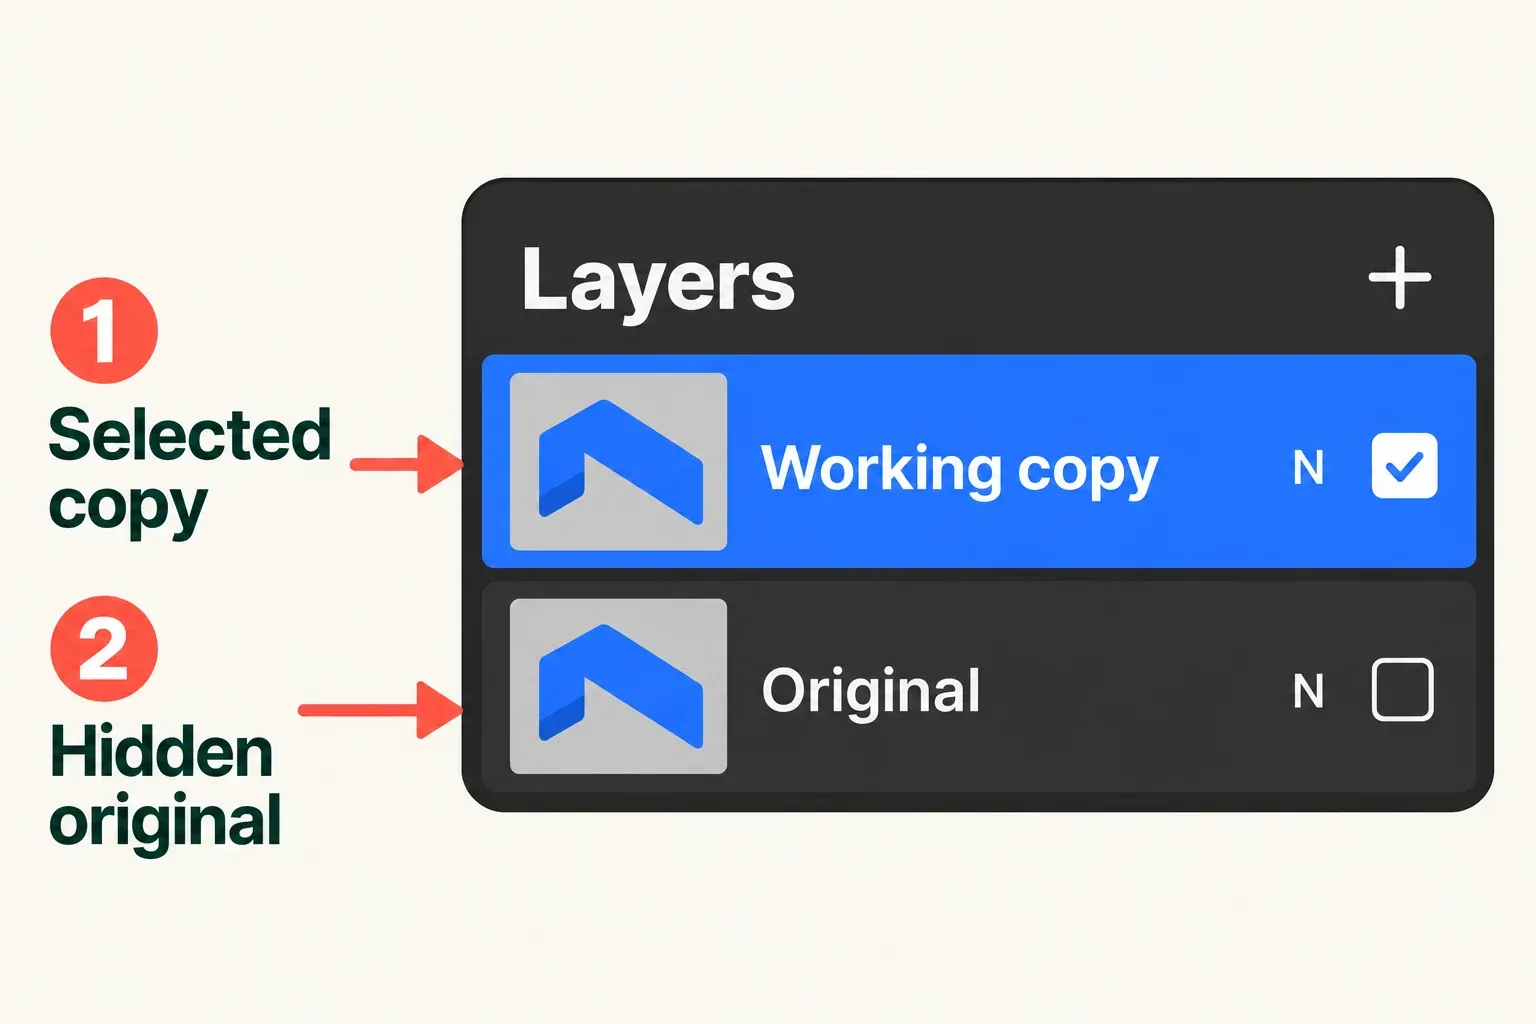
Open Layers with the overlapping-squares button at the top right and tap the source layer. If other layers are selected, tap the word Layers and choose Deselect All, then tap the source again. Swipe that layer from right to left and tap Duplicate.
Tap the new copy explicitly to make it the active layer. Clear any other selected layers the same way so only the copy is selected. Hide the original with its Visibility Checkbox and keep the working copy visible. Then open Adjustments > Liquify and work on the copy.
Choose the movement first
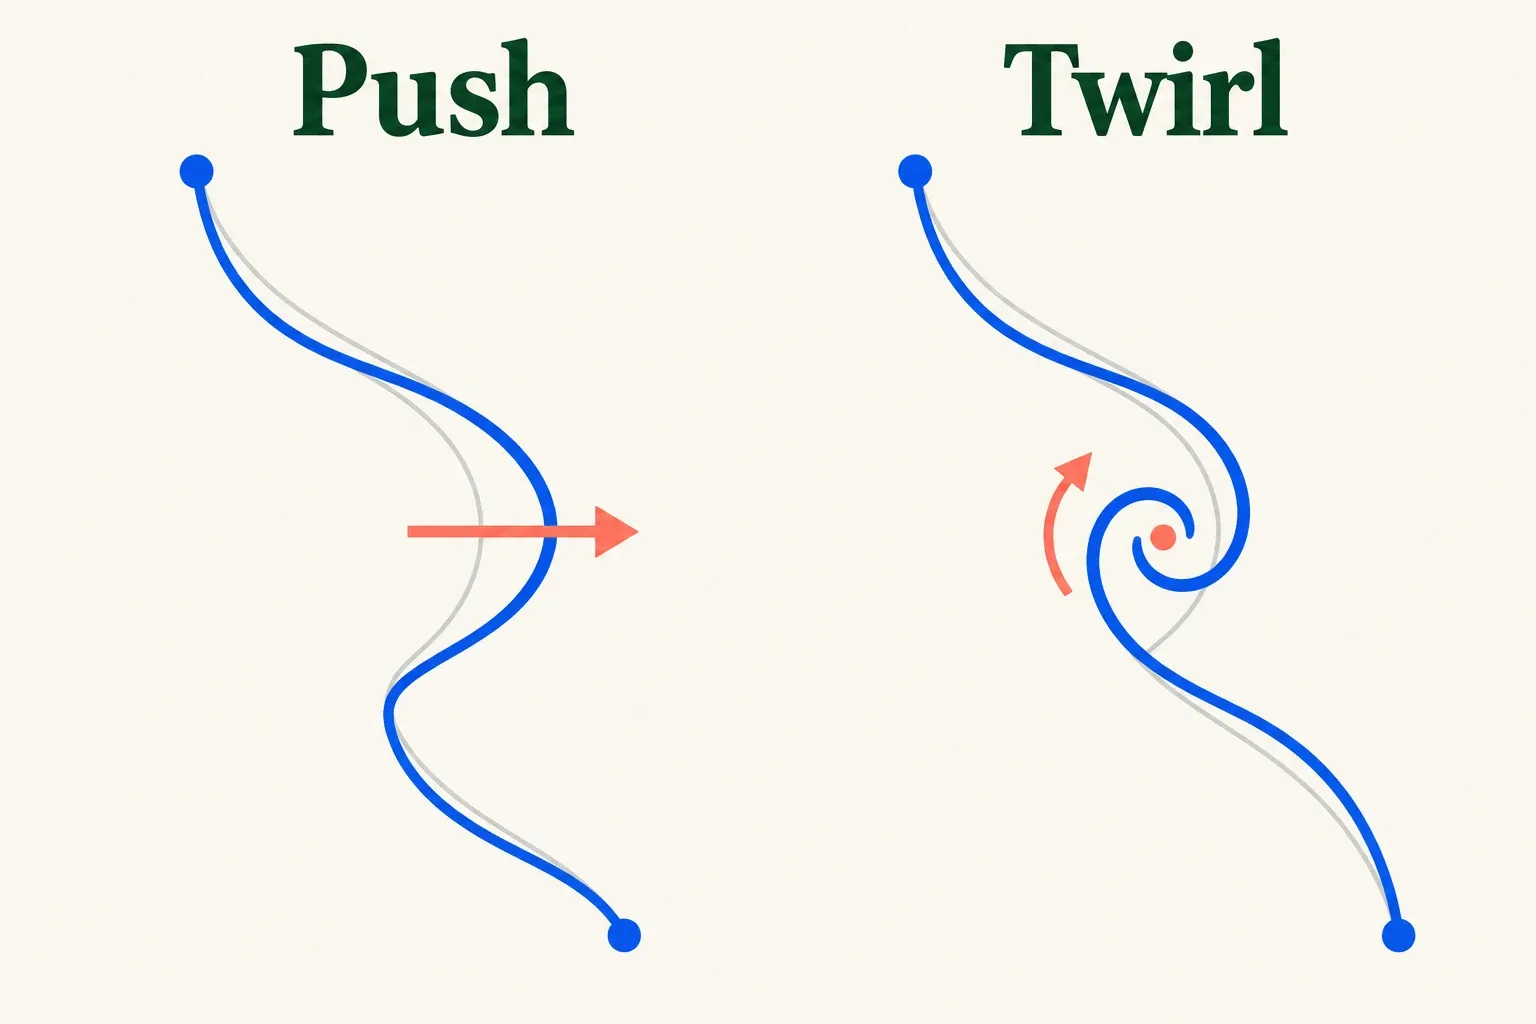
The leftmost button in the bottom menu starts at Push. Tap it to open the Liquify Mode list, then tap the mode you want. Push moves pixels along a stroke. Twirl Left and Twirl Right rotate them in opposite directions, Pinch draws them inward, and Expand pushes them outward. Crystals creates sharp, uneven shards, while Edge pulls pixels inward toward a line.
For example, pick Push to move a contour along your stroke, Pinch to contract a region inward, or Edge to pull pixels toward a line. Make a short stroke on the duplicated layer and check the outline before you extend the effect.
Set the bottom dynamics before the next stroke. Size determines the affected area, Pressure sets the maximum strength, Distortion introduces irregularity, and Momentum continues the movement after the stroke ends. With a finger, Liquify applies the maximum set by Pressure. A pressure-sensitive Apple Pencil can vary the effect, but Apple Pencil (USB-C) has no pressure sensitivity. For a small correction, I'd start with a smaller Size and low Pressure, then increase only the control the result calls for.
Reduce or undo the current adjustment
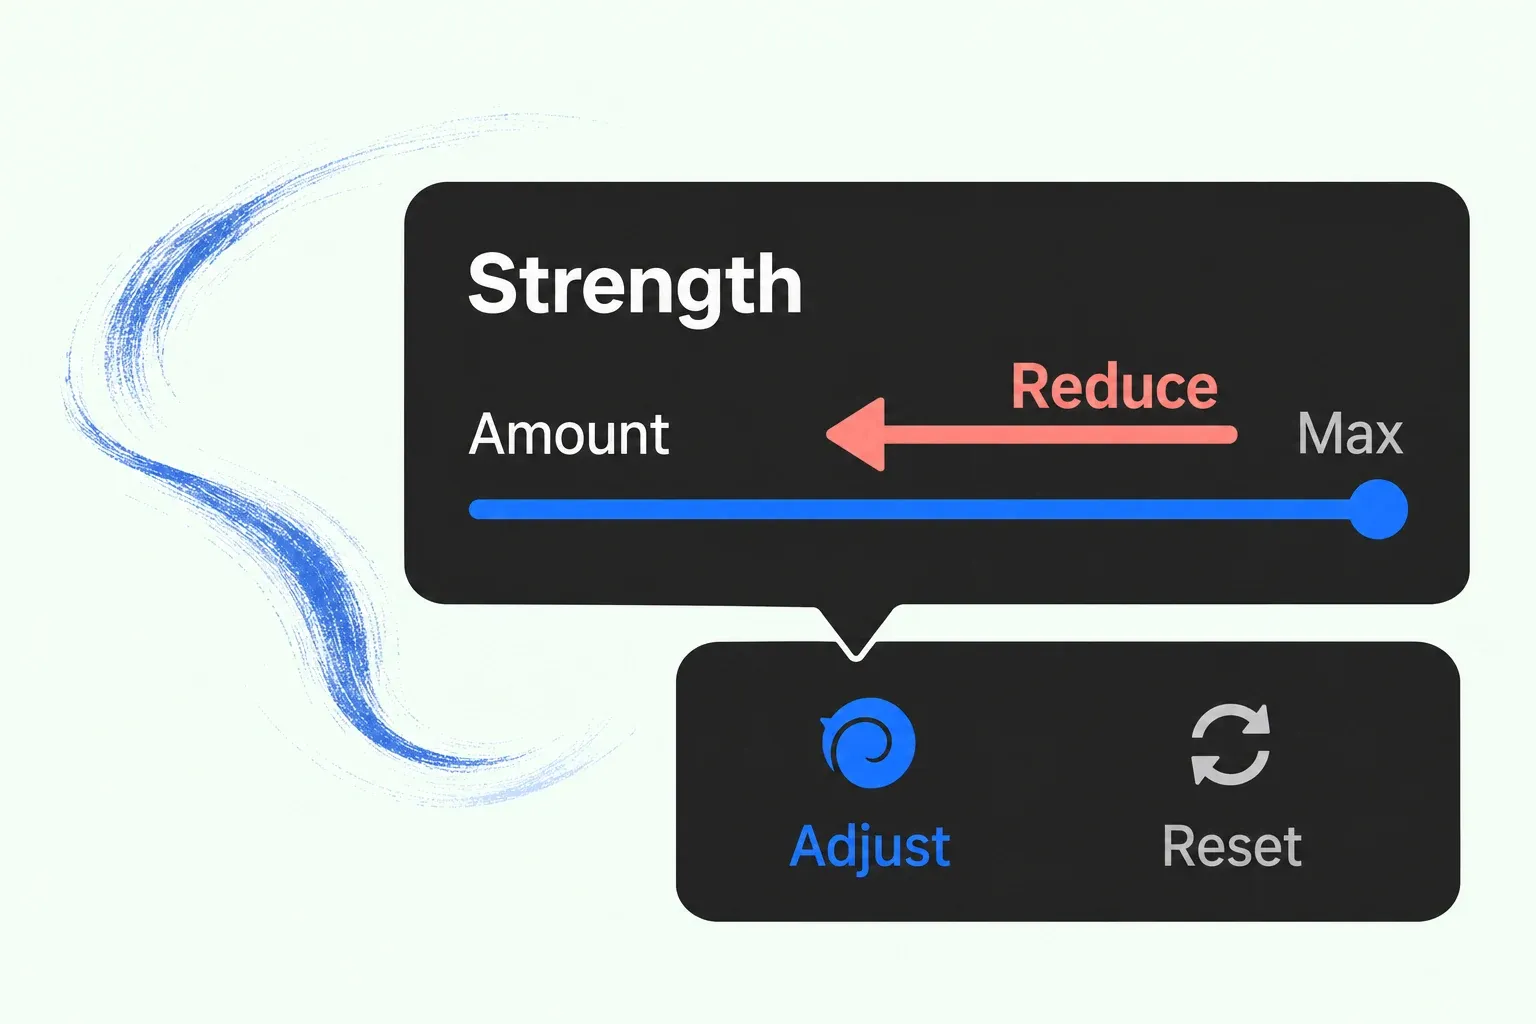
While still in the current Liquify session, Reconstruct paints back the artwork under the current effects in the areas you brush over. Tap Adjust to reveal the Amount slider, then drag it left to reduce the effect already applied. Reset clears the current Liquify changes while keeping you in the interface. Inspect the edited outline at the same zoom before committing. A pleasing close-up can hide a stretched edge elsewhere. After making any Reconstruct or Amount changes you need, tap the Adjustments icon again to commit the changes and leave Liquify.
Decide whether the warp helped
While the adjustment is still open, check the outer contour, nearby straight lines, and any repeated details that should still look consistent. When one edge has moved too far, I'd use Reconstruct, because it paints back only the areas brushed over. If the overall direction is wrong, reduce Amount or Reset and try a shorter stroke. After committing, reopening Liquify starts another adjustment, so Reconstruct isn't a recovery tool for an earlier committed warp. Open Layers, hide the edited copy and show the original. Then hide the original and show the edited copy. Compare the two at the same zoom with only one of them visible at a time. Keep the untouched layer until the composition is approved. If the problem is selecting a specific part of the artwork rather than bending its pixels, start with the site's selection guide instead of treating Liquify as a general selection tool.