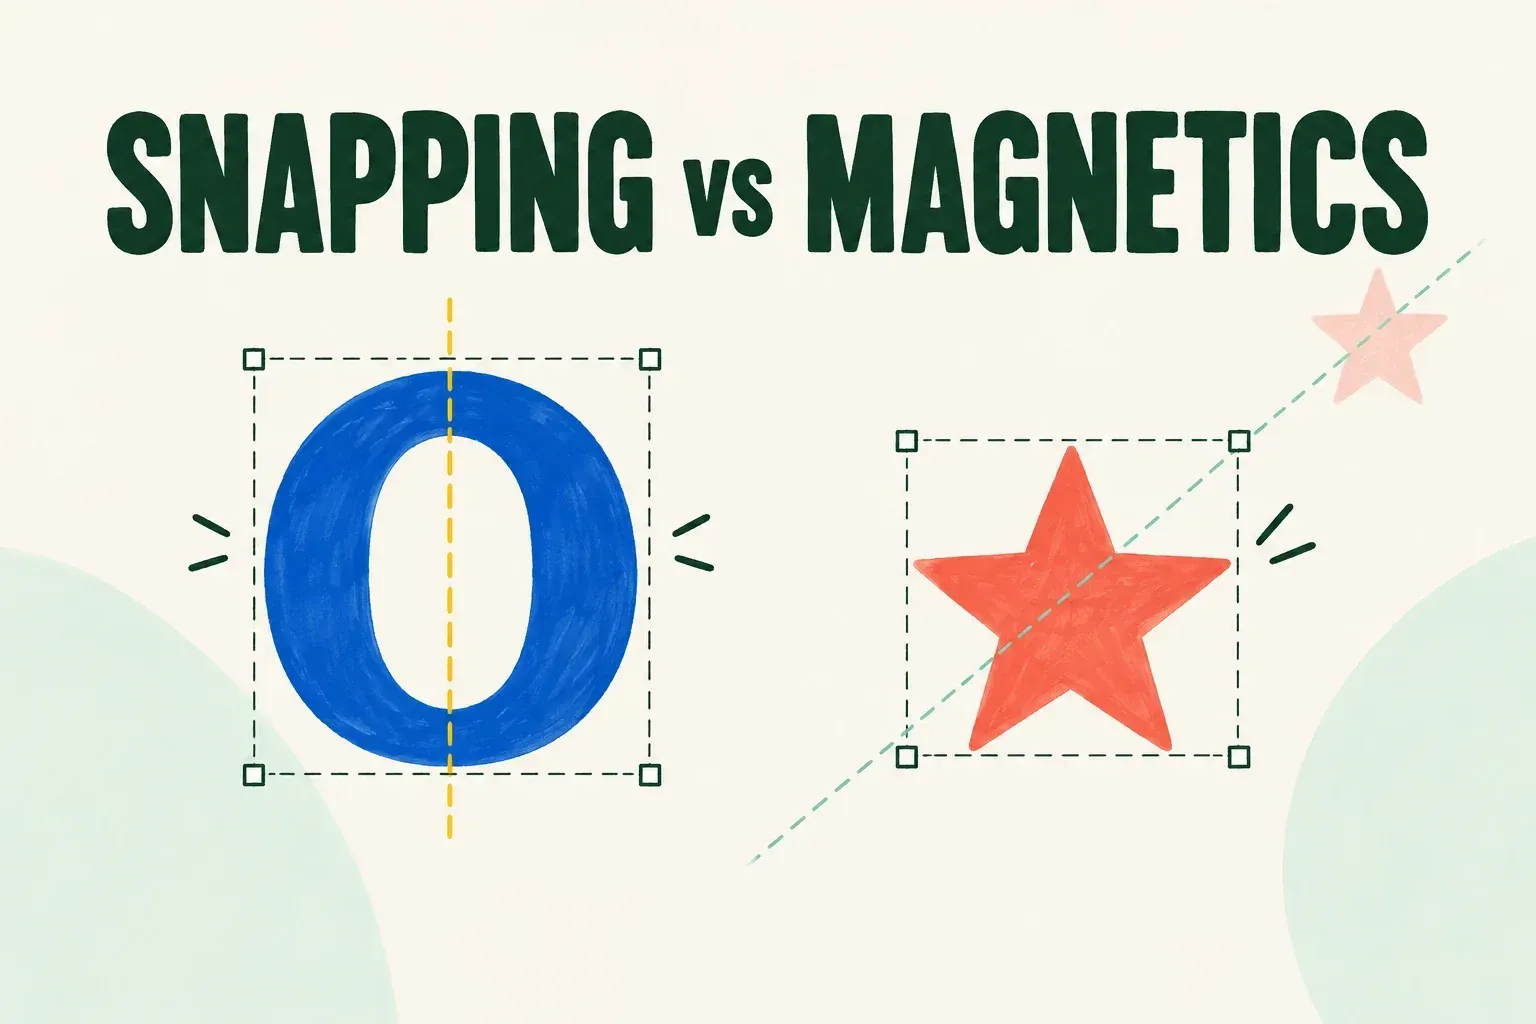
When an object jumps into alignment with another object or the canvas, check Snapping. When it seems to move or scale along one constrained line, check Magnetics. They are separate controls in Procreate's Transform tool. Snapping and Magnetics can operate together, but their settings affect different parts of the movement.
I'd run the comparison on a duplicate, so the original stays untouched. The sequence below starts from an object on a layer you can identify in the Layers panel:
- Open Layers with the overlapping-squares button at the top right. If several layers are selected, tap the word Layers to open its menu and choose Deselect All; the current active layer remains selected. Then tap the source layer. Check that it is the only bright-blue active layer, with no dark-blue secondary selections.
- Swipe left on that source layer and tap Duplicate. Tap the resulting working copy. If any other layer is still selected, use Layers > Deselect All, then tap the working copy again. Before continuing, confirm that only the copy is bright blue and no layer is dark blue: Transform affects every selected layer, so the original must be unselected.
- Tap the arrow-shaped Transform button in the top menu. It selects the current layer's contents and opens the Transform toolbar. Check the dashed bounding box around the content you intend to move.
If it jumps toward an edge or center, inspect Snapping
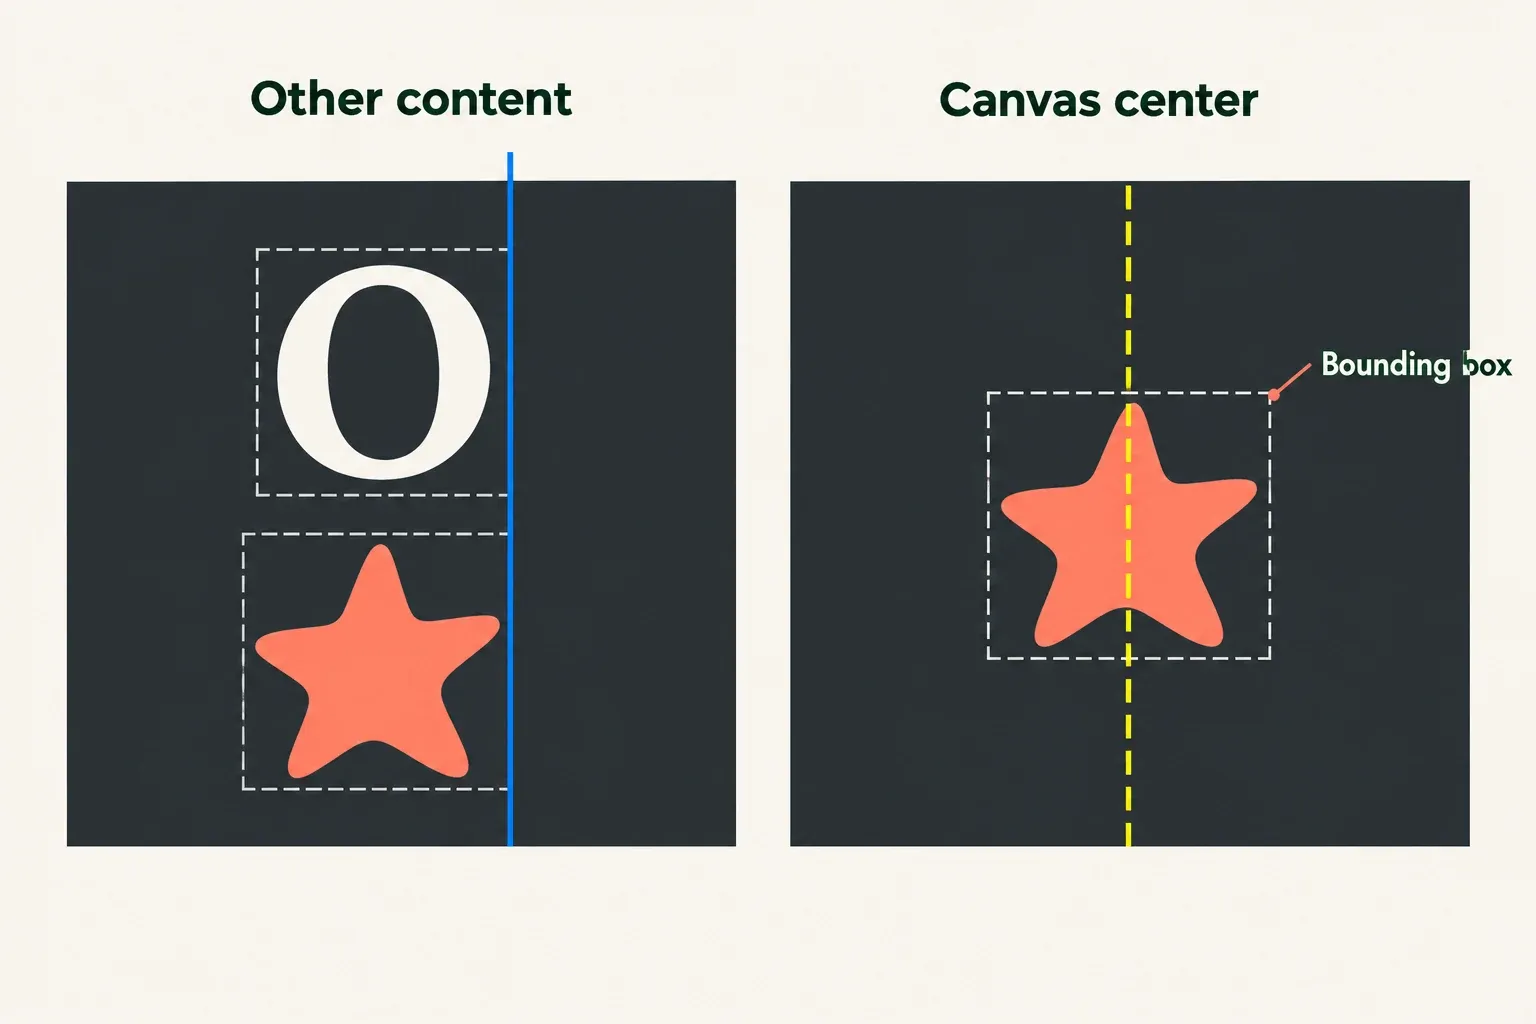
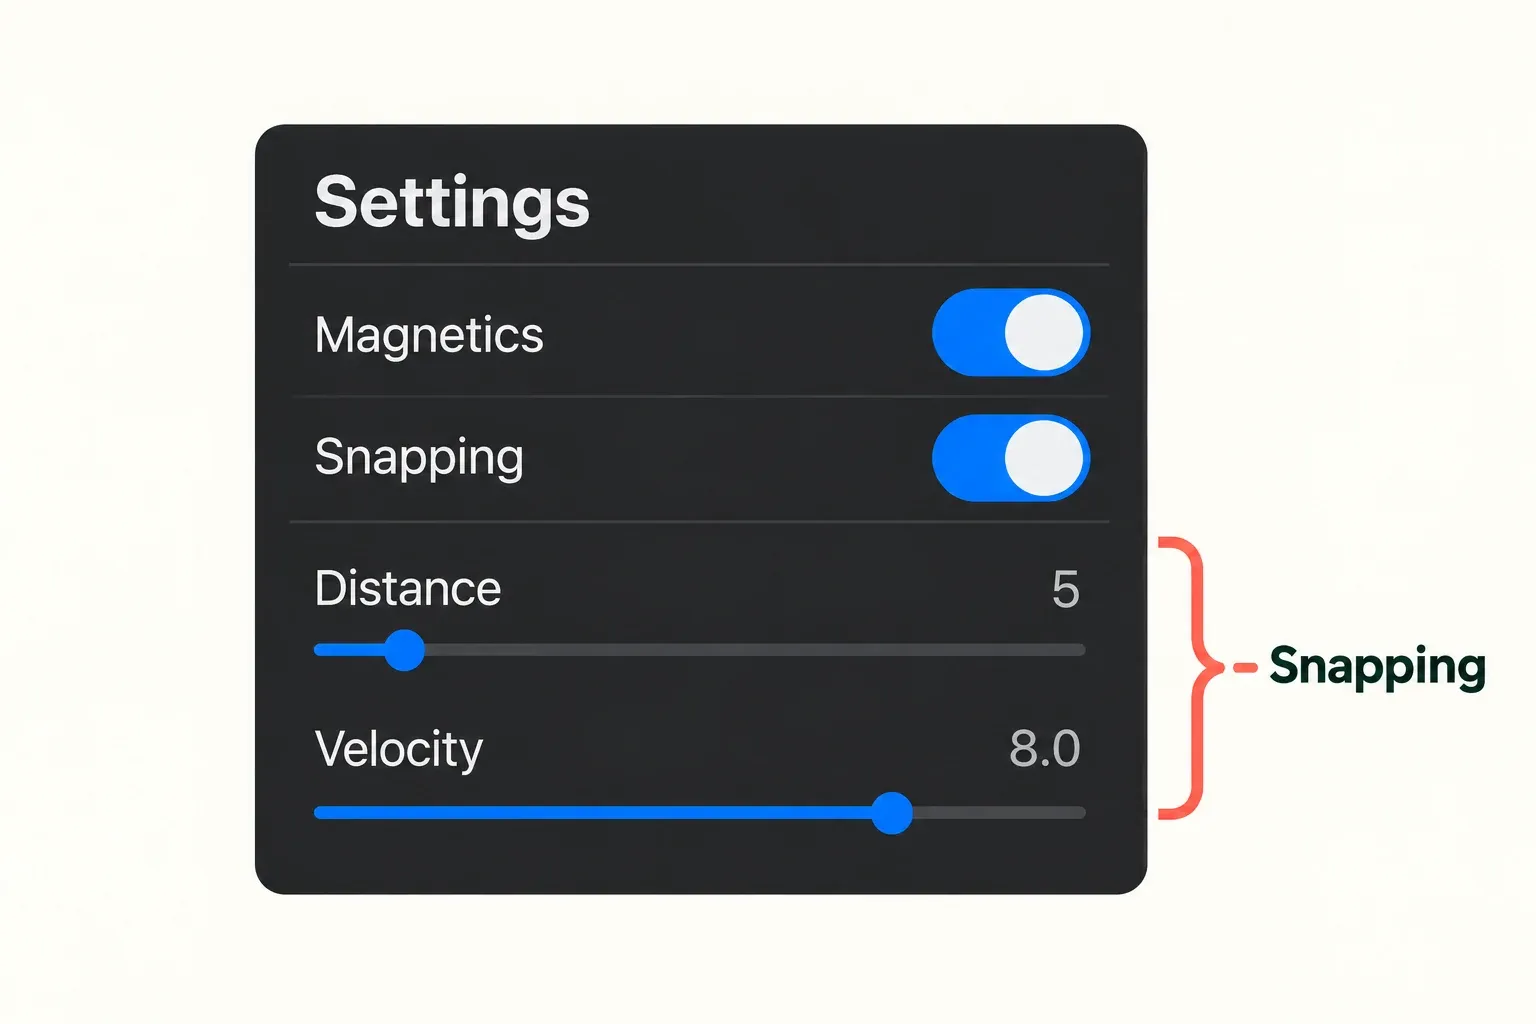
Tap Snapping at the far left of the Transform toolbar to open its Settings panel. Inspect the Snapping and Magnetics toggles separately. With Snapping enabled, blue guidelines help align the content with other images, and yellow guidelines help align it with the canvas. Procreate calculates snapping from the bounding box, so judge that box rather than just the painted contour.
The Distance slider sets snapping proximity in pixels, so a larger value lets the content catch an alignment point from farther away. The Handbook gives two examples: at 1, an object can snap within one pixel of another element, and at 50, it can jump to a guide or object within 50 pixels. If a jump happens too early for your placement, lower Distance and repeat the drag on the working copy.
Velocity controls movement-speed sensitivity. At None, movement doesn't activate Snapping guidelines. At a low value, guides activate only during slow movement. At Max, available guides activate unless you move the content quickly. If Snapping is on but guides don't appear, check that Velocity isn't None and try a slower drag. I'd change one slider at a time, so each result traces back to a single adjustment.
Distance and Velocity apply only when Snapping itself is enabled; they do not change Magnetics. Choose sensitivity for the placement you need.
If motion follows a line, inspect Magnetics
In the same Settings panel, check Magnetics separately. Magnetics lets content slide or scale along a single axis. Dragging inside or outside the bounding box sets a direction that attempts to lock to 15-degree increments. While sliding along an axis guideline, holding another finger on the canvas locks movement to that axis. Release that second finger before judging whether the motion is still restricted.
If the shape jumps to a center or edge, switch Snapping off for the comparison and leave Magnetics unchanged. If it follows a constrained line, switch Magnetics off and leave Snapping unchanged. With both symptoms, compare the toggles separately: restore the first toggle to its previous state before changing the second. Keep both enabled when you want alignment along a constrained direction.
Check the result without confusing other transform settings
When the working copy moves as intended, choose the toggles you want for the final placement. If you want to discard the adjustments made during this still-active Transform session, use Reset. To keep the placement, tap Transform to commit and exit. Tapping outside the bounding box is a Nudge gesture in Freeform, Uniform and Distort modes, so finish with the Transform button.
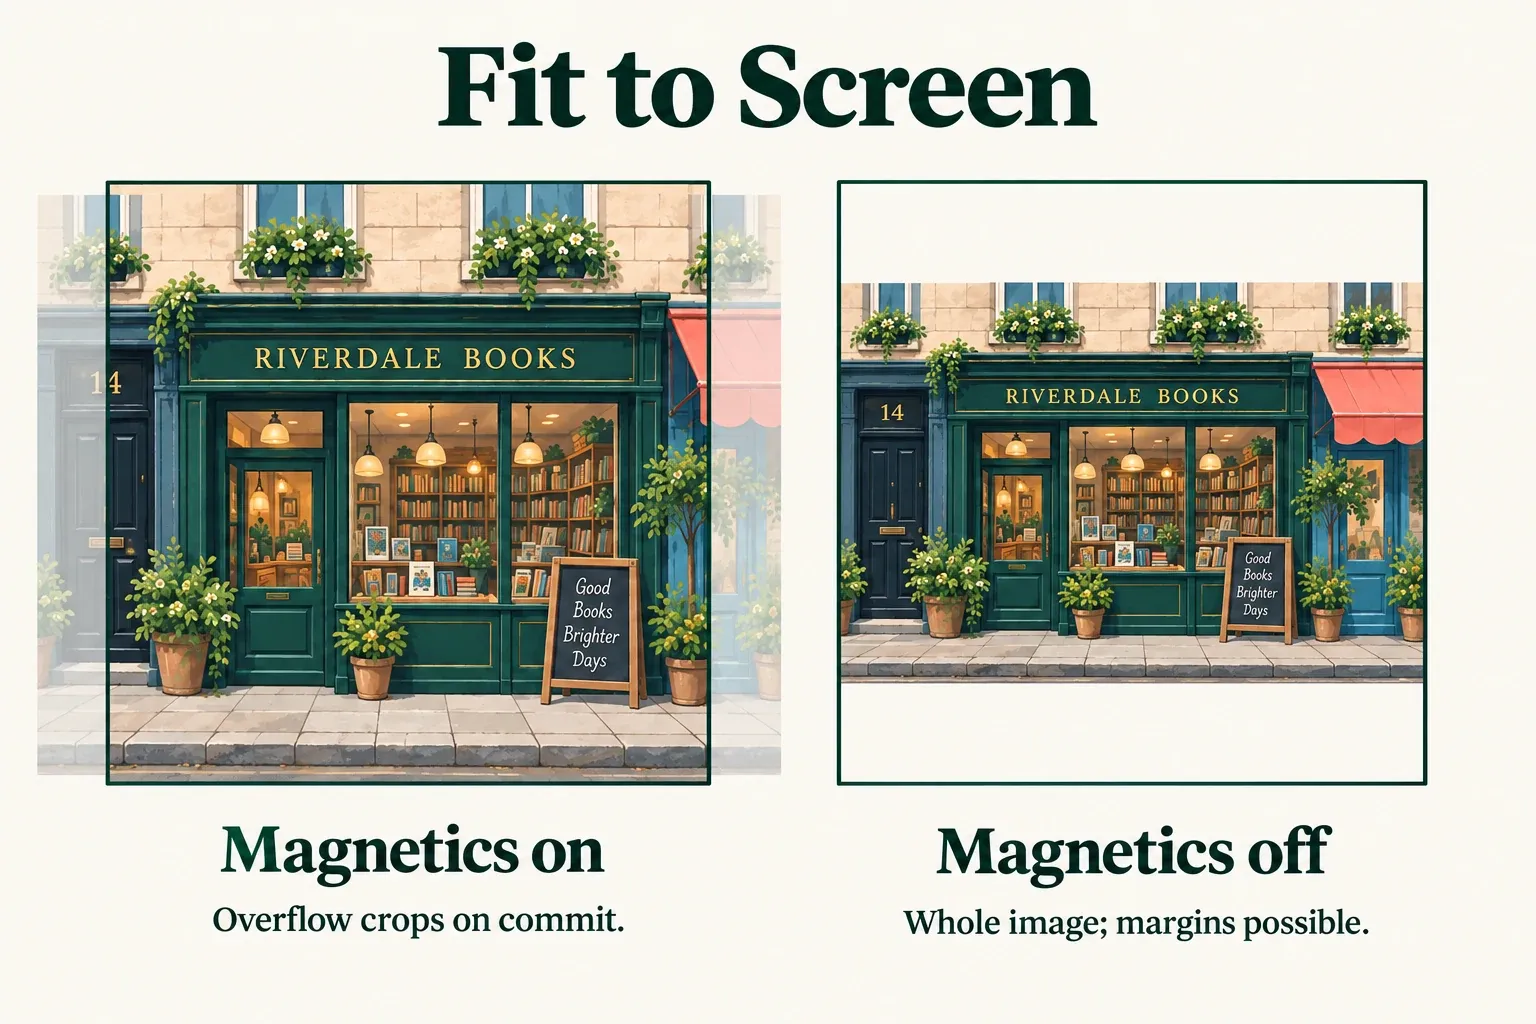
For Fit to Screen, I'd check Magnetics before committing. With Magnetics on, it maximizes canvas coverage, and any content overflowing the canvas is cropped on commit. With Magnetics off, the whole image fits within the canvas, which may leave margins.
Watch the object at the intended final size and look for the guideline color or axis as you move it. Snapping and Magnetics control where the content goes. The Transform interpolation guide explains a separate choice about how pixels are recalculated during scale or rotation. A blurry edge after enlarging artwork isn't evidence that the alignment toggle failed.