For a deliberately hard, pixel-like edge, I'd start by comparing Nearest Neighbor, because it samples only the nearest pixel. For a smoother painted edge, compare Bilinear and Bicubic on independent copies of the same source. All three interpolation options belong to Transform. There's no universal best setting, so choose the finished result that preserves the edge you want at the intended viewing size.
Where the choice appears
On a fresh working copy, select the layer you intend to transform and check the selection carefully, because Transform affects all selected layers. Tap the arrow-shaped Transform button in the top menu bar: it opens the toolbar and selects the contents of your current layer.
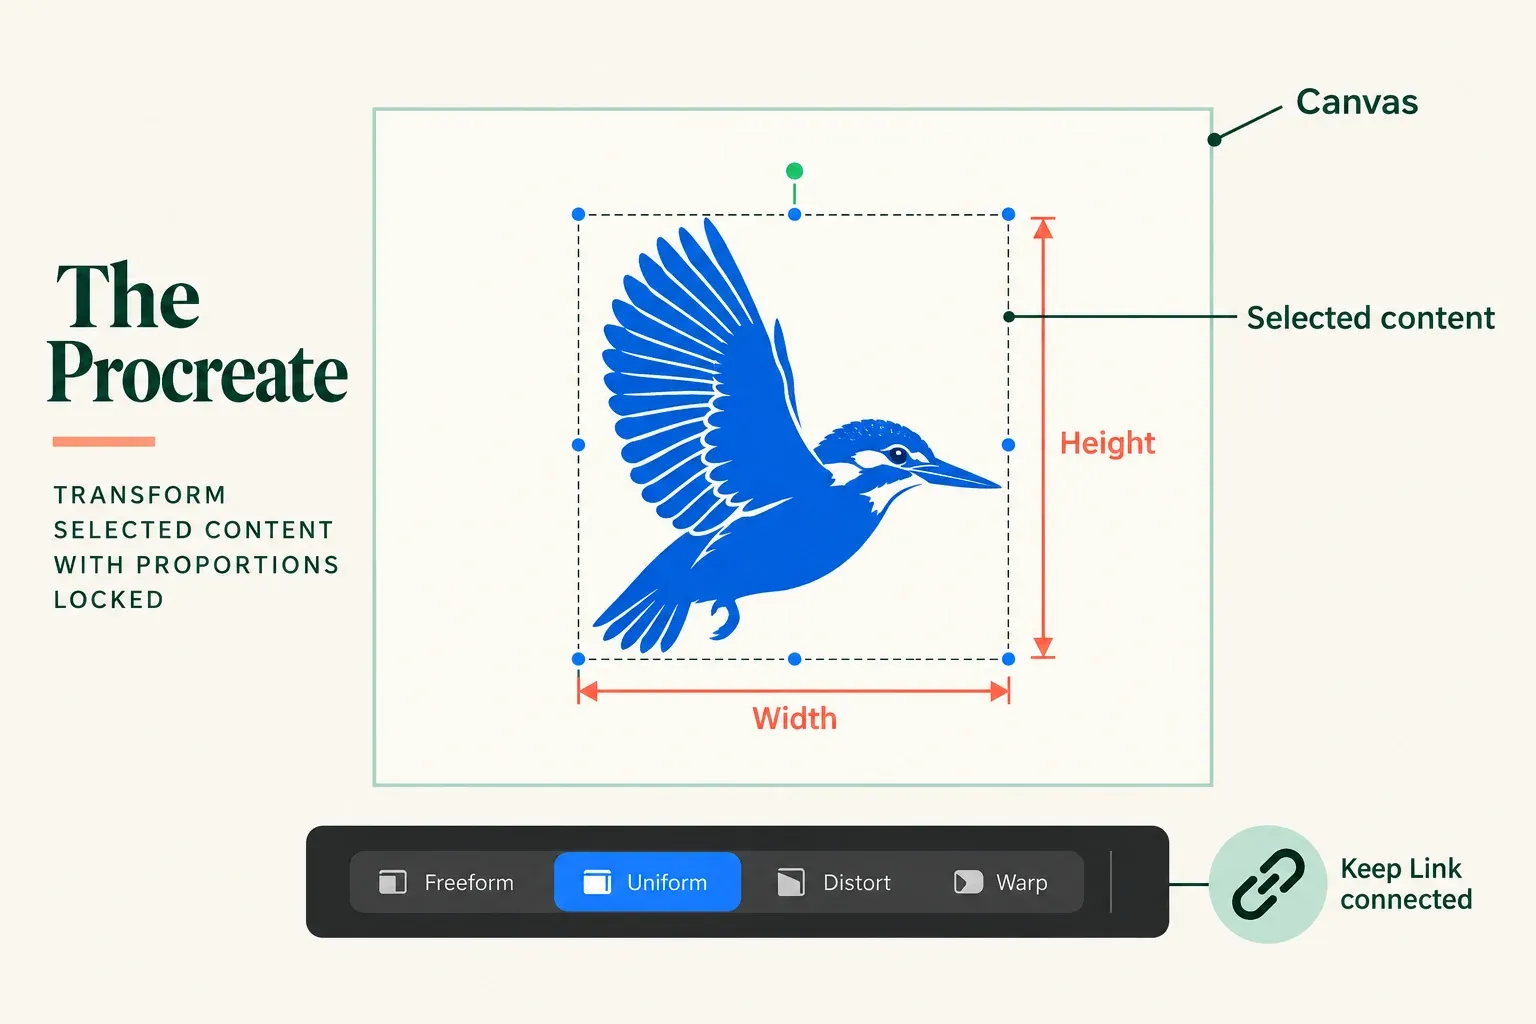
In the Transform bar, the Interpolation control is the circular icon second from the right. Tap its current method name and explicitly choose Nearest Neighbor, Bilinear, or Bicubic. The label changes with the choice even though the icon graphic remains the same. Read the resulting name before resizing or rotating the copy.
Interpolation is the way Procreate calculates new pixels when artwork is scaled, rotated, or otherwise transformed. It can't recover detail that was never in the source. A setting that looks clean at a small preview can expose a hard staircase or a soft fringe when the same edge is viewed at its delivery size.
Compare the edge, not just the menu names
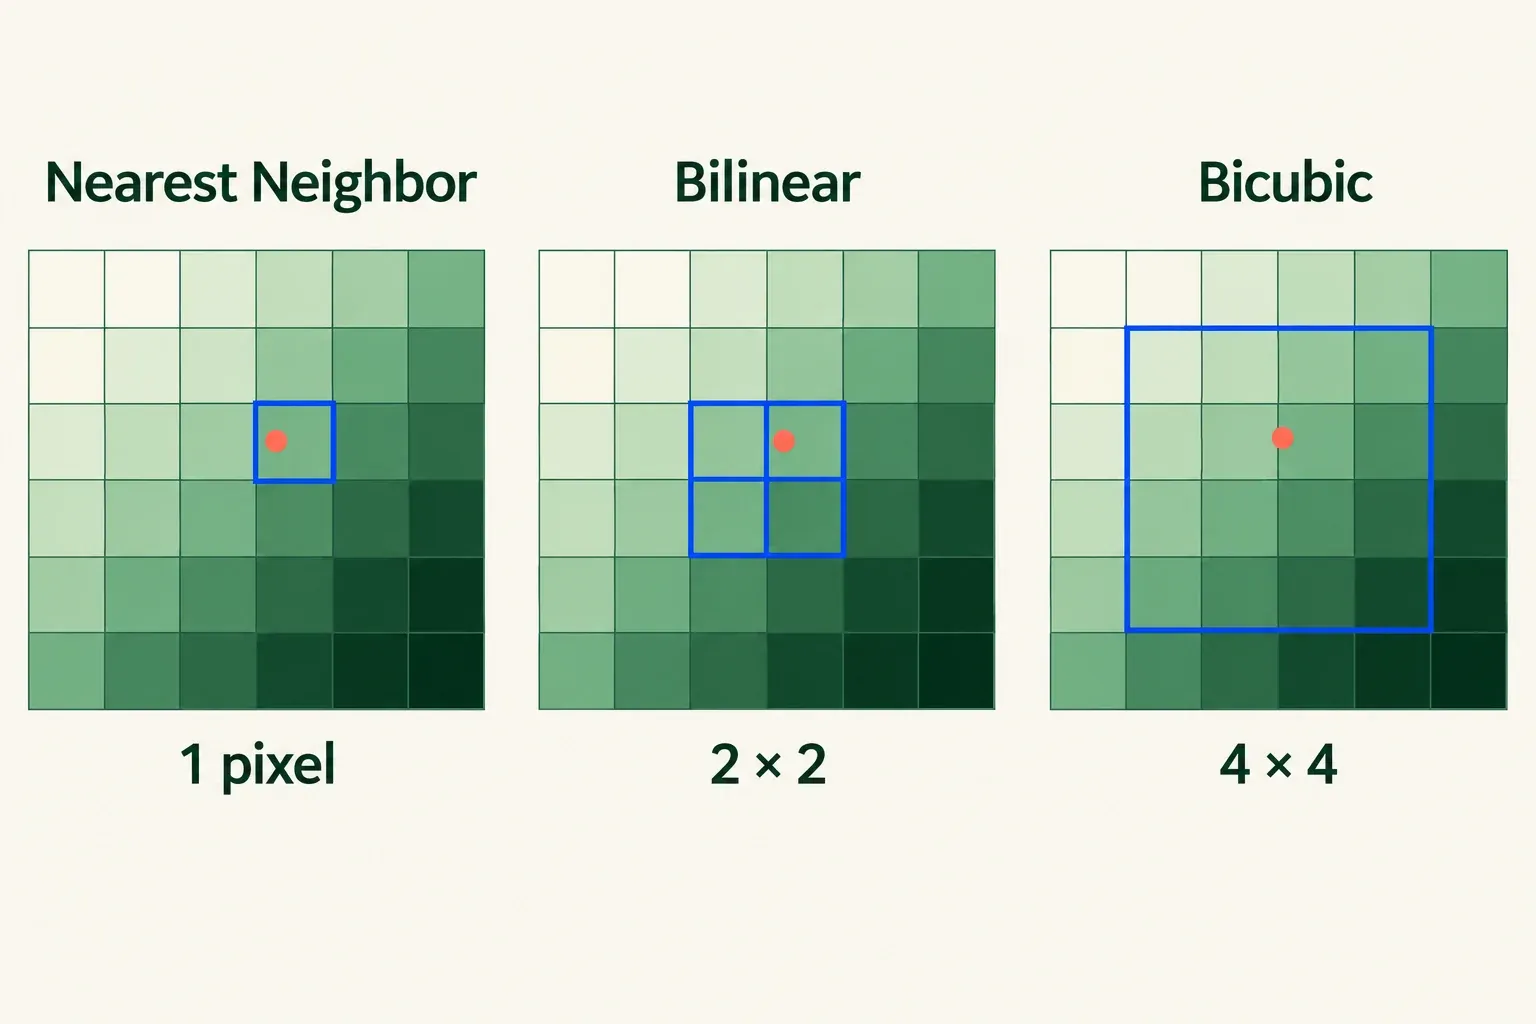
Nearest Neighbor uses the simplest calculation. It uses information from the nearest pixel to the interpolated point, and the result can look jagged. That makes it a useful starting comparison when a stepped contour is intentional, such as a pixel-style element. It doesn't promise that every crisp drawing will improve.
Bilinear uses a 2-by-2 group of surrounding pixels and averages them with weights. The Handbook says it usually gives a smoother result than Nearest Neighbor. Bicubic considers 16 surrounding pixels and gives closer ones more weight. Smoothness isn't always the aesthetic goal, so compare thin line art or a deliberately textured edge before choosing it.
Keep the source intact while deciding
A layer duplicate lets you make changes without affecting the original. The comparison below uses separate artwork copies from the Gallery. Decide the target size and angle first. Every resize repeats interpolation, and repeated resizing can degrade edges, so I'd start each candidate from the untouched source rather than resizing one candidate repeatedly.
- In the Gallery, swipe the untouched artwork's thumbnail left and tap Duplicate. Repeat from that original to make a separate copy for each method you want to compare. Keep the original unchanged.
- Open the first copy and select the intended working layer. If you are comparing several layers, keep that same scope on every copy and check that unrelated layers are not selected. Tap the top-bar Transform arrow, choose the first interpolation method, and confirm its label.
- For proportional resizing, select Uniform. Tap a blue corner or side node of the bounding box to open numeric input, keep the Link icon between X and Y connected, and enter the target width or height in whole pixels. Use the same value on every copy. These dimensions describe the selected content's bounding box, not the canvas; the connected Link preserves its proportions.
- If rotation is part of the comparison, tap the green Rotation Node above the bounding box and enter the angle. Use the same angle and direction on every copy. In this numeric input, positive degrees rotate left and negative degrees rotate right. Keep the whole transformed area inside the canvas so you can inspect the same edge on each copy.
- Tap the Transform button to commit the changes and exit Transform mode. Repeat the procedure on the next fresh source copy with another method, using the same target dimensions and angle. Compare the finished copies at the same viewing scale, then check the same contour against the untouched original and at the intended delivery size.
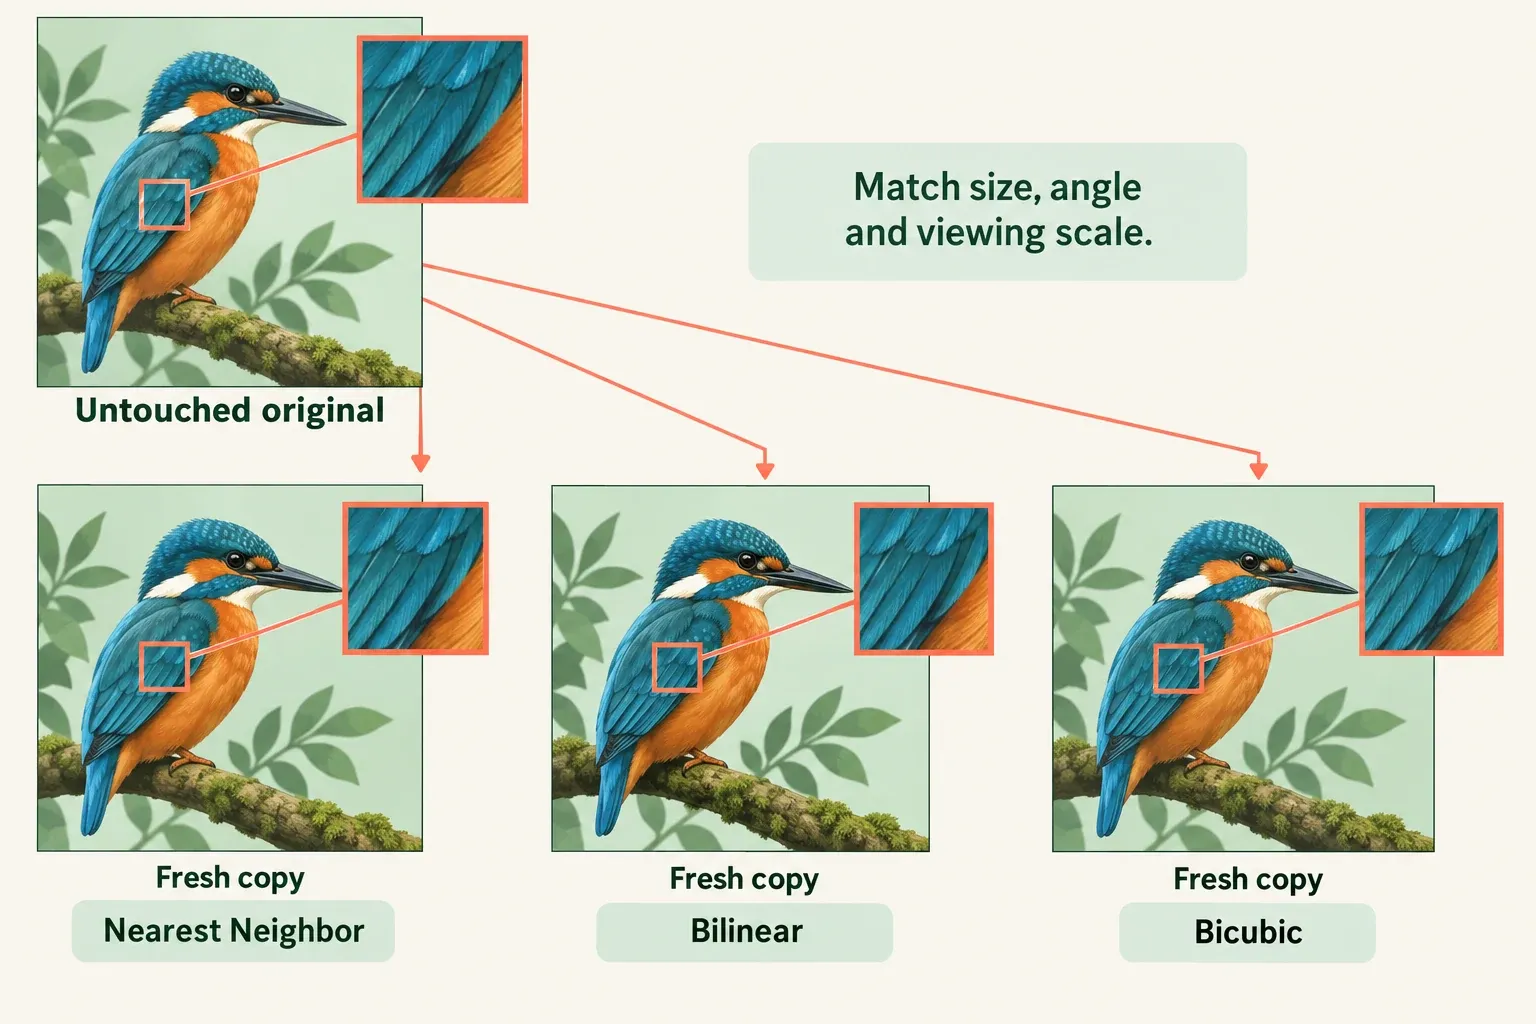
For pixel art, check that the intended stepped contour survives. For a painted edge, compare the transition into the background. For thin line art, check that small gaps and separate strokes remain legible. Inspect those details at the final viewing size before choosing a method.
If you change the target or want to compare another method, return to a fresh copy of the untouched source. Keep the chosen finished copy and the original separate so later edits don't turn the comparison into a chain of resizes.
If the artwork is already soft before you transform it, interpolation alone won't fix the underlying issue. The blurry-export diagnosis separates source resolution, transformation, file export, and destination recompression.