To move a Procreate drawing into Photoshop with its layers, open the artwork on your iPad, choose Actions → Share → PSD, and save or send the exported file. Before opening it in desktop Photoshop, prepare the color-profile settings below so the first comparison preserves the known embedded profile. Keep a separate .procreate copy so you can return to the original artwork.
The file transfer is straightforward. Before continuing the drawing in Photoshop, check the layers you need to edit and compare the image with a flat reference. A PSD can retain separate paint layers without reproducing every Procreate editing control.
Export a layered PSD from Procreate
First, save a native copy through Actions → Share → Procreate. The native format preserves Procreate's layers, masks and effects. I recommend keeping this copy outside the Gallery before simplifying anything for Photoshop; it gives you an original to return to if an edit goes wrong.
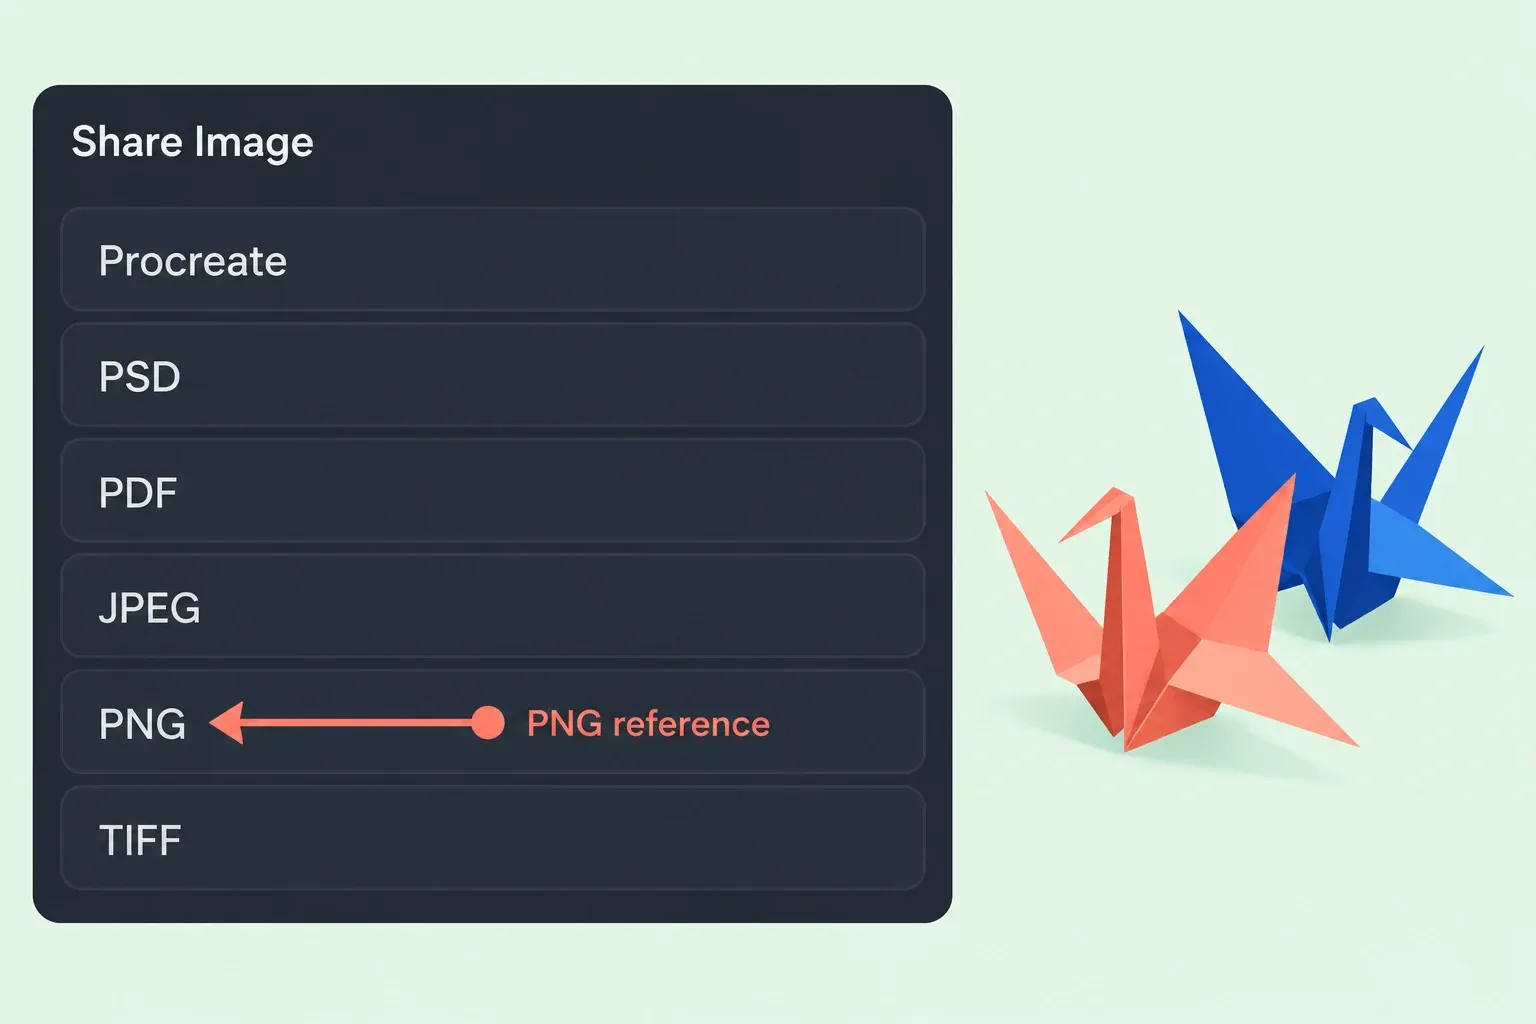
- Open the artwork, tap the Actions wrench, then choose Share → PSD in the image-format list.
- In the iPad share sheet, choose Save to Files or an available file-transfer destination. Give the export a name you can distinguish from the native original.
- Get that same
.psdfile onto the computer running Photoshop. If you saved it to a cloud service, retrieve the file through that service. Send the file itself rather than a preview image.
For a Mac, an export saved to iCloud Drive is accessible through Finder. Saving under On My iPad keeps the export on the iPad, so you still need to transfer it. Share-sheet destinations depend on the apps installed on your device; exporting a file to cloud storage does not mean the whole Procreate Gallery has been synchronized.
Prepare Photoshop before opening the file
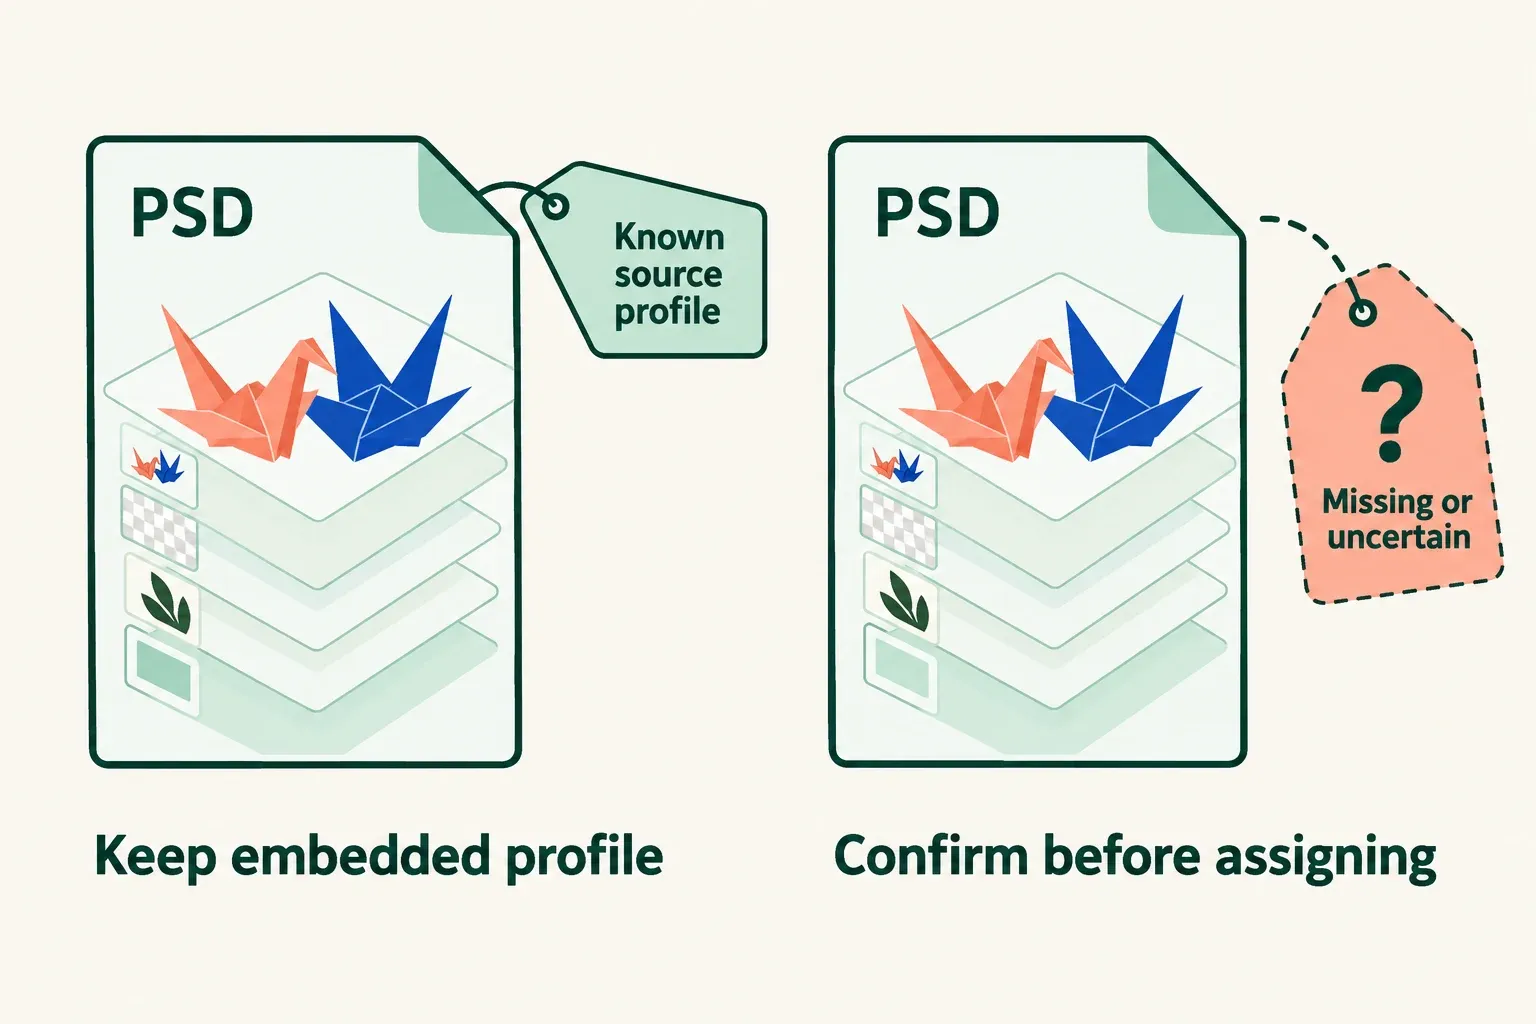
In Procreate, note the exact source profile under Actions → Canvas → Canvas information → Color profile without changing it. I recommend retaining that known profile for the initial comparison; converting now would add another change to diagnose.
- In desktop Photoshop, choose Edit → Color Settings. Record the existing policies and warning-checkbox states before changing them, so you can restore your previous setup afterward.
- Under Color Management Policies, choose Preserve Embedded Profiles for the relevant RGB or CMYK model. This keeps an embedded profile; Convert to Working Space converts colors to Photoshop's working space.
- Enable Profile Mismatches → Ask When Opening and Missing Profiles → Ask When Opening, then select OK. Adobe's opening alerts let you review mismatched and untagged files; they are off by default, so a quiet open alone proves nothing about a match.
If an embedded-profile mismatch warning shows the known source profile, choose Use the embedded profile, then OK for this first comparison. If the profile is missing or its identity is uncertain, stop the color comparison and identify the source profile before assigning one. Do not guess a profile or convert the artwork to make the warning disappear.
Open the exported PSD
With that preflight complete, choose File → Open, select the actual PSD, then Open. Handle any profile warning as described above. This opens the exported document for inspection.
Keep a flat reference for comparison
From the same artwork state, export a PNG through Actions → Share → PNG. Procreate's PNG export is flattened and lossless, with support for transparency. Use it to compare the finished appearance; use the PSD to continue editing separate layers.
Using the same opening preflight, open the PNG alongside the PSD in Photoshop, retain its known embedded profile and inspect corresponding areas at 100% zoom. If either file has a missing or unconfirmed profile, resolve that before judging a color difference. Start with edges and overlaps that depend on blending. For a cutout, check the background settings described in the transparent-PNG guide before exporting the reference. A matching picture alone cannot confirm that text or a mask remains editable.
Inspect the Photoshop document
Procreate explicitly documents PSD export preserving layers, layer names, opacity, visibility and blend modes. Use those properties as your starting check. Find the named paint layers and confirm that the visible and hidden elements match the source.
Then try the change you need on a working copy. If you need to recolor a foreground object, make sure you can edit that object separately. If you need to revise wording or a masked edge, inspect that element's actual controls in Photoshop. The documented export list does not establish that every Procreate feature becomes an equivalent editable Photoshop feature.
Keep the original files while resolving a difference. Simplify or rebuild the affected element in a separate version only after identifying the required edit. Flattening the entire original to solve one compatibility problem removes the other layers you may still need.
One layer or a Smart Object
If Photoshop shows one layer, first confirm that you opened the exported PSD rather than its PNG or JPEG preview. A flattened image cannot supply the drawing's separate layers, and a PSD cannot restore layers you already merged in the source.
Also check the command you used. File → Place Embedded and File → Open As Smart Object create a Smart Object. Its single layer in the outer document can contain an editable PSD. Double-click the Smart Object thumbnail to inspect its contents, or open the original export with File → Open. You can inspect the contents directly, so leave the Smart Object intact during this check.
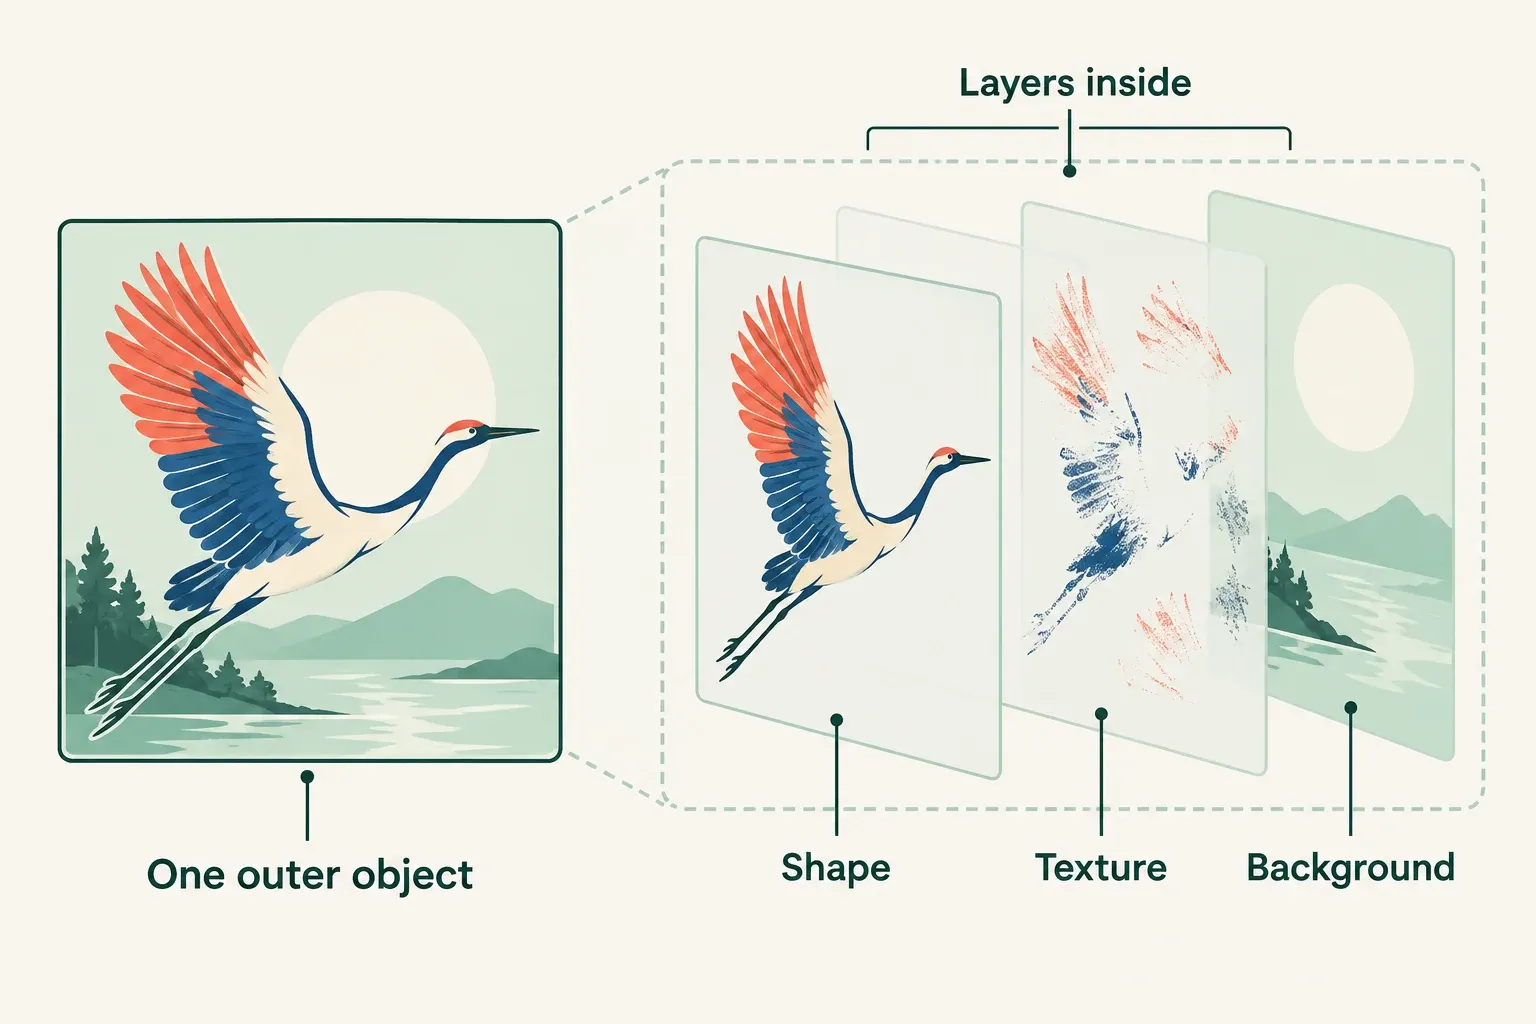
If the PSD opened as a normal document still lacks a required layer, return to the native Procreate copy and inspect its structure. Re-export the version containing the separate layers you need. Changing a flat file's extension to .psd cannot recreate them.
Check the color profile before changing the art
A color difference deserves a profile check before repainting. In Photoshop, find the document information area at the bottom of the window, select its right-arrow menu, then choose Document Profile to read the current embedded profile. Compare that name with the source profile you recorded in Procreate. A missing or unexpected profile needs resolving before a reliable color comparison.
If you paste or drag the reference into another document, enable Profile Mismatches → Ask When Pasting in Color Settings before combining them. That alert concerns colors moved between documents; opening the two files separately uses the opening checks above.
Once the files' profiles are accounted for, compare the artwork in the same Photoshop viewing environment. This narrows the comparison; it does not establish identical appearance on every screen or printer. Choose any conversion for the final destination separately. Procreate's profile menu cannot switch an existing canvas between RGB and CMYK.
When the transfer comparison is complete, return to Edit → Color Settings and restore the previous policies and warning states you recorded if you changed them for this inspection.
Save a separate Photoshop revision
When you continue editing in Photoshop, save a separately named revision and retain the initial export. If you are keeping the document's current profile, Adobe's File → Save As workflow supports Embed Color Profile for PSD. Keep a matching flat reference when the visible appearance changes, so an older PNG is not mistaken for the new revision.
Bring a PSD back into Procreate
Transfer the returned PSD to Files on the iPad. In Procreate's Gallery, tap Import and select it to create a new artwork. Procreate's Gallery import retains supported layers, while inserting a PSD into an existing canvas flattens it. Keep the previous native artwork rather than replacing your only original with the returned version.
The return path has its own compatibility limits. For PSD import, Procreate documents support for locked layers, groups, compatible filters and blend modes, with vector and text layers able to be rasterized. These are import rules, not guarantees about exporting from Procreate. Inspect the returned artwork's required layers and appearance before continuing; a round trip is not a promise that every control remains editable in both applications.