
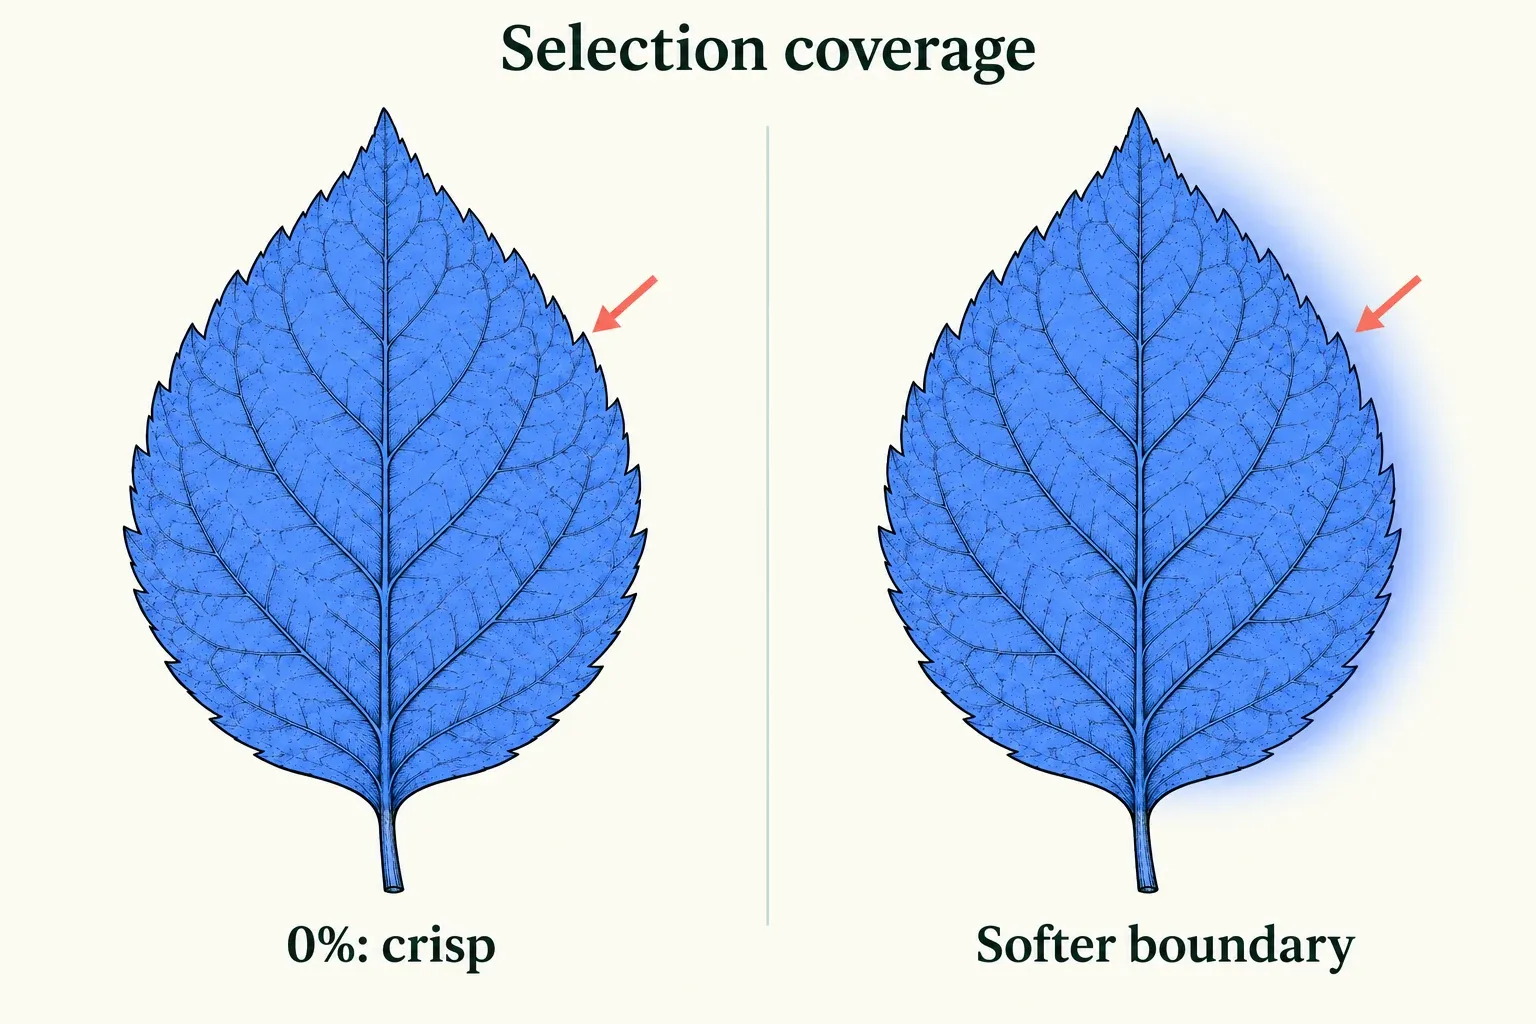
Make a selection in Procreate, then tap Feather in the Selection toolbar. The slider softens the selection boundary as you raise its percentage. At 0%, the boundary stays crisp. The selection preview updates while you move Feather. I'd start with a small change and judge it on the actual artwork before painting, filling, or transforming the selected area.
Select the area you intend to change
Preserve the original before a trial edit. In Gallery, swipe the artwork thumbnail left and choose Duplicate, then open the copy. In Layers, tap the layer you intend to paint on. That makes it the Primary layer, the one receiving your strokes.
Tap the ribbon-shaped Selection button in the top menu. Procreate opens a toolbar with Automatic, Freehand, Rectangle, and Ellipse modes. I'd pick Freehand to trace an irregular shape, and a geometric mode when that matches the object. While you create the selection, a moving dotted line shows its boundary. After you tap another tool, the area outside the committed selection is shaded with moving diagonal lines.
If you choose Automatic instead, tap an area, then tap and hold to invoke Selection Threshold, and drag left or right to adjust it. That threshold changes the selected area. It's a different control from the Feather percentage.
Before softening the edge, check whether the selection includes the intended subject and excludes surrounding objects. In Freehand, Rectangle, or Ellipse mode, use Add and Remove to refine the selected region. In Automatic mode, Add is disabled because tapping another area adds it directly. Invert exchanges the inside and outside. A feathered boundary can't correct a selection around the wrong object. If the underlying selection itself is hard to create, the selection tools guide covers that earlier step.
Apply Feather and inspect the preview
With the selection active, tap Feather and move the slider gradually. A crisp cutout may need no feather at all. A glow, painted shadow, or blended edge may benefit from a softer transition. Feather diffuses the edges of the selection. The picture you get afterward still depends on the edit you make inside that selection.
For a brush-based example, use the working copy to try a short shaded stroke inside a simple leaf-shaped area:
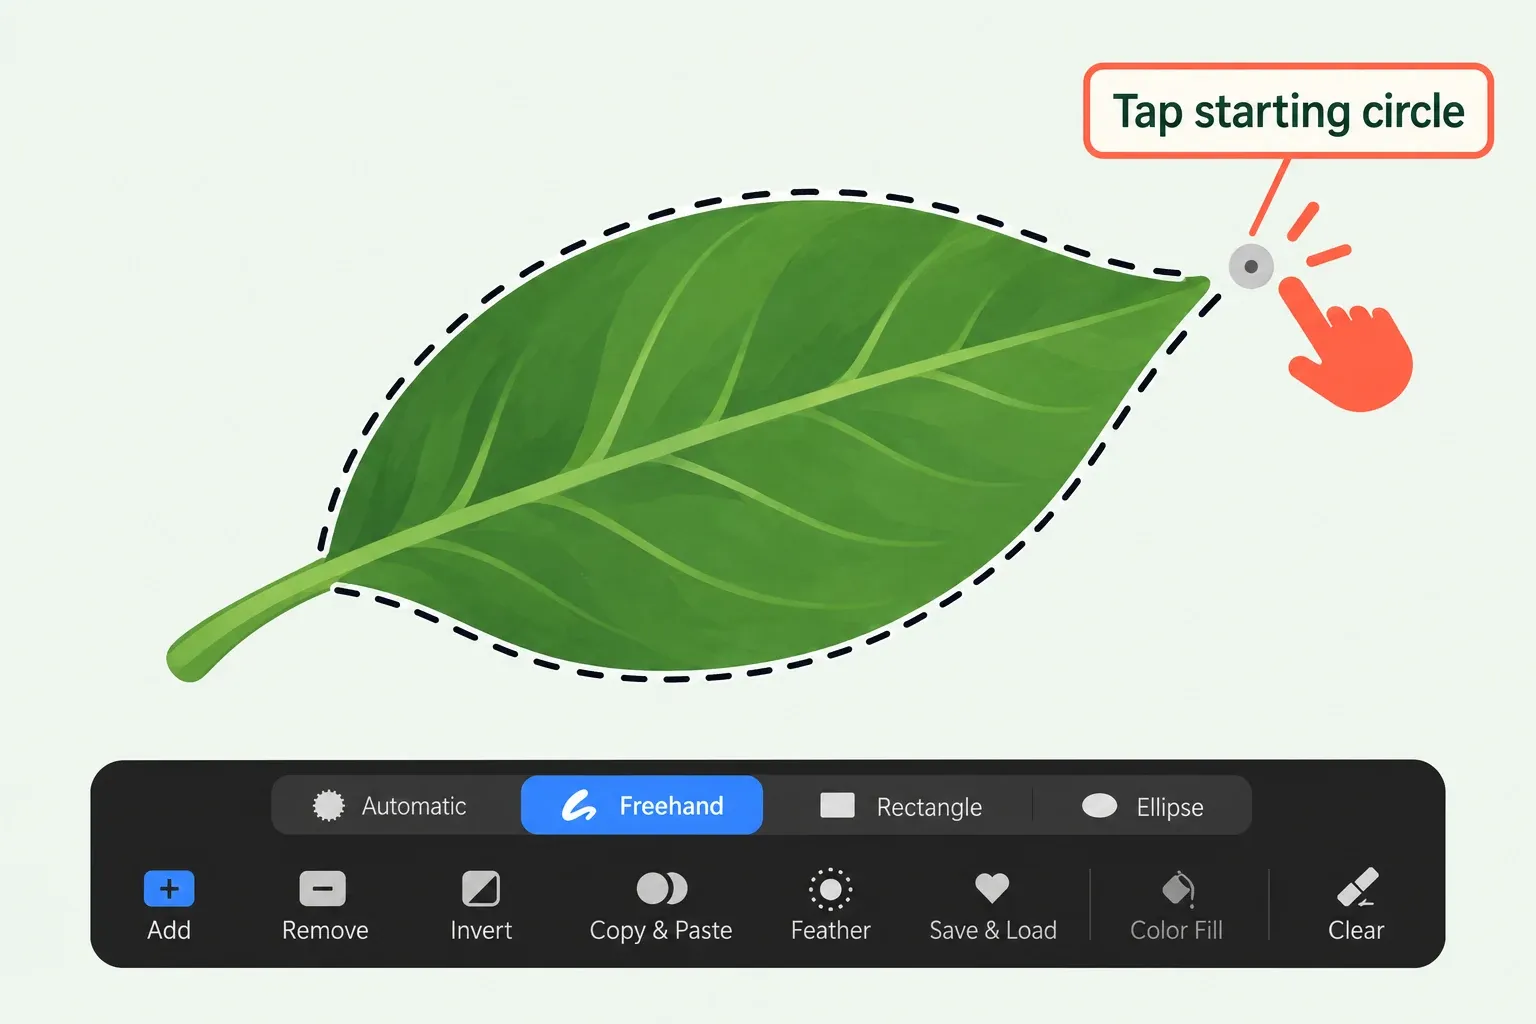
- Before drawing the selection, make sure Color Fill is off. If its Paint Bucket is blue, tap Color Fill again to exit it. When Color Fill is on, newly made selections fill automatically with the current color; this example needs a brush stroke after Feather instead.
- Choose Freehand and trace the boundary you want to edit. Tap the gray circle at the line's starting point to close the selection. Check its shape before softening it.
- Keep the selection active, tap Feather, and adjust gradually while watching the preview. Compare the boundary with 0%; use only the softness the intended shaded stroke needs.
- Tap Paint to edit the selected area, then make the short stroke. Moving diagonal shading outside the region shows the committed selection. Feather has set the boundary; this stroke creates the visible paint result.
- Tap Selection again to exit, then inspect the painted edge and the area around it. Check the artwork close up and at full composition size before keeping the change.
Use the comparison below to choose between a crisp and softer selection boundary. It doesn't prescribe how wide a painted transition will be: judge the stroke you made with your chosen brush, color and Feather setting.
Make the edit, then check the finished boundary
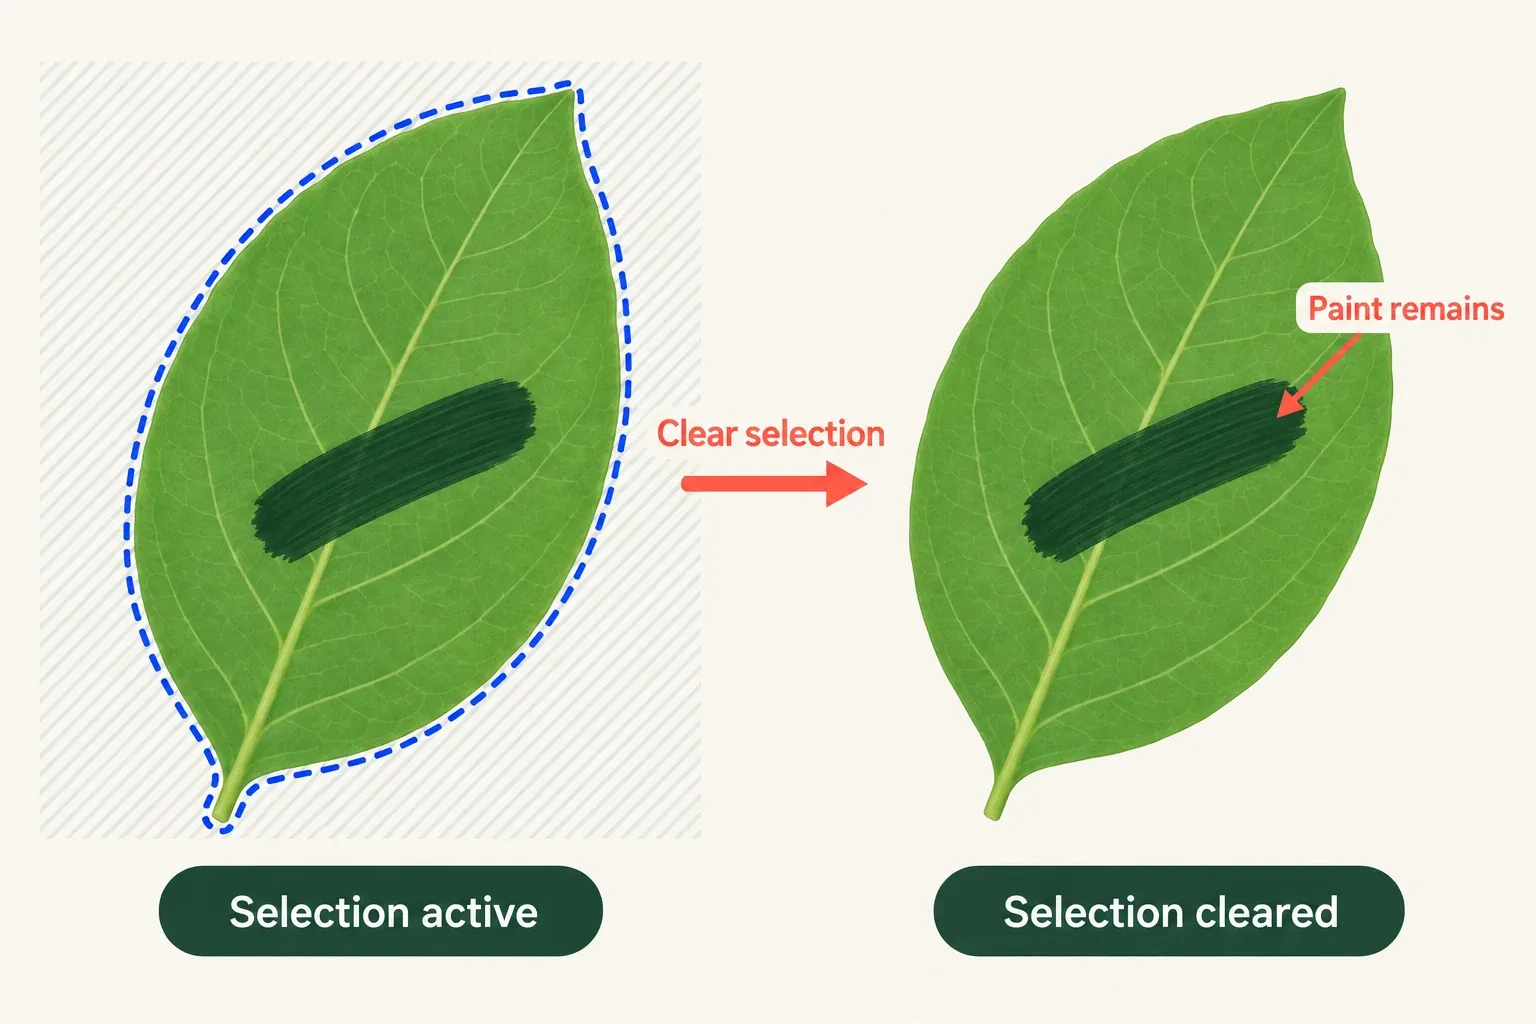
A selection can confine painting, smudging, erasing, filling and transformation to the chosen area. For the painted example, look for an intentional transition and a silhouette that still reads at composition size. If the stroke spills too far or leaves an unwanted halo, undo that edit while it's available or return to the preserved copy. Then reduce Feather or refine the selection for the next attempt. Changing the slider doesn't retract paint already applied.
Clear removes the current selection. With the two-finger Undo gesture enabled and the relevant action still in history, a two-finger tap can undo an accidental Clear. Cancelling or clearing the selection doesn't reverse painting, erasing or other edits already applied. To remove an unwanted stroke, undo that edit itself and check which action was reversed. Returning to Gallery or exiting Procreate clears the Undo states, so inspect the copy before you leave the artwork. The preserved original is your fallback.
Feather changes which pixels an edit can affect near a boundary. That isn't the same as selecting a blurry brush or applying a blanket blur to finished artwork. If a precise edge is essential, I'd return the slider to 0% and use a better-fitting selection, because Feather diffuses the boundary rather than tightening it.