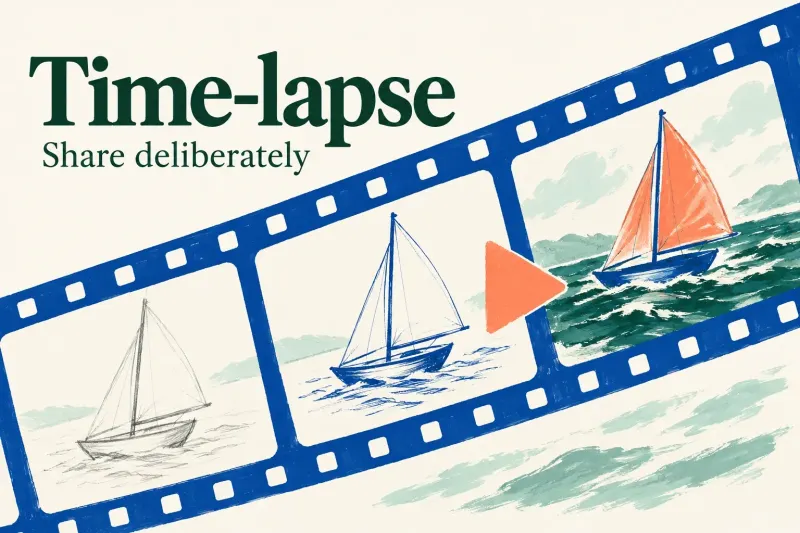
Procreate Time-lapse: Decide What the Recording Is Allowed to Show
Choose recording quality before drawing, keep private references out of the time-lapse, and review the exported process video before sharing.

Choose recording quality before drawing, keep private references out of the time-lapse, and review the exported process video before sharing.
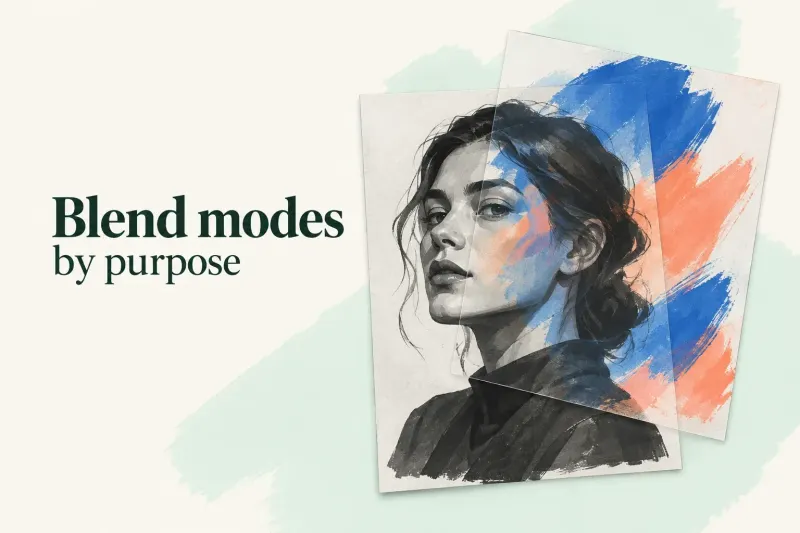
Choose Multiply, Darken, Screen or Overlay for a specific effect, then check the layer opacity and the colors underneath.
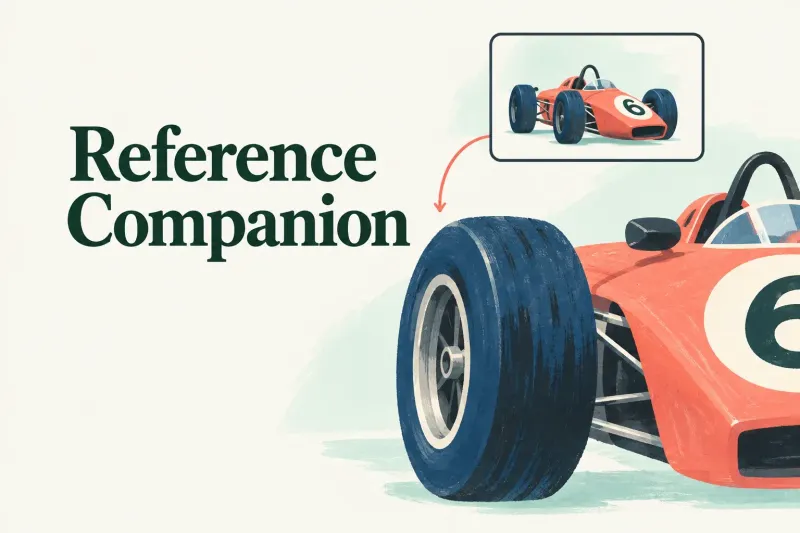
Keep the composition in view with Canvas mode or import a photo into Image mode. Move, resize and close the reference window without changing a paint layer.
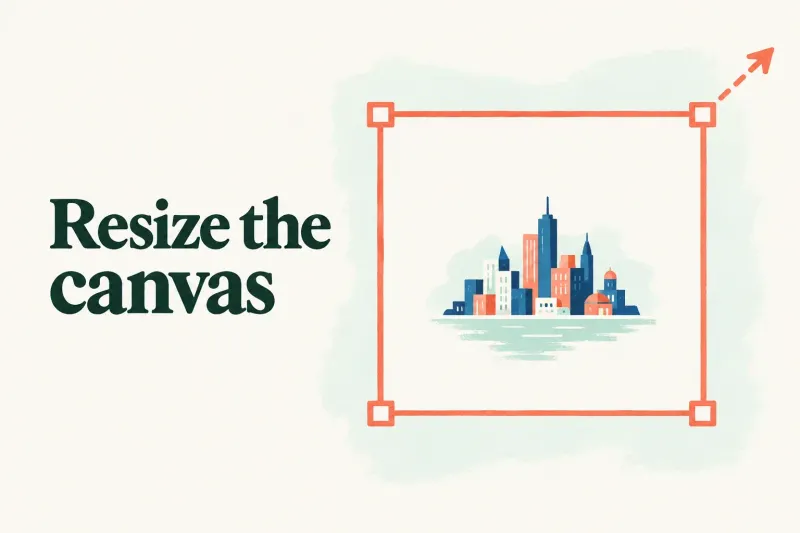
Duplicate the artwork before cropping. Change the canvas boundary for extra space, or enable Resample when the entire image needs new pixel dimensions.
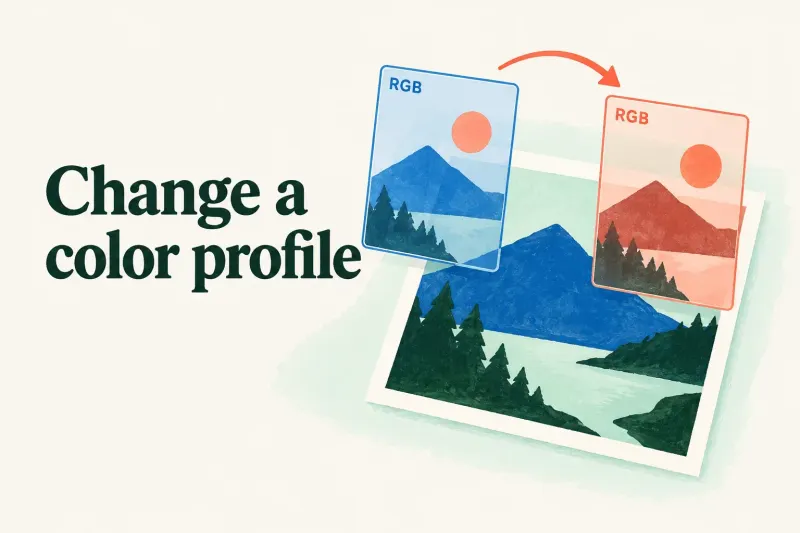
Find the current profile, preserve an unchanged copy, and select a replacement within RGB or CMYK. Check the exported still and time-lapse separately.

Recolor existing pixels with Alpha Lock, protect transparent areas, and use a separate clipping-mask layer when the treatment needs later adjustment.
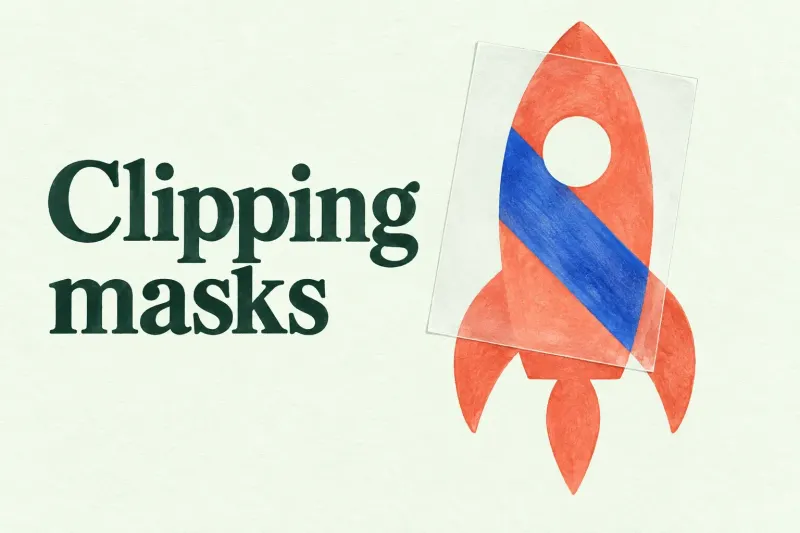
Keep shading on a separate clipping-mask layer, identify the shared base in a clipped chain, and check layer order before repainting a missing effect.
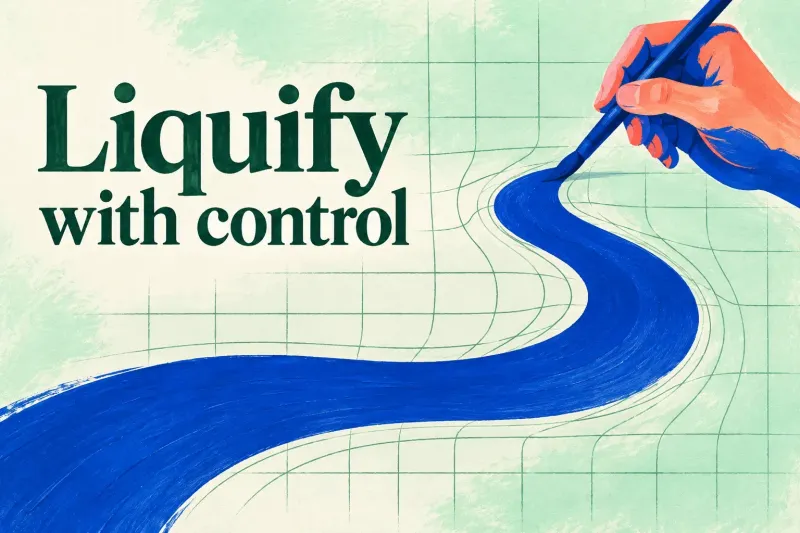
Warp a duplicate with Push or directional Twirl, control the stroke strength, and finish Reconstruct or Amount changes before committing.
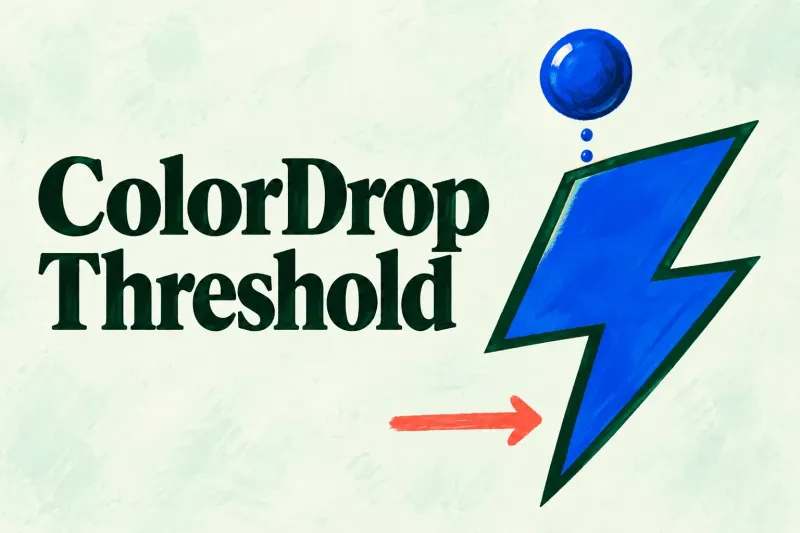
Lower Threshold for a leaking fill, raise it carefully for an inner fringe, and inspect the remembered value before the next ColorDrop.
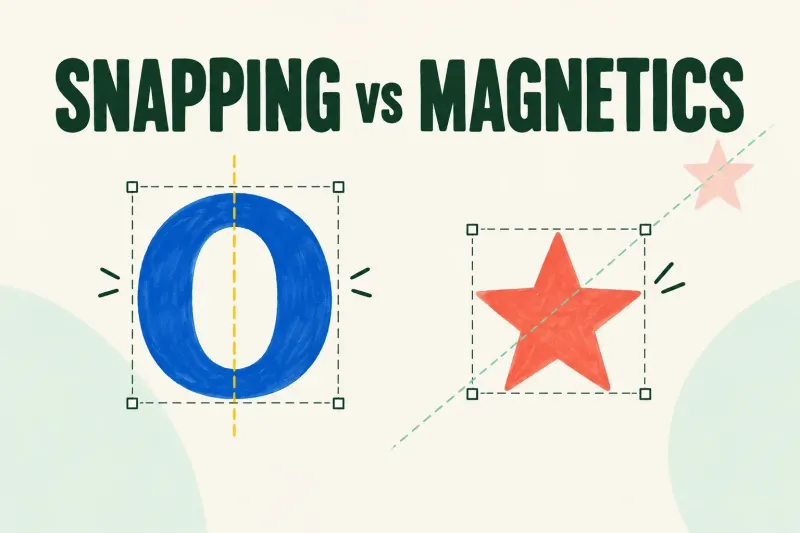
Check Snapping for jumps to an edge or center, and Magnetics for constrained motion. Distance and Velocity adjust Snapping only.
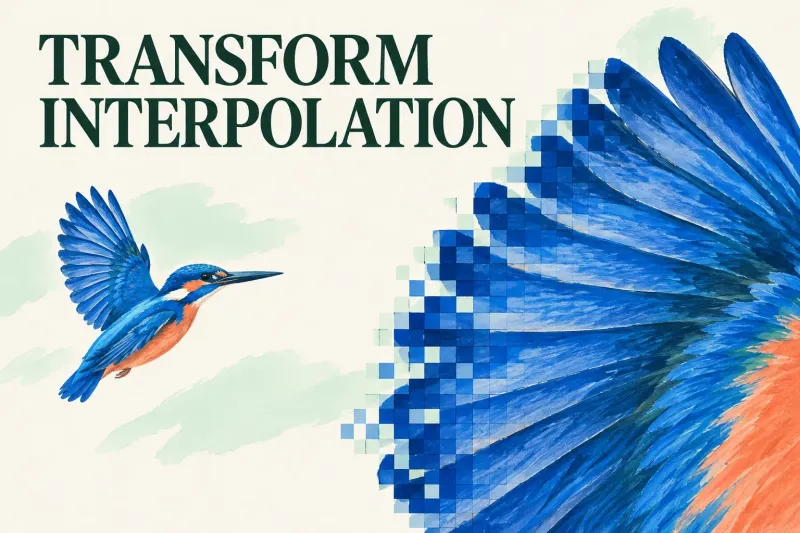
Compare Transform methods on a duplicate: preserve intended pixel steps, painted transitions or thin lines at the final viewing size.
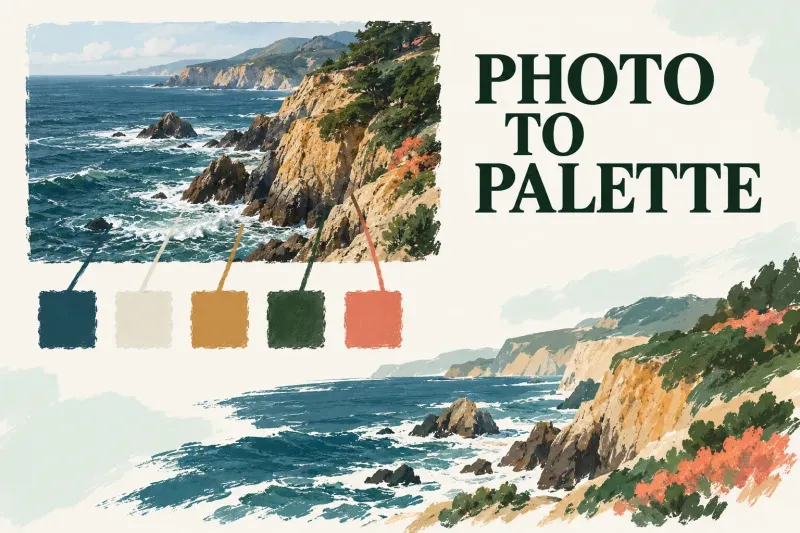
Create swatches from a photo or JPG/PNG file, rename the palette, set it active and save a shareable copy before deleting it.