
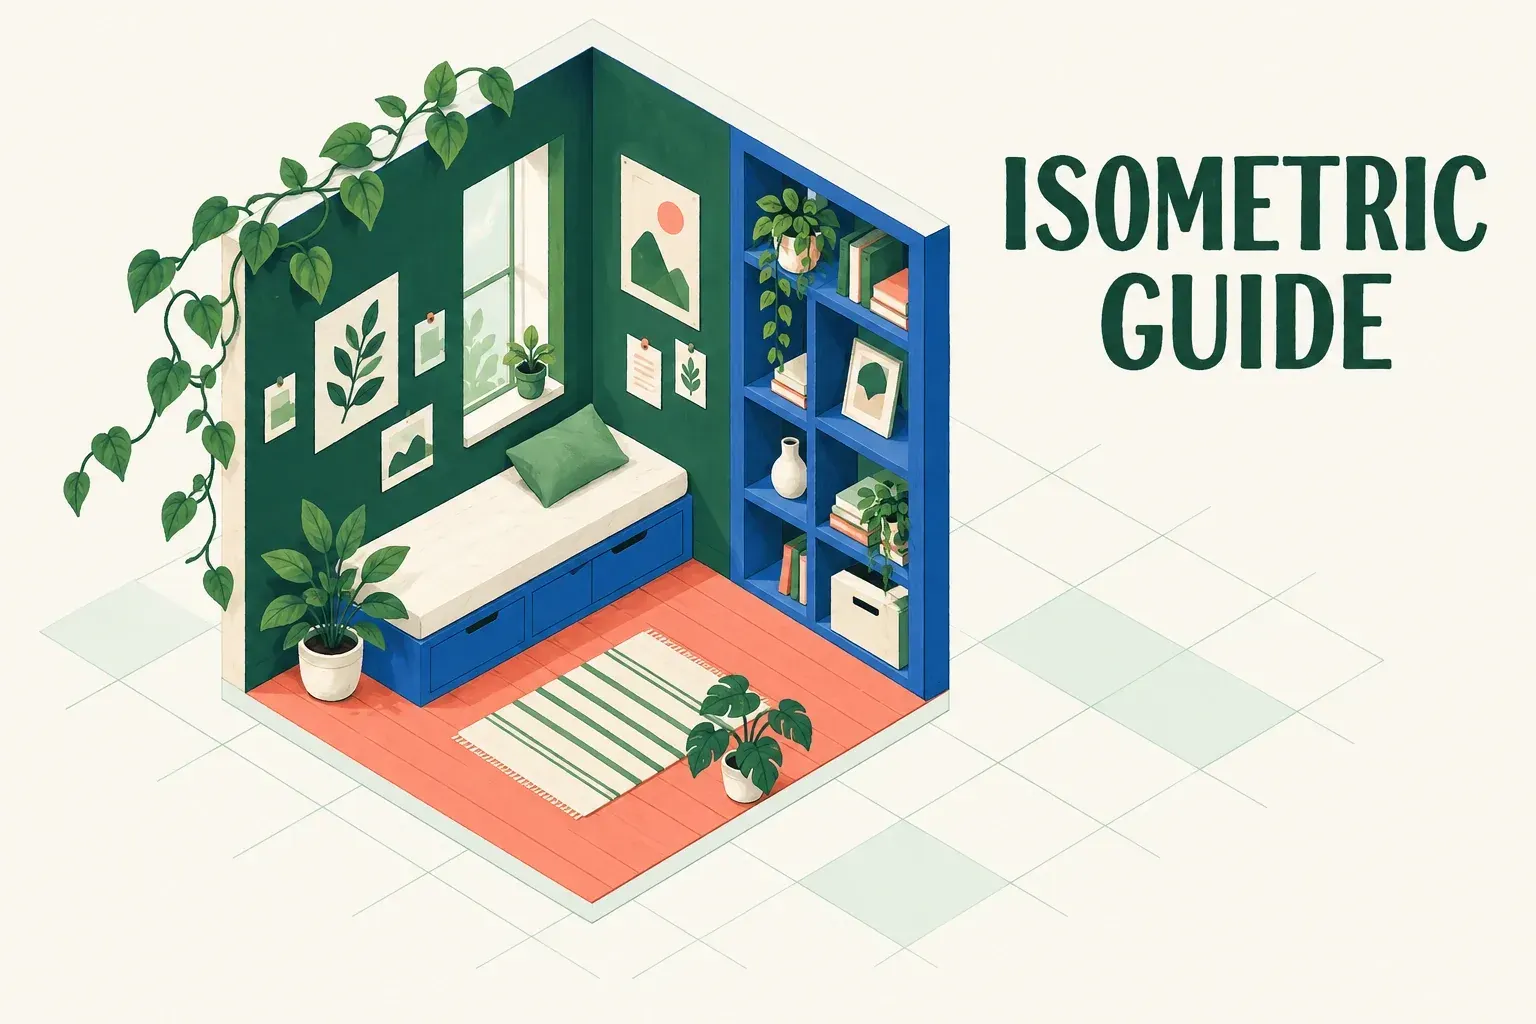
Open Actions > Canvas, turn on Drawing Guide, then tap Edit Drawing Guide and choose Isometric at the bottom of the Drawing Guides screen. You can move and rotate the grid, and adjust its color, opacity, thickness and size. The grid is a visual construction aid. Turn on Drawing Assist only for the layer whose strokes should follow its directions.
Before changing the guide or making trial marks on existing artwork, preserve the original: in Gallery, swipe its thumbnail left and choose Duplicate, then open the copy. Use that copy for the small frame and freehand detail below.
Set the grid around the object
I'd start with a simple object, such as a room corner or a box, before filling the canvas with details: its few corners are easy to match against the grid. Place the grid so its main junctions line up with the corners you intend to draw. In the guide editor, drag the blue positional node to move the whole grid. Drag the green rotational node to turn its directions. The Handbook says tapping either node gives a Reset option for returning to the default grid position.
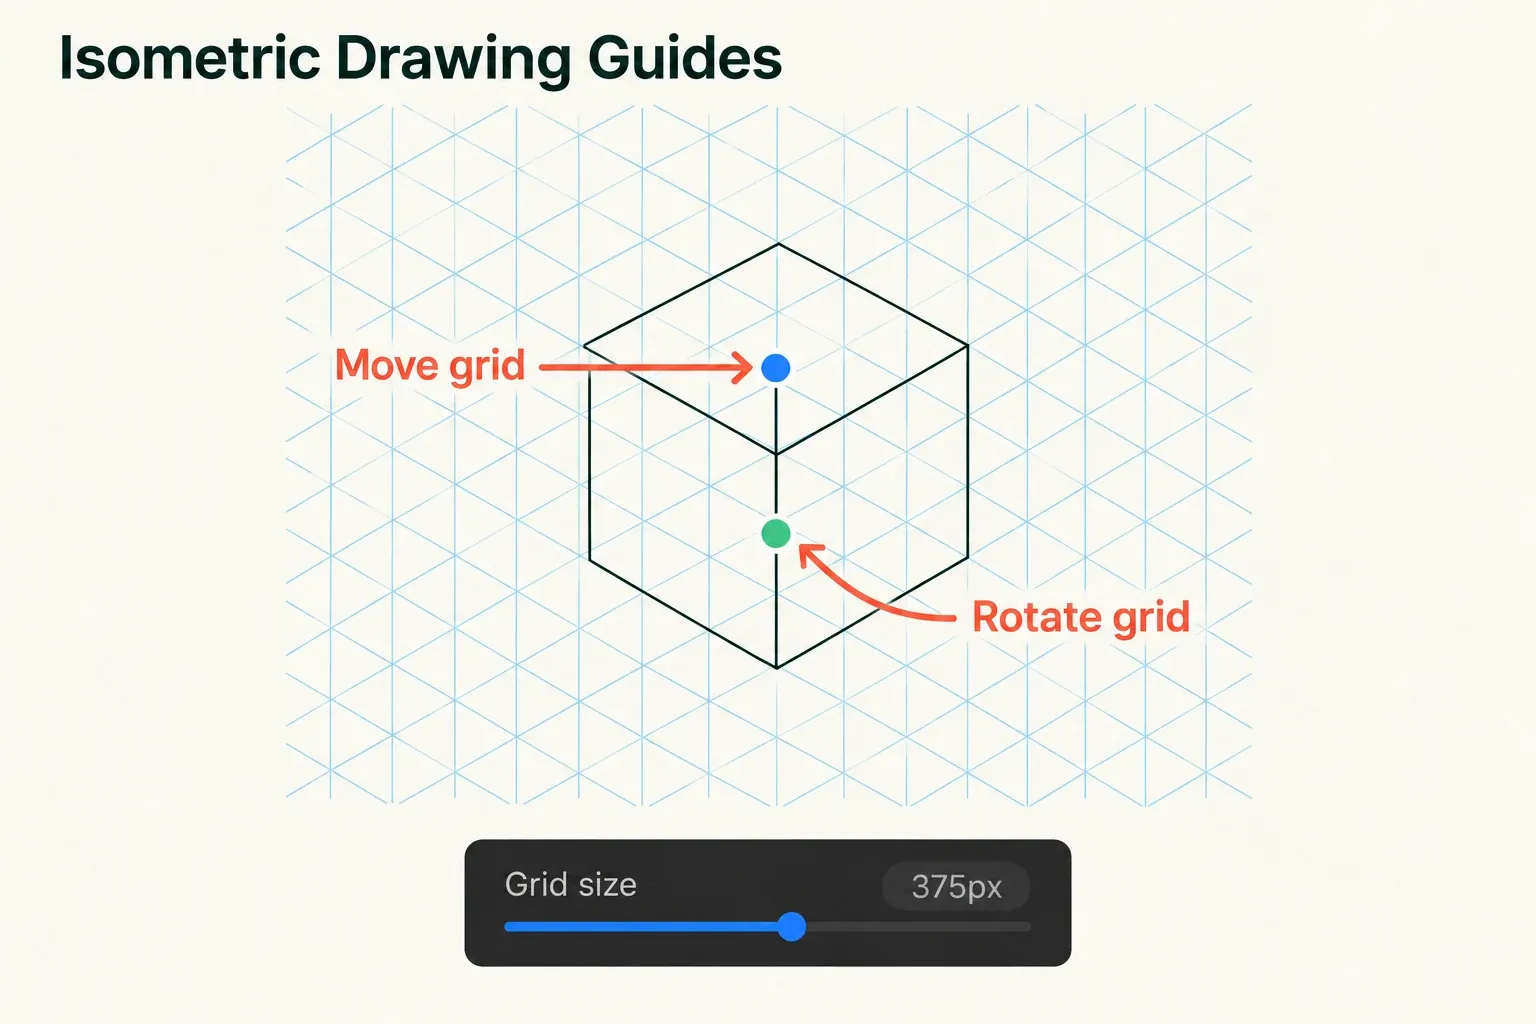
Set Grid Size for the scale of your construction: broad cells make a large form easier to lay out, while smaller cells give more reference lines for detail. Color, opacity, and thickness change the guide's visibility against the artwork. They don't add perspective vanishing points. If the lines disappear against a pale sketch, change their appearance before assuming the guide failed. The Perspective Guide is the separate tool for one-, two-, or three-point vanishing-point construction.
Tap Done to keep the guide settings. Tap Cancel if you were only comparing an arrangement and don't want to apply it. Cancel helps when an existing sketch has already established an angle you must preserve. A guide should support the planned composition. It shouldn't force an unrelated angle onto it.
Assist the construction layer, not the whole drawing
Procreate describes Drawing Assist as aligning strokes with the chosen Drawing Guide. In Layers, tap the intended construction layer to make it the Primary, active layer receiving your marks. Tap that selected layer again to open Layer Options and turn Drawing Assist on. Check for the Assisted tag beside that layer. Alternatively, after selecting the intended Primary layer, enable Assisted Drawing in the guide editor before tapping Done. That control also applies to the Primary layer.
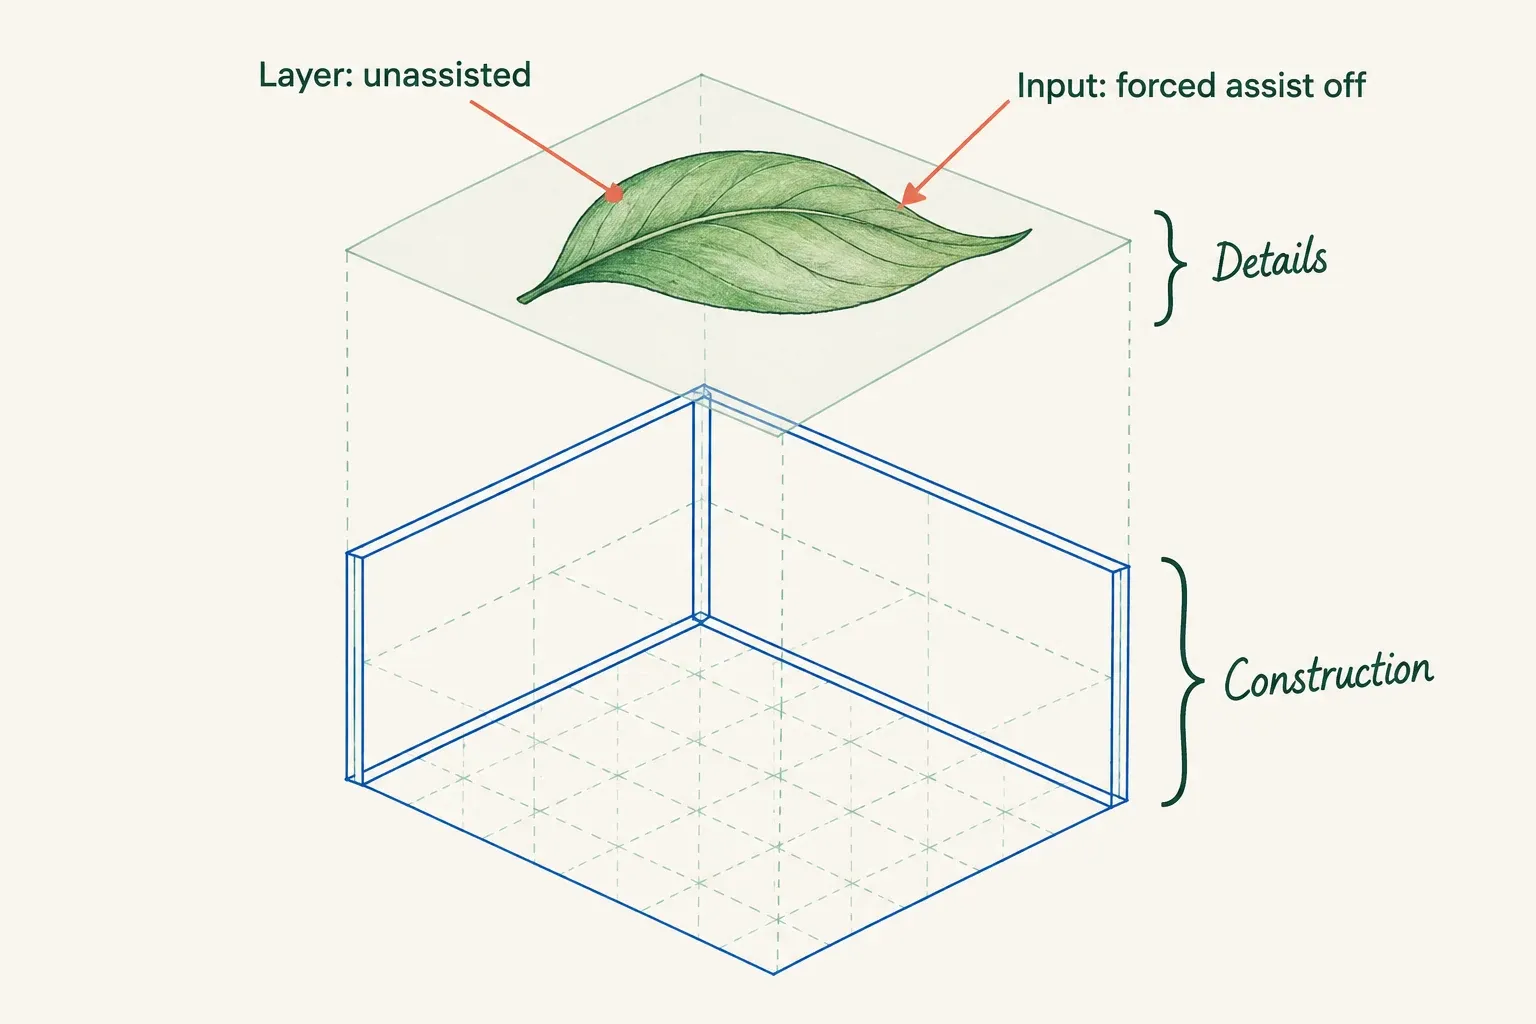
Keep one assisted layer for the box or room edges. Leaves, fabric, irregular shadows and other marks that shouldn't follow the grid belong on a normal layer, with forced-assist input methods disabled. The Handbook says Drawing Assist can act anywhere on the canvas, not only when the Pencil tip sits directly on a visible guide line. If a straight structural edge wanders, inspect the selected layer and its Assisted tag before redrawing the grid. If a freehand stroke keeps snapping, I'd switch to a normal layer rather than disable assist on the construction layer, which keeps the box edges assisted.
If a normal layer still follows the grid, check Actions > Prefs > Gesture Controls > Assisted Drawing. The configured Tap Modify button and Apple Pencil double-tap options toggle Drawing Assist on the current layer. Other active input options force paint, smudge and erase strokes made with that method to follow an existing guide, even on an unassisted layer. Disable the forced-assist option for the input you intend to use for organic detail. A missing Assisted tag alone doesn't prove that those strokes will be freehand.
Check the drawing before adding detail
Sketch just three meeting faces first. Compare parallel edges on each face with the corresponding guide direction. If one face looks skewed, fix its construction rather than hiding the mismatch with color. After the form reads clearly, adjust grid opacity so it remains useful without obscuring your strokes.
For a small box frame on the working copy, tap Paint after setting up the assisted construction layer, then follow the three directions of your current guide:
- Choose the front top corner. Draw two short edges from it along two different guide directions to begin the top face. Follow the guide as it is positioned and rotated on your canvas.
- From the end of each edge, draw a line parallel to the other starting edge until the two new lines meet. That closes the top frame. Compare each opposite pair with the same guide direction before continuing.
- From the front corner and its two neighboring top corners, draw equal-length edges along the third guide direction, extending away from the top face. Join their lower endpoints with lines matching the corresponding top edges. You now have the outlines of a top face and two adjoining sides.
- Check all three edge families against the guide: the first top direction, the second top direction, and the third direction shared by the side edges. Each later edge in a family should stay parallel to its matching starting edge. Correct a mismatched edge before adding color or detail.
The direction samples below help separate guided frame strokes from organic curves. Your current guide sets the actual angles, so compare parallel pairs in your own frame against it.
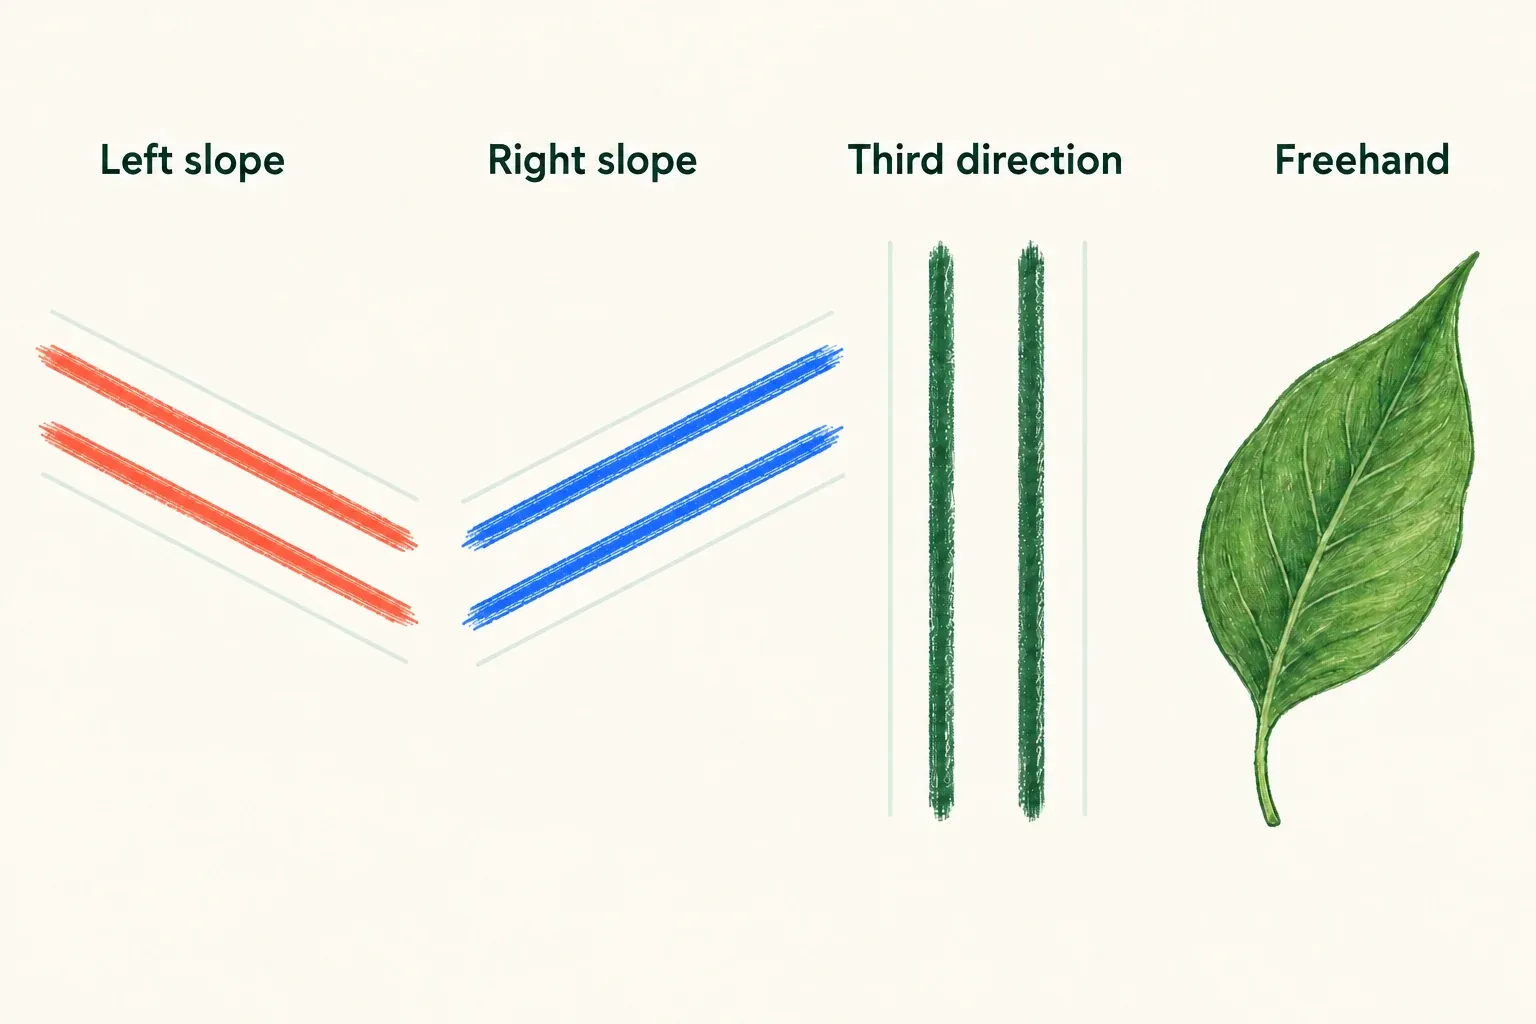
Keep the frame on its assisted layer. For a leaf or irregular shadow, select a separate normal layer above or below it. If needed, tap + in Layers to add one, then select it explicitly. Tap the selected layer again and keep Drawing Assist off. With the forced-assist setting for your input disabled, tap Paint, then try a curved leaf edge. It should remain freehand while the frame stays on its own layer. If the curve snaps to the guide, check the current layer and the gesture settings before you continue.