
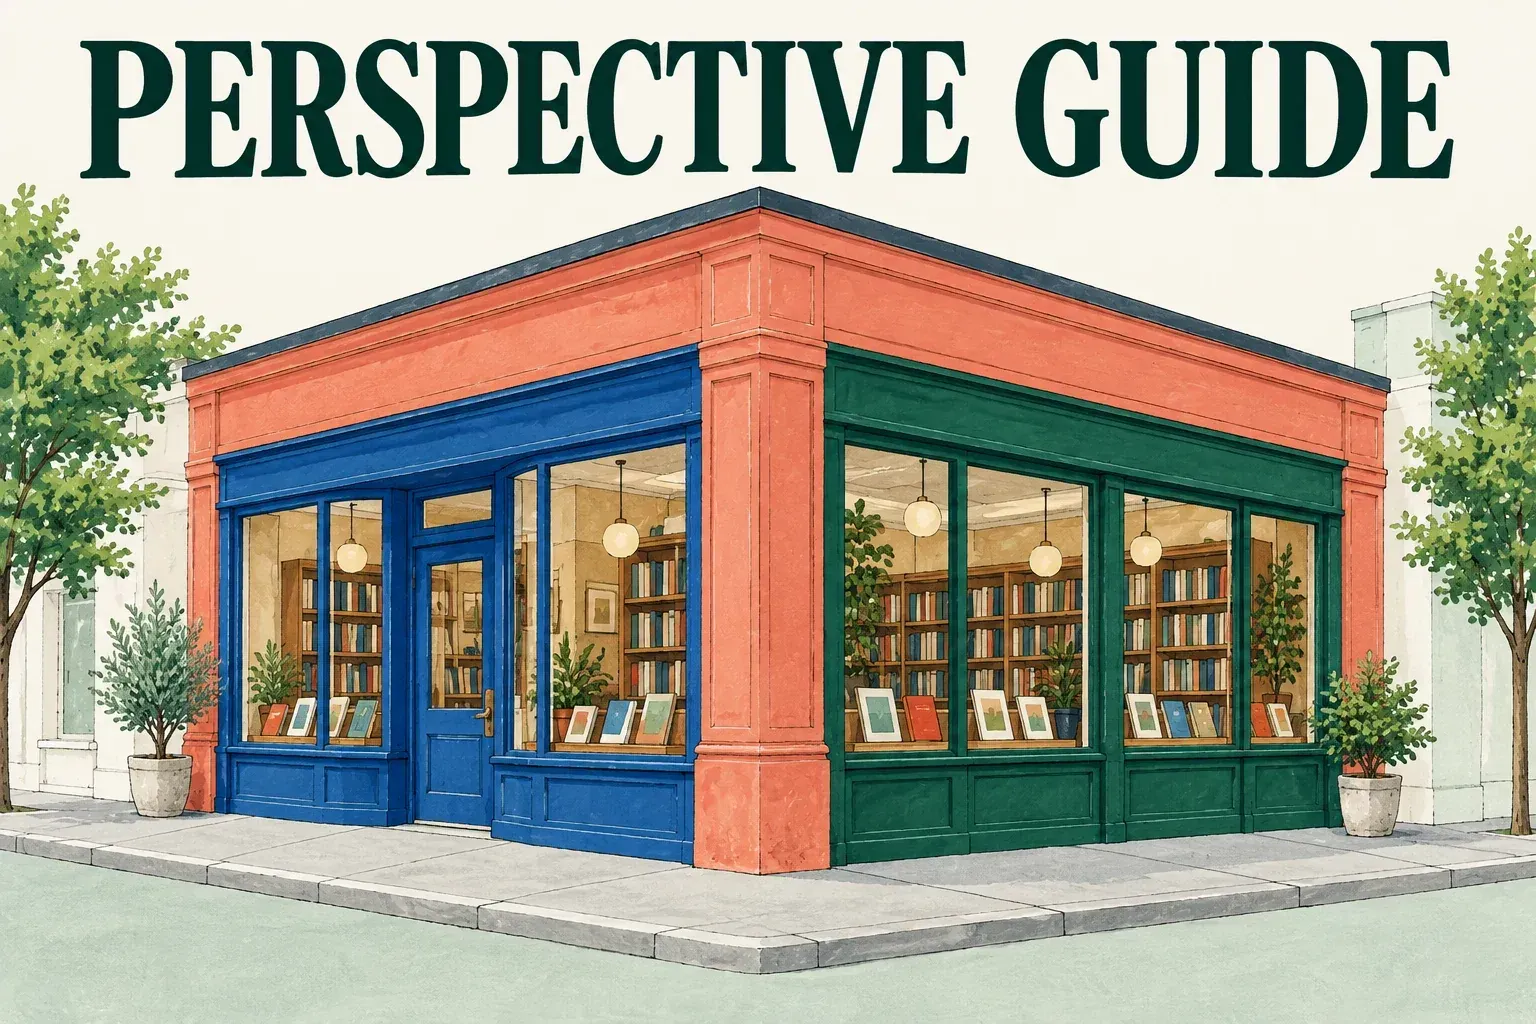
Procreate's Perspective Guide gives you up to three adjustable vanishing points. Open Actions > Canvas and turn on Drawing Guide, then tap Edit Drawing Guide and select Perspective. Tap the canvas to place a first point; add a second or third only when the view needs them. A visible guide helps you plan geometry, while Drawing Assist is a separate choice that can constrain strokes to its directions.
For the practice construction below, swipe the artwork thumbnail left in Gallery and choose Duplicate. Open that copy and keep the original aside while you change guide settings and make disposable marks.
Start with the view, then place a point
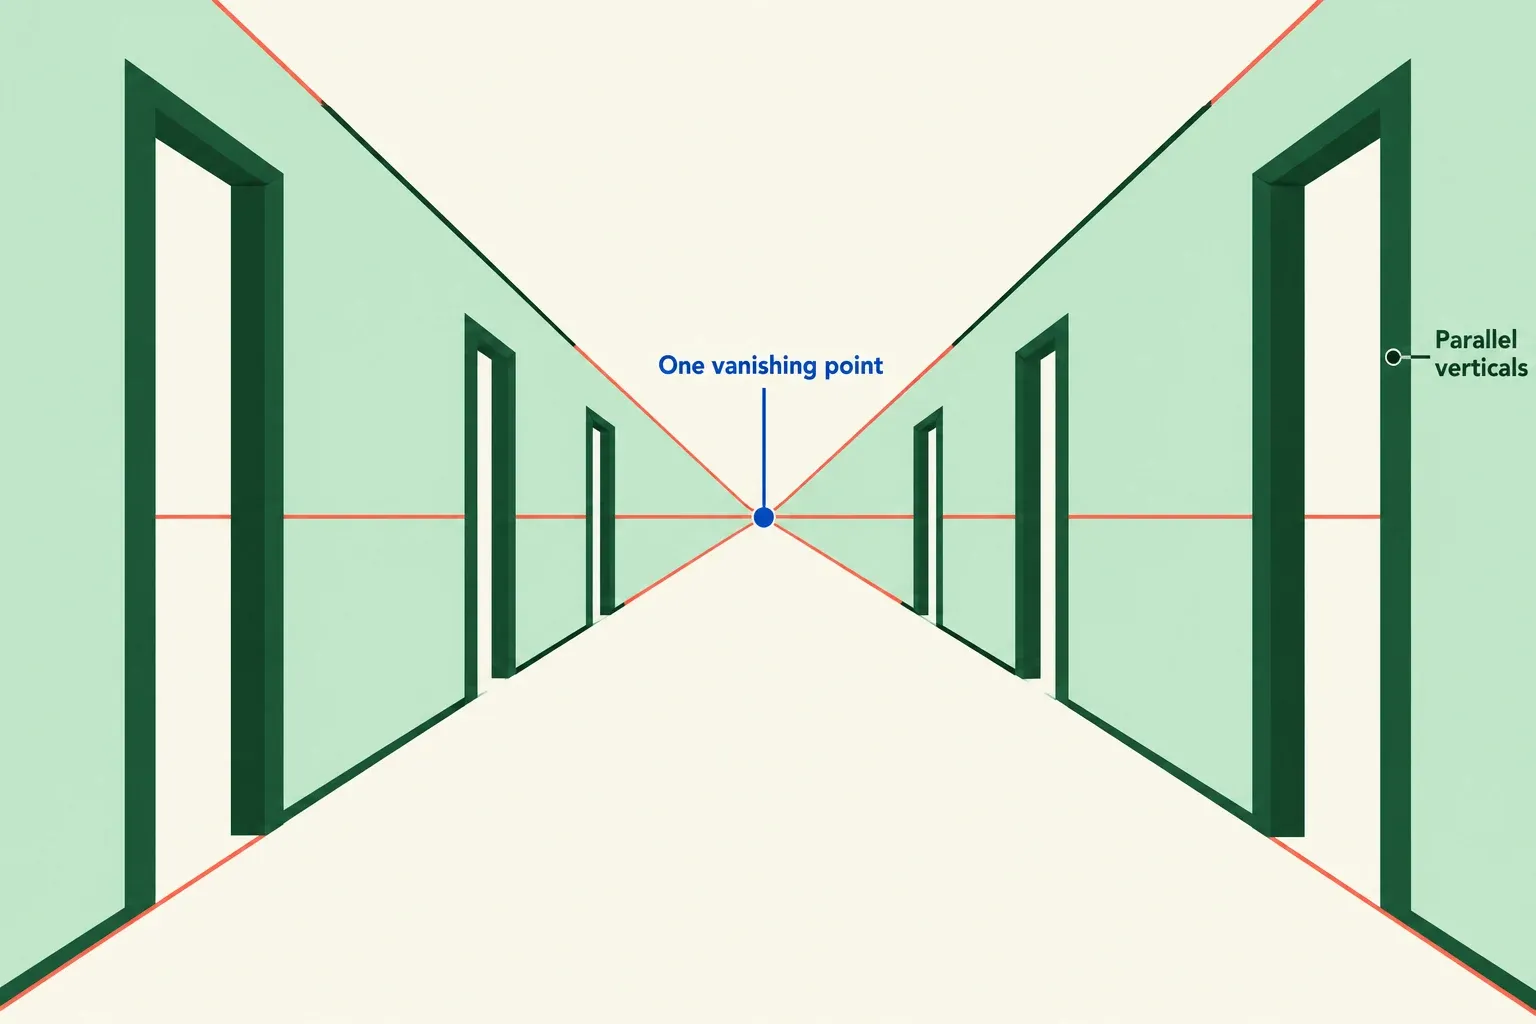
I'd start with a corridor seen straight on. It's a useful one-point exercise: the surfaces facing the viewer keep their basic shape, while edges running away from the viewer converge on a single point. Put that point near the corridor's visual center, then check the floor, ceiling, and wall edges against the guide. This is one-point or parallel perspective. More than one object in the scene doesn't call for a second point.
In the Drawing Guides screen, drag the blue nodes and horizon line to change the guide's position and angle. Commit with Done when the construction fits the intended view. Cancel returns without applying the change. The line color, thickness, and opacity are appearance controls. Changing them may make the grid easier to read against an illustration, but it doesn't move the vanishing points.
Add a second point for a visible corner
When you can see two sides of a building and its verticals stay vertical, put two points on the horizon. In two-point perspective, vertical lines remain parallel while each family of receding horizontal edges converges toward its own point. Set the point positions for the proportions you intend, then check the roofline and ground plane before drawing details.
The guide editor lets you create a point by tapping anywhere on the screen. Place it where the intended receding edges meet, rather than assuming it must be centered on the building. To remove one you no longer need, tap the vanishing point and choose Delete. You don't have to rebuild the whole canvas. If an edge looks wrong, check whether it belongs to the left-point or right-point family before you adjust the artwork.
Try an upper corner in the copy
- In the guide editor, tap to add the second point and arrange the two points on a level horizon for this example. Remove an unwanted third point with Delete, then tap Done.
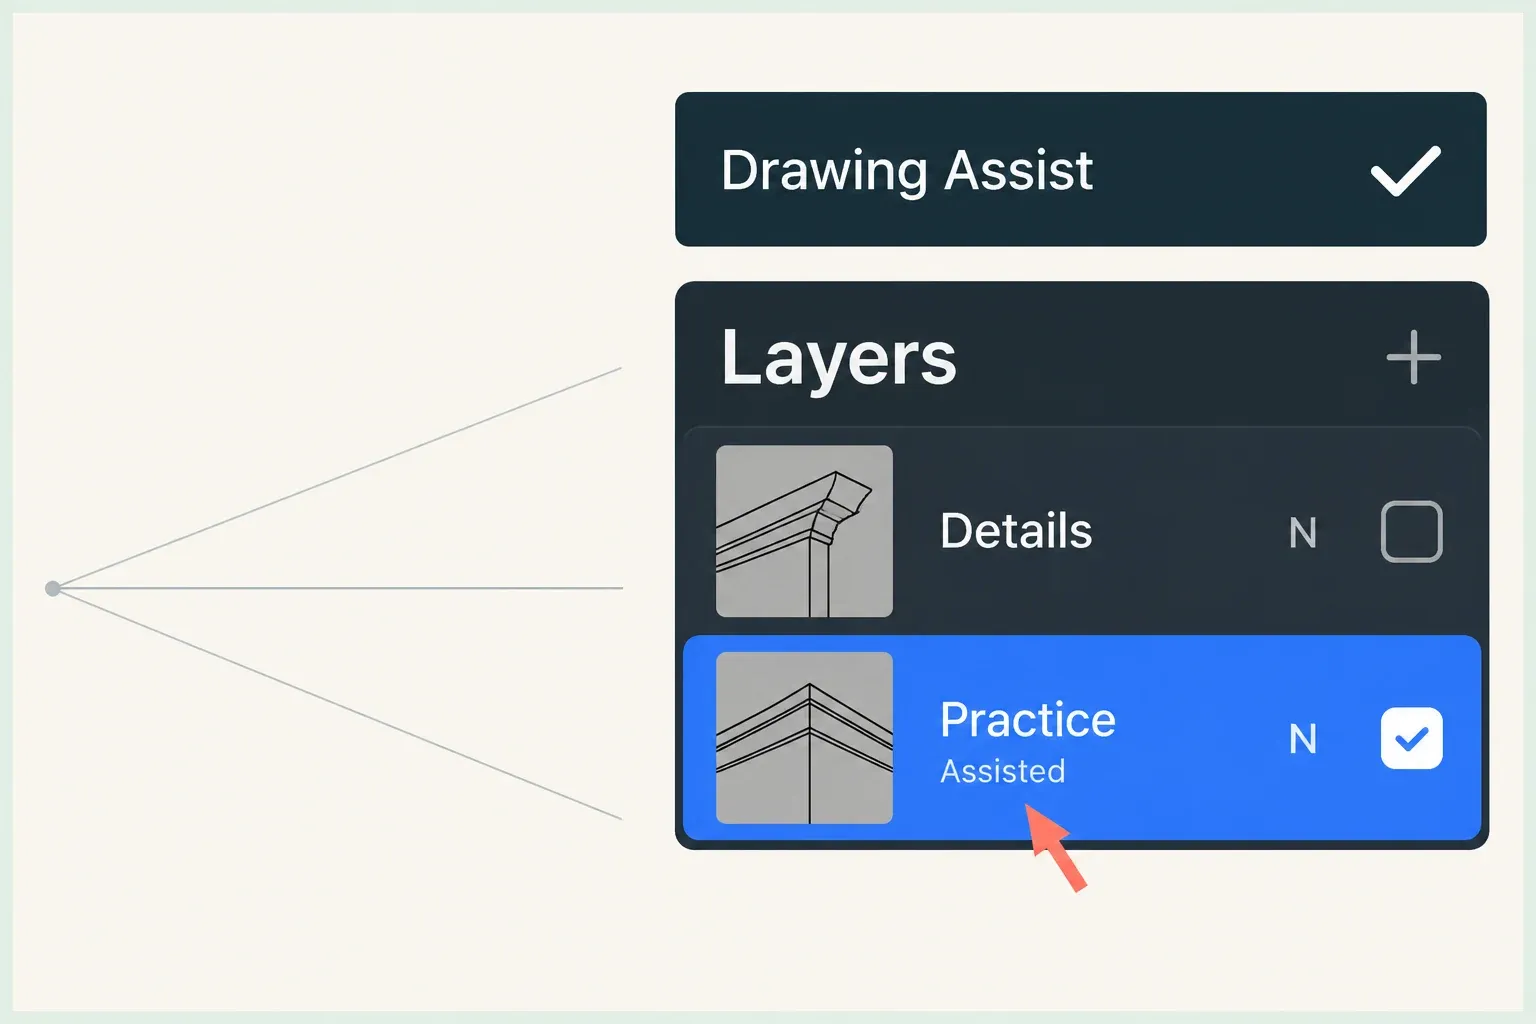
- Open Layers and tap the intended practice layer to make it the Primary, active layer; its row is bright blue. Then tap that selected layer again, open Layer Options, and choose Drawing Assist. Check for Assisted on that same row.
- Choose an upper corner below the horizon. From that corner, draw a short edge toward the left point and another toward the right point. Start three downward vertical edges: one at the shared corner and one at each outer endpoint. Keep those verticals parallel; stop before closing the lower faces.
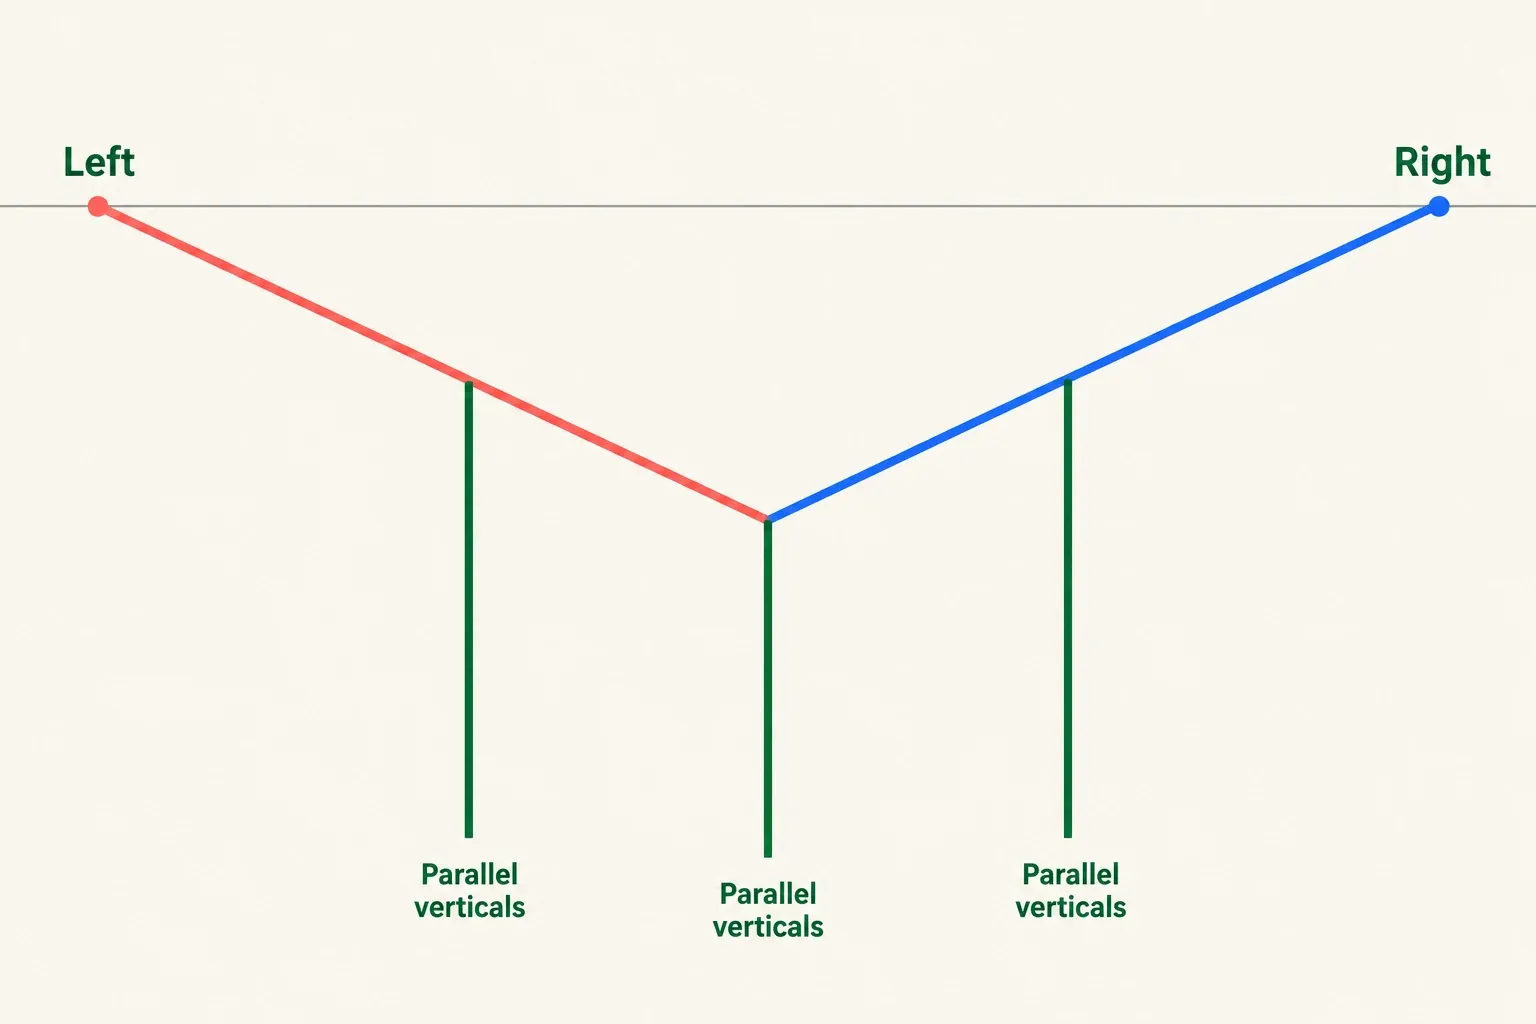
Pause and inspect the start before you add more edges. Trace each upper edge back to its assigned horizon point, and make sure the verticals stay parallel rather than fanning toward a third point. A lower edge needs its own check against the point shared by its horizontal edge family, because the upper-corner check doesn't establish the geometry of those later edges. If a stroke heads the wrong way, look at its edge family and the selected layer's Assisted tag before moving a point.
Use a third point for a steep upward or downward view
Looking up at a tall building changes the vertical direction as well. A third vanishing point lets those vertical edges converge, alongside the two horizontal families. This is three-point perspective: each of the box's three edge families converges toward its corresponding point. I'd add the third point only when the view calls for it, since a modest street-corner view may be clearer with two.
Before adding details, sketch a simple box and check which edges converge to each point. A guide is most useful when you can tell which direction each edge should follow.
Decide which layer should use Drawing Assist
Assisted Drawing in the guide editor acts on the Primary layer. The Layer Options route above lets you inspect and enable that setting on the actual drawing layer. A visible guide alone does not make every layer Assisted. Check the Assisted tag again when you change layers.
For freehand details, turn Drawing Assist off on the layer or use a normal layer above or below it. If an input still makes strokes follow the grid, inspect Actions > Prefs > Gesture Controls > Assisted Drawing. Configured Tap Modify and Apple Pencil double-tap toggle Drawing Assist on the current layer. The other configured methods can force paint, smudge and erase strokes to be Assisted when a Drawing Guide exists, even on an unassisted layer. Check which method you used before you judge the freehand result.
If lines don't follow the perspective despite a visible grid, I'd inspect the selected layer first, because the grid alone doesn't assist it. Check its Assisted tag, then compare the box edges with the intended vanishing points before adding architectural detail.