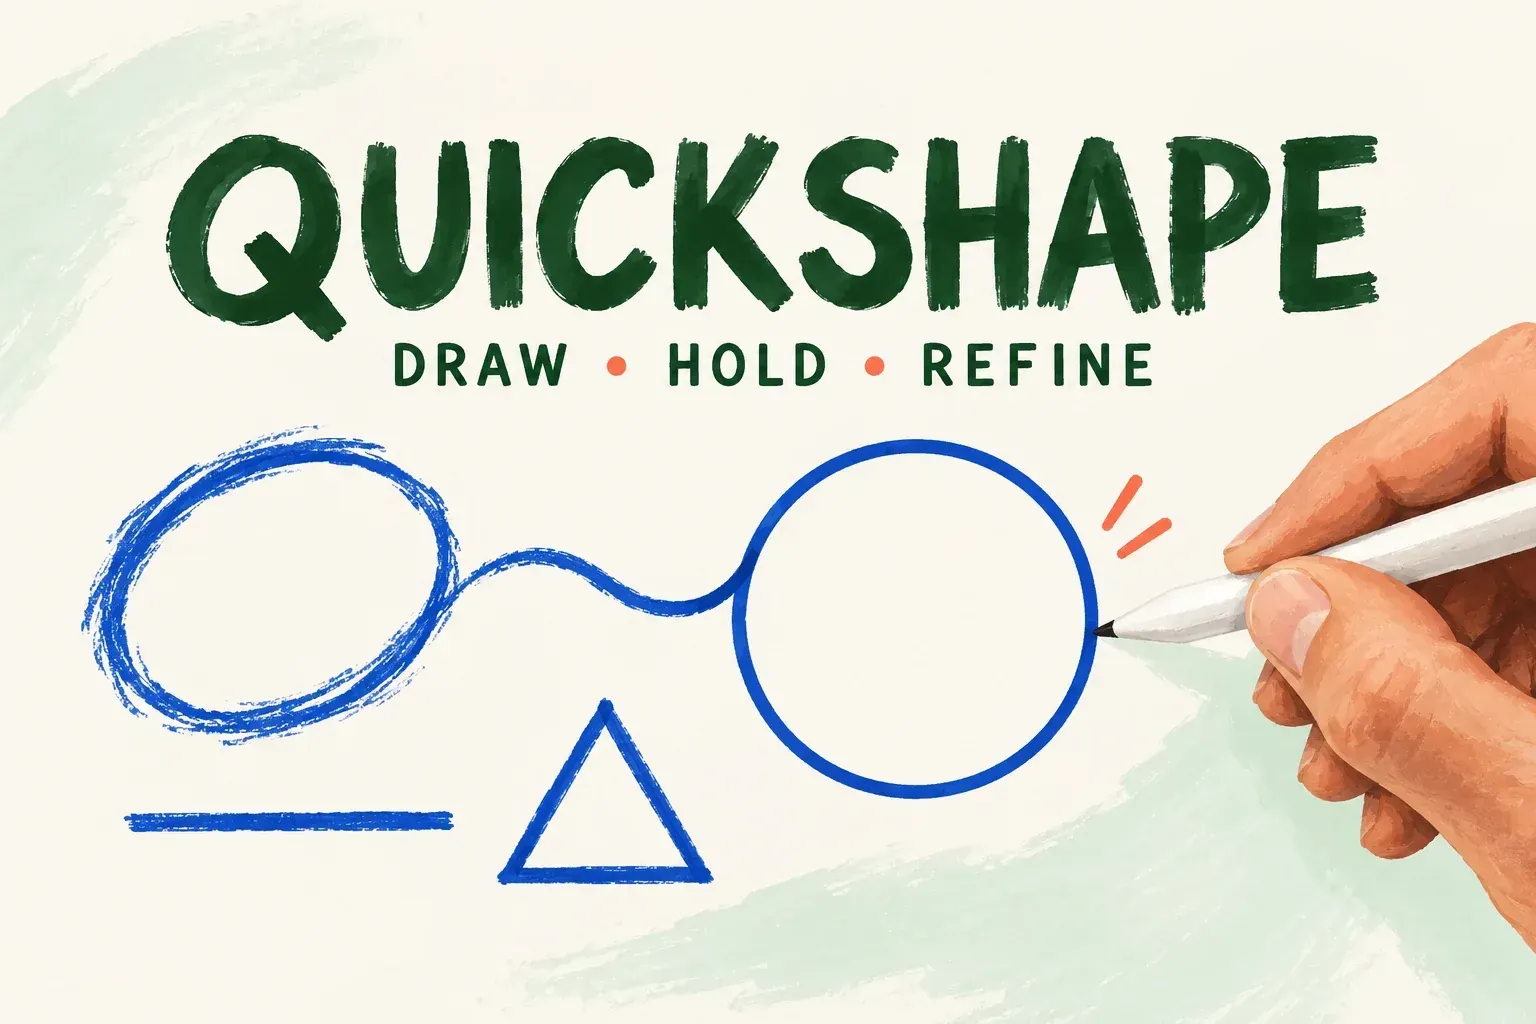
With Procreate's default Draw and Hold gesture, draw the outline in one continuous stroke and keep the Pencil or finger on the canvas at the end. After a moment, QuickShape snaps the stroke into a line or geometric form. Don't lift before it snaps. It supports lines, arcs, polylines, ellipses, triangles and quadrilaterals.
Draw, then hold
Choose a brush whose stroke you can see clearly. Draw one continuous line, oval, rectangle, or triangle. At the end of the stroke, keep the stylus or finger touching the canvas until QuickShape takes over. If you lift immediately, you've finished an ordinary brush stroke. I'd retry that stroke with a slightly longer hold rather than redraw the entire illustration.
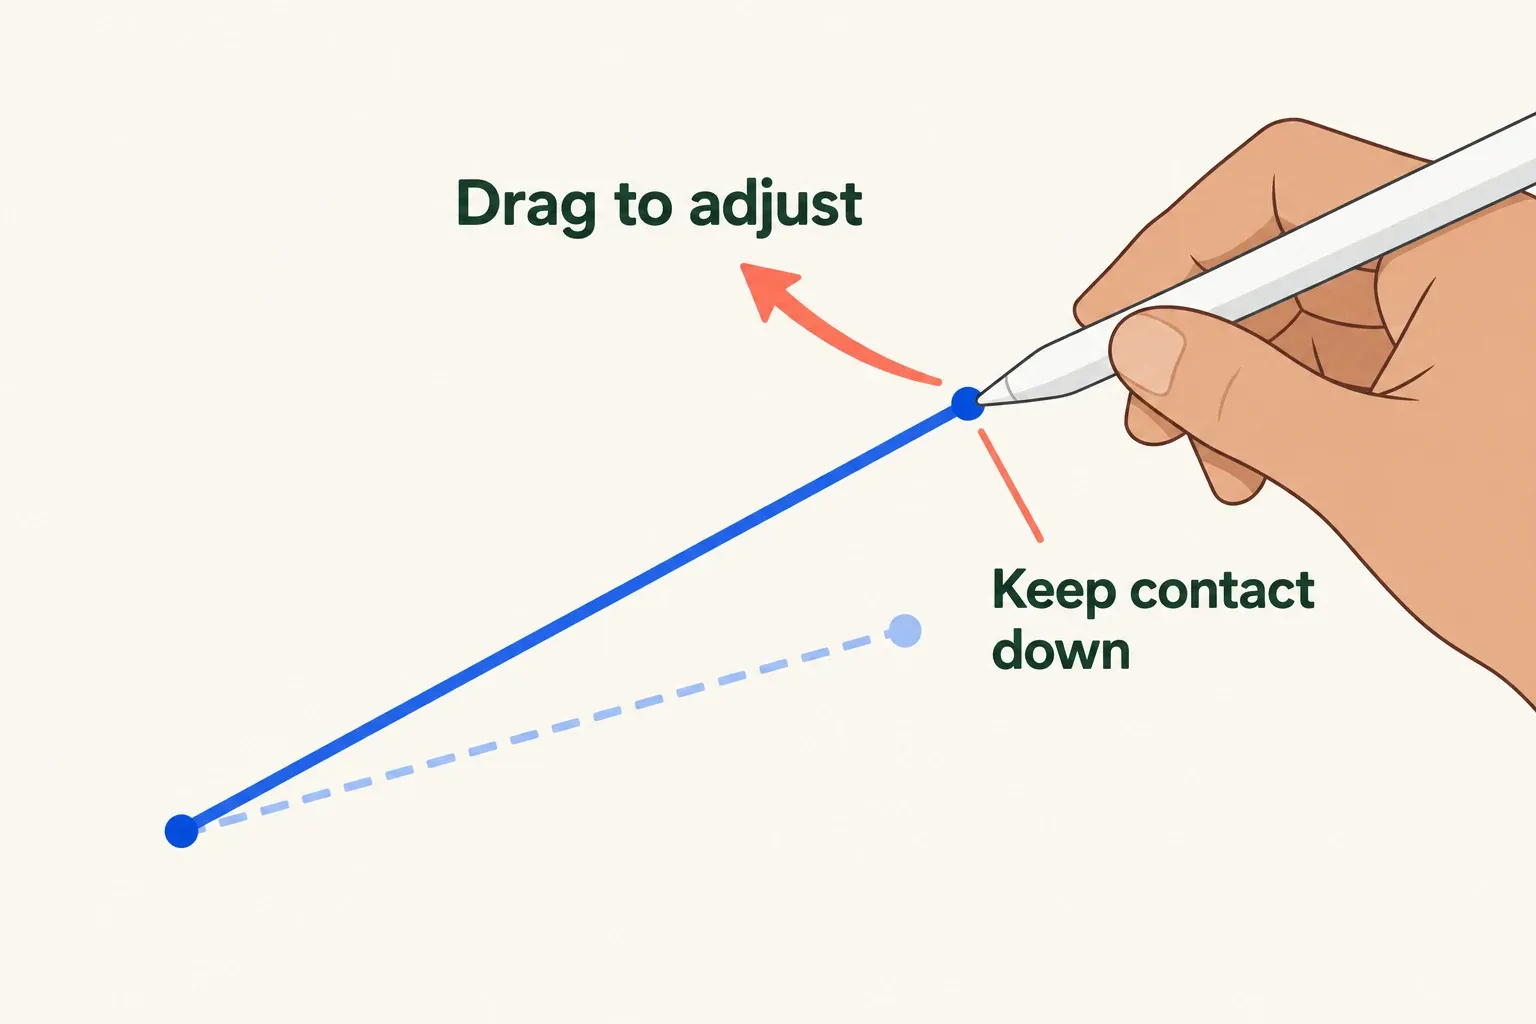
While you're still holding, drag to change the shape's size or rotation. That helps when the line is straight but its angle or endpoint is wrong. Scale and Rotate work while you are still holding, before release.
Make a circle or square
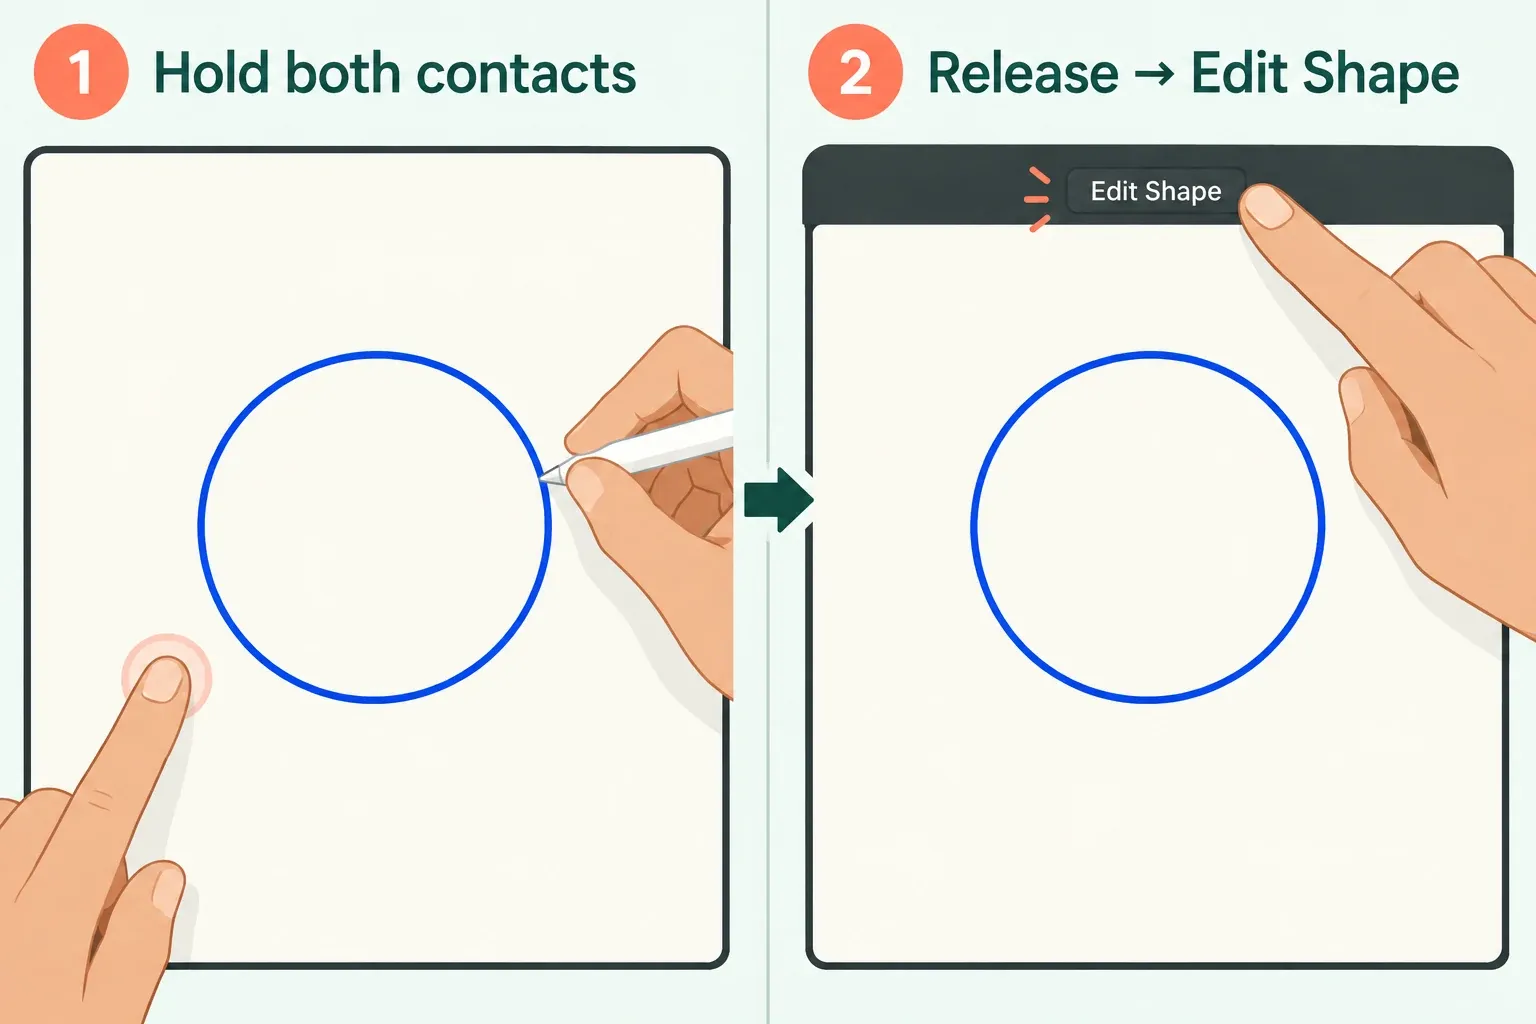
An ellipse isn't necessarily a circle, and a rectangle isn't necessarily a square. Adding a second finger while the drawing contact remains down constrains an oval to a circle, a rectangle to a square, and an uneven triangle to an equilateral triangle. For a circle, use this sequence with the default Draw and Hold gesture:
- On a spare layer, draw a rough oval in one continuous stroke. Stop at the end but keep the Pencil or drawing finger on the canvas until the oval snaps into a regular ellipse.
- Keep that drawing contact down and add a second finger to the canvas. Keep both contacts in place until the ellipse becomes the circle you want.
- Once the circle is the form you want, lift the Pencil or drawing finger, then remove the second finger. Before painting or tapping elsewhere, tap Edit Shape in the top notification bar.
- If the circle needs a size correction, drag the shape between its nodes to scale it uniformly. When you are done, tap elsewhere on the canvas to exit Edit Shape. Check the circle's size and placement before drawing again.
The second-finger gesture can also change rotation behavior while you drag: Magnetic Rotate uses 15-degree increments. That's a separate choice from making a circle or square. If the result jumps unexpectedly, check whether the second finger is still touching the canvas.
Adjust the shape after release
When you lift, look for Edit Shape in the notification bar at the top of the canvas. Continuing to paint or tapping elsewhere dismisses the button, so tap it before doing either. The available shape options depend on what you drew. There's no universal menu that turns every rough stroke into every possible geometry, so choose from the options offered for that initial stroke. In Edit Shape mode, drag a node to adjust part of the shape, or drag the shape between nodes to scale it uniformly. Tap elsewhere on the canvas to commit the edit.
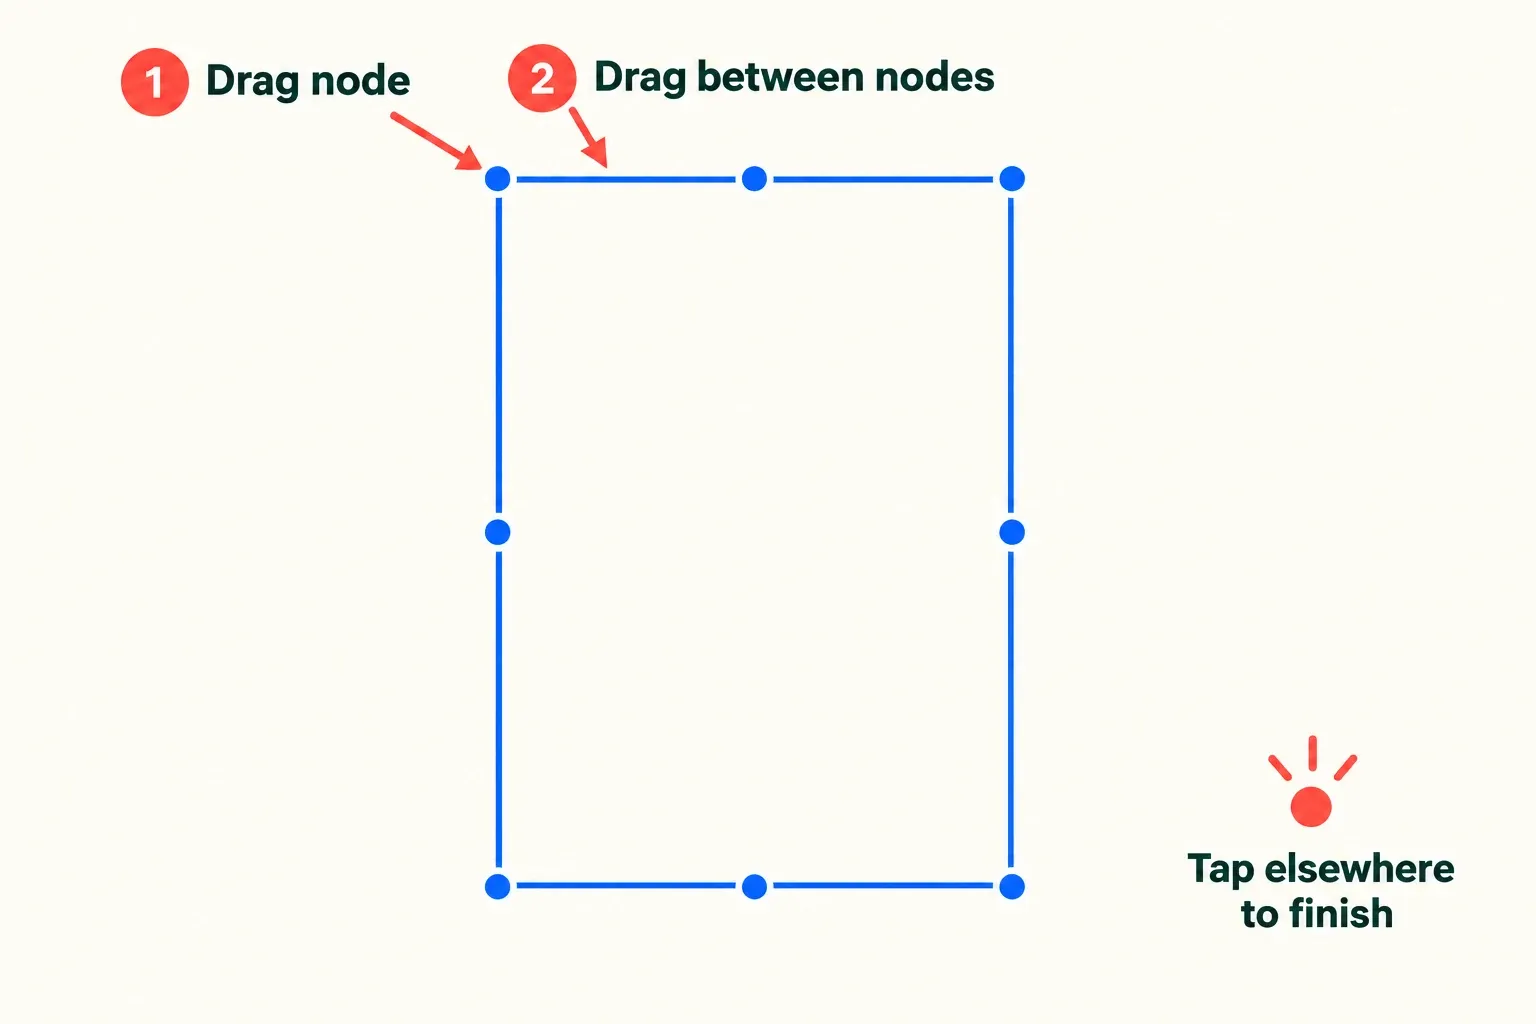
If the button has disappeared, don't assume your shape is still editable through the same QuickShape step. Undo and redraw when that's the cleanest correction. For a selection or mask problem rather than a drawn outline, use the selections guide instead; QuickShape changes a stroke, not an existing selection boundary.
If QuickShape triggers too early or not at all
Open Actions → Prefs → Gesture Controls → QuickShape and inspect the configured shortcuts. Confirm which method is enabled. Draw and Hold uses the held contact described above; other QuickShape methods act on the last stroke you drew before triggering the shortcut. Use the enabled method when diagnosing a missed or accidental invocation.
If the enabled shortcut uses touch-and-hold, its delay slider controls the wait before that shortcut triggers, so set that wait for the shortcut in question. For the default drawing sequence, wait for the visible snap rather than counting a fixed number of seconds.
A yellow warning icon identifies a conflicting feature: the same shortcut can't be assigned to two different features. Inspect the feature marked by the warning and give the features different shortcuts. Change one setting at a time, then check a simple line or oval on a spare layer before returning to the real artwork.