
Start with the exact Printful product template
Prepare the design for one selected Printful product and print placement. Download that placement’s current template, create a matching sRGB canvas in Procreate, draw on separate artwork layers and hide the guide before exporting. Keep the layered master, then inspect the actual saved PNG or JPEG before uploading it. The product specification decides the size, resolution, safe area and any required bleed.
Download the product template
Choose the product, material or variant, printing technique and placement first. Open the product page’s File guidelines and download the template for that print area. A front print, sleeve print and full-coverage design can require different files.
Keep the untouched template and note its retrieval date. Record the full pixel width and height, intended physical print size, recommended resolution, accepted format, safe zones and bleed if required. If the product offers different techniques, check that the displayed guidelines belong to the one you selected. I’d work from those values rather than a paper preset or a universal 300 PPI rule, because they’re the ones set for this placement. The canvas-size-for-print guide explains how physical size, pixels and bleed fit together.
Create the matching Procreate canvas
In Gallery, tap +, then the rectangle-with-plus icon to open Custom Canvas.
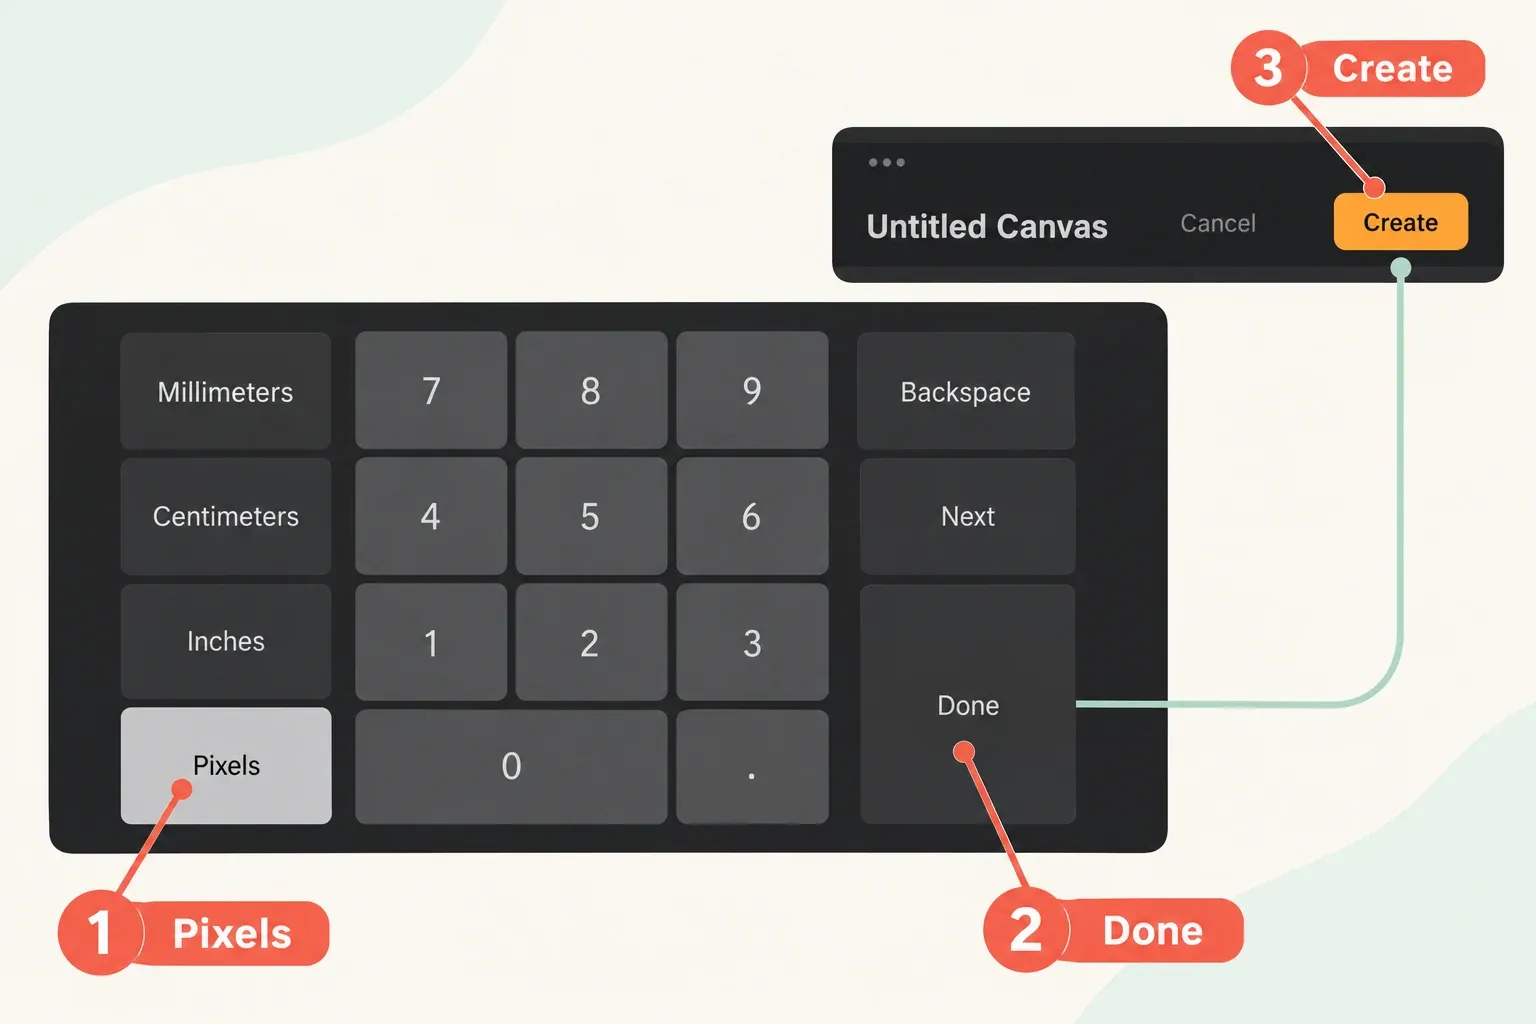
- Choose Dimensions. Tap Width, select Pixels using the buttons to the left of the numeric keypad and enter the template’s full width. Enter Height the same way. Confirm each value; the keypad’s Done button finishes number entry.
- Set DPI to the resolution specified for the placement. Check Maximum Layers before committing: larger pixel dimensions leave fewer layers available. Make sure the canvas can accommodate your intended artwork layers.
- Open Color profile, choose RGB and select sRGB IEC61966-2.1. Printful requests this profile embedded in the final PNG or JPEG, even though the finished product is printed with ink.
- Review the dimensions, DPI and profile, then tap Create at the top right. This creates the canvas; keypad Done does not.
For existing artwork, preserve the original and prepare a separate delivery copy. You can inspect its profile through Actions → Canvas → Canvas information → Color profile. Procreate allows profile changes within the existing RGB or CMYK space, but cannot switch that artwork between RGB and CMYK. If a CMYK master needs an sRGB delivery file, agree on a conversion with the receiving printer or designer rather than treating an in-app profile choice as a model conversion.
Keep the template on a separate guide layer
For a compatible image template saved in Files, choose Actions → Add → Insert a file and select it. This route accepts PNG, JPEG and PSD; a PSD inserted this way becomes a flattened image. Use a supported image version of the guide for this workflow, and retain the original template separately.
Check the inserted guide against the template’s dimensions and placement boundaries before drawing. Don’t assume insertion has aligned it correctly. Keep it separate from the artwork and identify it as Guide. In Layers, swipe right-to-left on the guide and tap Lock, then verify the padlock beside its name. Layer Lock prevents editing and moving the guide. Alpha Lock only restricts painting to existing pixels and doesn’t provide that protection.
Select a separate artwork layer. Keep logos, faces and essential text inside the template’s safe zones. Extend backgrounds or patterns through bleed only where the selected template requires it. Do not enlarge a small raster design to fill the guide and expect added detail; Printful warns against enlarging low-resolution artwork.
Prepare visibility before export
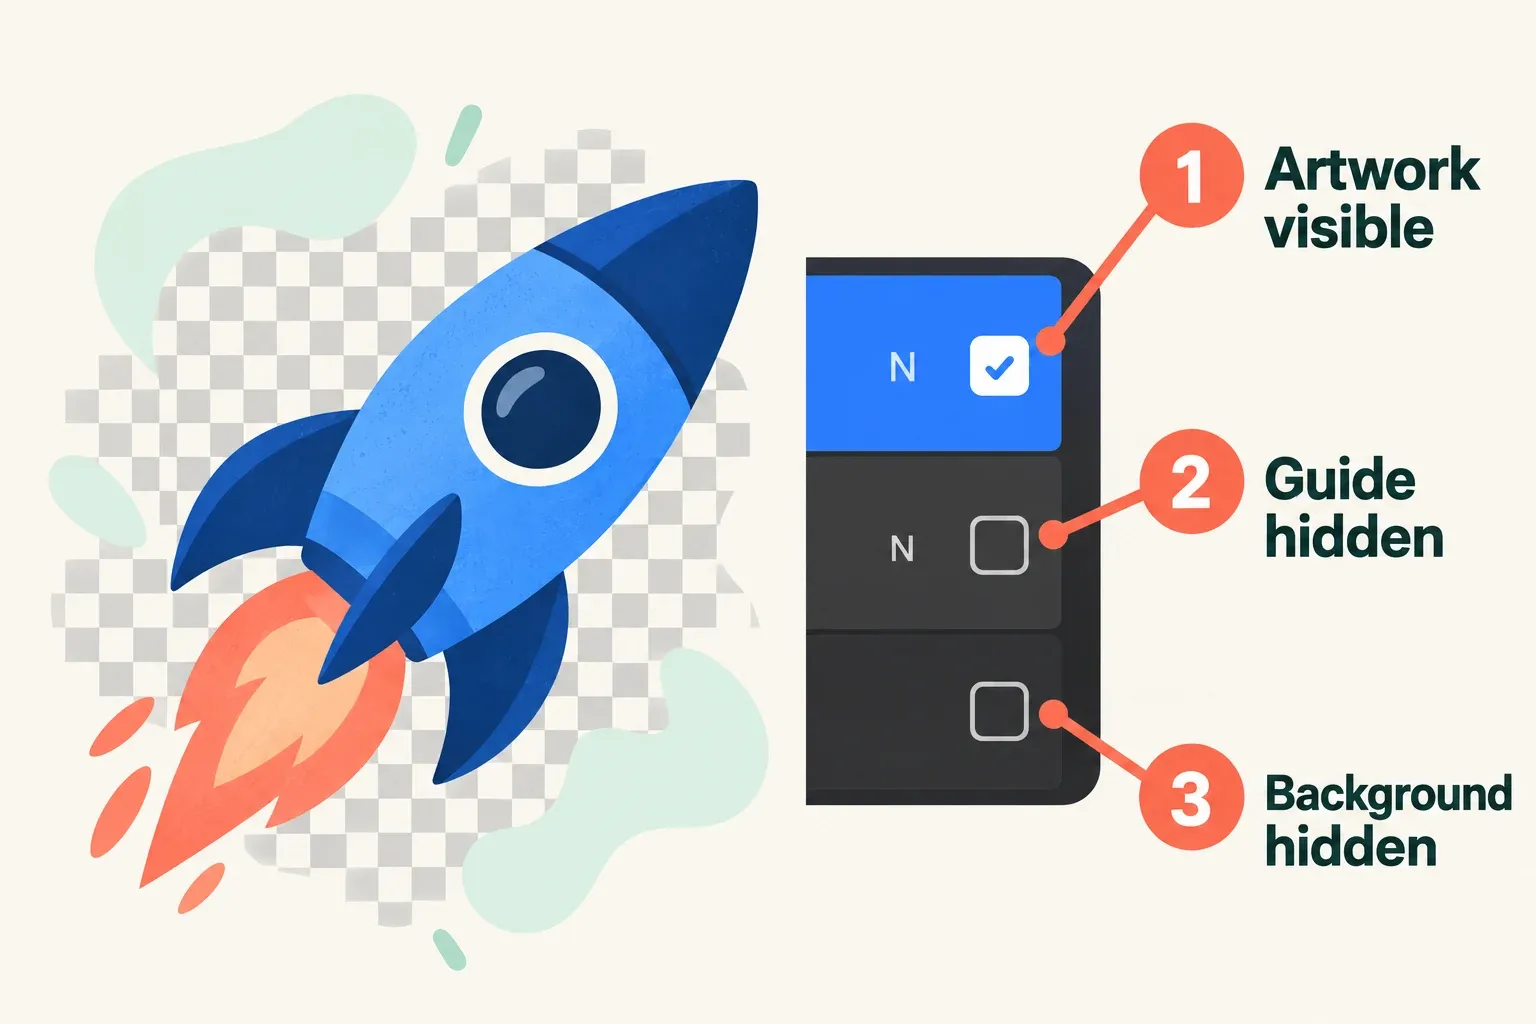
Keep the guide in the master, but tap its visibility checkbox to hide it before making the delivery file. Leave the intended artwork visible. For a transparent design, also hide Background Color and any unwanted painted backdrop layers. For an opaque or full-coverage design, keep the intended background.
Inspect the edges for leftover pixels and look at lettering, fine marks and contrast at the intended product size. Printful cautions against very small text, thin lines and semi-transparent edges or fades for DTG/DTF. The fade warning depends on the method. It isn’t a ban on transparency for every product. Keep text and linework editable so you can prepare a suitable variant without rebuilding the composition.
Save the master and the delivery file
Save a native copy separately with Actions → Share → Procreate; this format preserves the artwork’s layers, masks and effects. Wait for export, choose Save to Files, navigate to the destination and tap Save. Keep that master distinct from the file you will upload.
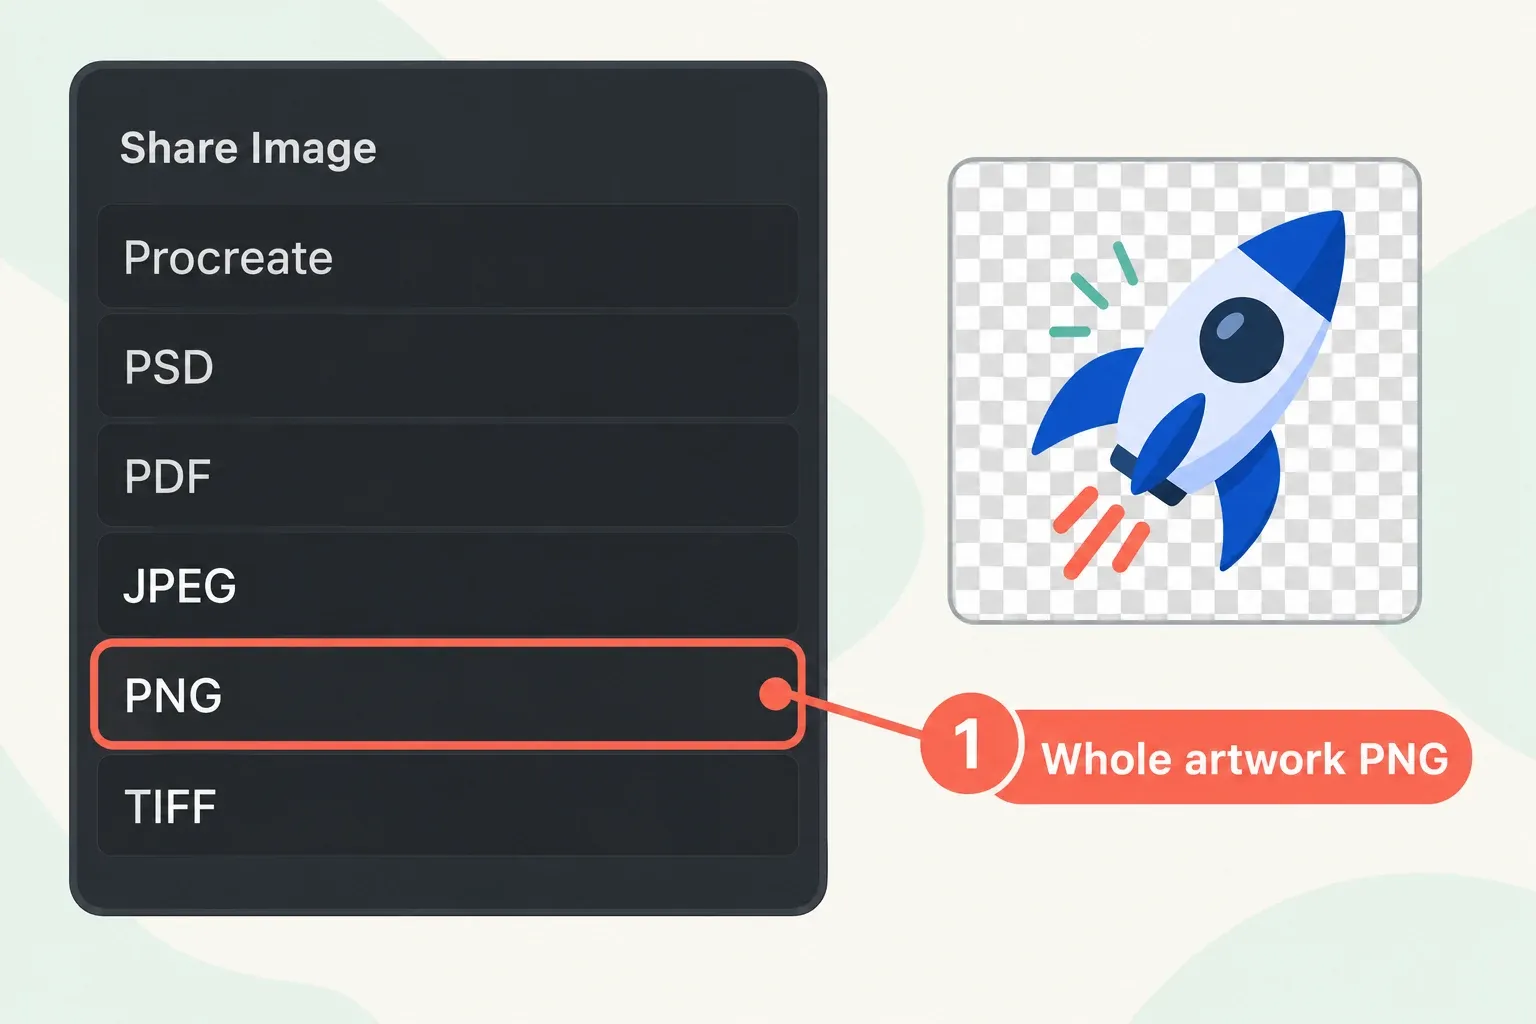
For the whole-artwork delivery export, use the Share Image part of Actions → Share. Choose PNG when you need transparency, or JPEG when opaque output suits the design and the product guidelines accept it. Share Layers → PNG produces separate files for individual layers, so it’s a different operation. After the export completes, choose Save to Files, navigate to your folder and tap Save. Give the file a name that identifies its product and placement.
Inspect the actual saved export
Open the named file you’ll upload and compare it with the recorded placement requirements. Source canvas settings, a filename extension and a matching preview don’t tell you every property of that saved export. Use a file inspector you already have that reports the relevant properties, or have the receiving printer or designer confirm the unchanged file.
| Property | What to confirm |
|---|---|
| Format | The actual saved file is an accepted PNG or JPEG, as required for this placement. |
| Pixel dimensions | Its pixel width and height match the full template requirements at the intended physical size, including bleed where specified. |
| Transparency | When needed, the saved PNG has transparent background areas and no unwanted backdrop or guide pixels. |
| Embedded profile | The actual file carries sRGB IEC61966-2.1; the canvas profile alone is not confirmation. |
Printful currently caps File library uploads at 200 MB and 20,000 × 20,000 px. Those numbers are only upload ceilings. The selected product’s template still sets the delivery requirements. The same guidance flags two dots before the extension as an upload error, so use a name such as design-v02.png rather than design..png. If a file exceeds a limit, keep the master and prepare a smaller delivery copy that still meets the placement requirements, then inspect that copy again before uploading.
If a quality warning appears, compare the exported pixel dimensions with the physical area you’re asking the image to cover. Enlarging its placement spreads the same pixels over more area. I’d check the file and placement before blaming flattening, since Procreate’s PNG export flattens layers while keeping full image quality. A small original still needs a larger source, a rebuilt design or a smaller permitted placement.
Check the profile in Photoshop if already available
If you already use Photoshop on a desktop and it supports the delivery format, inspect the actual export while preserving its embedded profile:
- Record your current Color Settings. Before opening the file, select Edit → Color Settings. Under Color Management Policies, use Preserve Embedded Profiles for the applicable color model. Enable Profile Mismatches → Ask When Opening and Missing Profiles → Ask When Opening, then select OK.
- Open the actual saved delivery file. If Embedded Profile Mismatch appears, choose Use the embedded profile. If a missing-profile warning appears, stop and record that no embedded profile was found. Confirm the intended delivery profile with the recipient before correcting anything.
- For a file opened with its embedded profile preserved, use the document status menu beside the status display at the bottom of the document window. Choose Document Profile to read the image’s profile name, then compare it with sRGB IEC61966-2.1.
- End the inspection without assigning or converting a profile, editing, resaving or re-exporting the file. Restore your earlier Color Settings if you changed them.
If you have no suitable profile-aware inspector, ask the receiving printer or designer to check the unchanged actual file. Until someone checks it, the profile and any other property you couldn’t inspect stay unconfirmed.
Inspect placement and judge the physical result
Upload that inspected file to the intended Printful placement. Check every print-quality warning before saving or submitting the product, then inspect the relevant views, crop and boundaries. For repeating or edge-to-edge designs, examine each applicable seam or panel. If you enlarge or replace the artwork, recheck its placement and warnings.
A clean mockup and valid dimensions don’t guarantee the physical result. Printful explains that material, garment color and the printing process affect color, and recommends ordering a sample before selling. Compare that sample with the approved design for color, physical scale, placement and delicate details.
Keep the source, template and retrieval date, exact export, placement record and sample notes together. A new product or placement means a new specification. If several listings share one file, record them before replacing it and review every affected placement. Build variants from the layered master rather than stretching the same flattened file across the catalog.
This is an independent guide. It is not affiliated with or endorsed by Procreate.