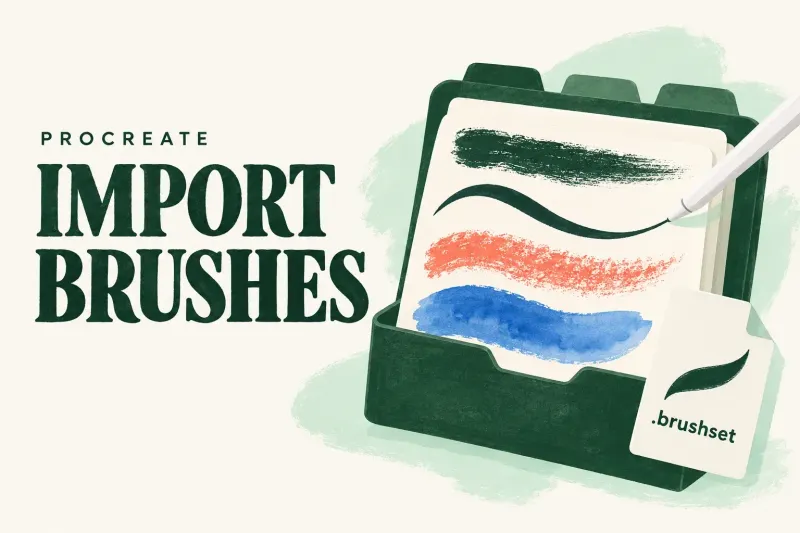
Install and Organize Procreate Brushes Without Losing Them
Import and locate brush files in Procreate 5.4, understand when dragging moves or copies them, and protect the live Files library before deleting anything.

Import and locate brush files in Procreate 5.4, understand when dragging moves or copies them, and protect the live Files library before deleting anything.
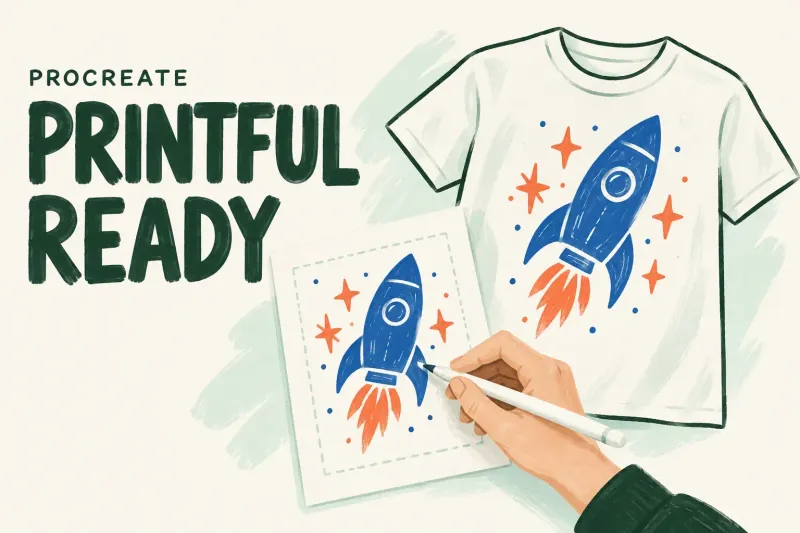
Build the canvas from the exact Printful template, export in the requested sRGB workflow, and check transparency, placement and a physical sample before selling.
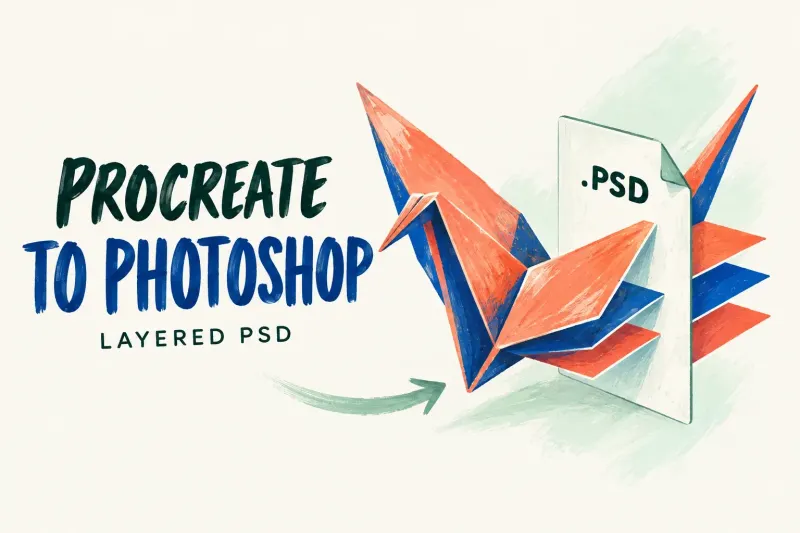
Move your drawing with Actions → Share → PSD, then File → Open in Photoshop. Keep the native source and check layers, appearance and color before editing.
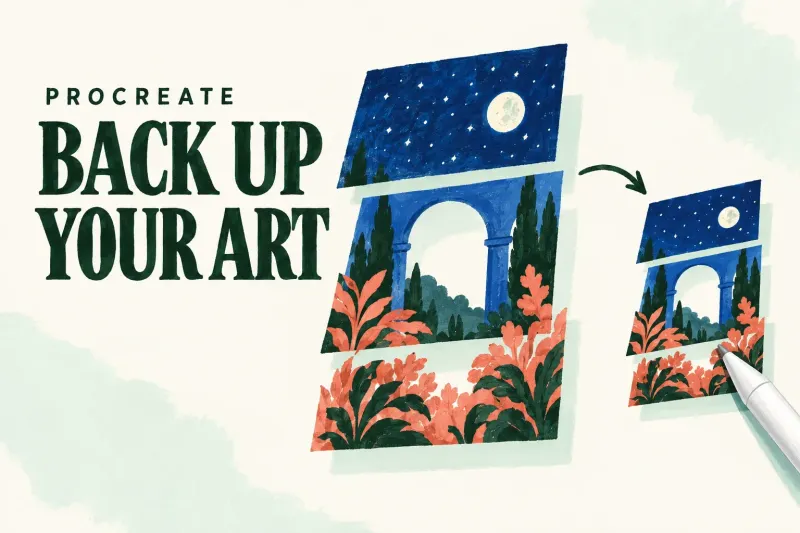
Export native Procreate copies to secure locations, keep dated checkpoints, and check that a restored copy opens before deleting or migrating artwork.
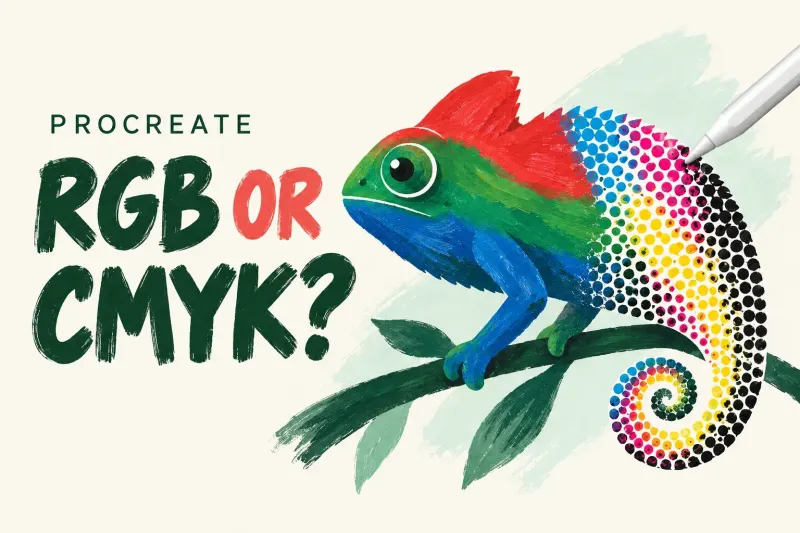
Choose RGB or CMYK from the destination's actual specification. Procreate cannot switch an existing canvas between them, so keep the native master for each handoff.
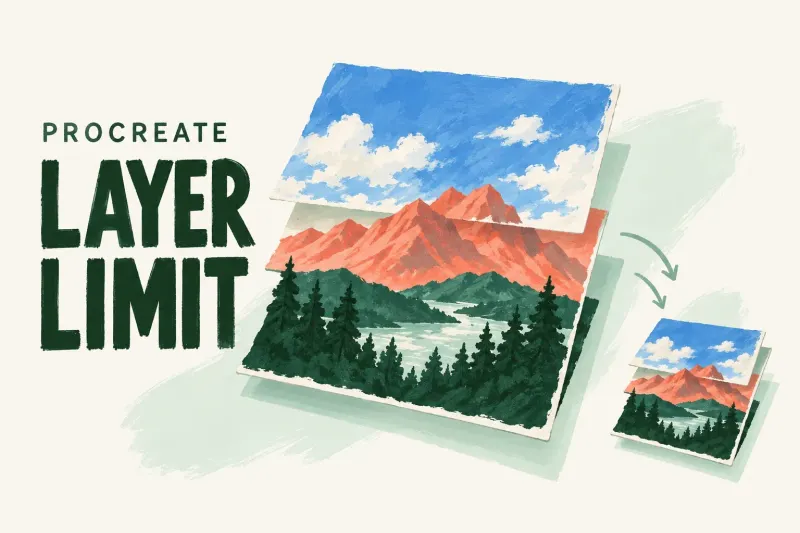
Check this canvas's capacity, keep a native master, and consolidate only finished layers. Changing DPI alone does not create extra room.
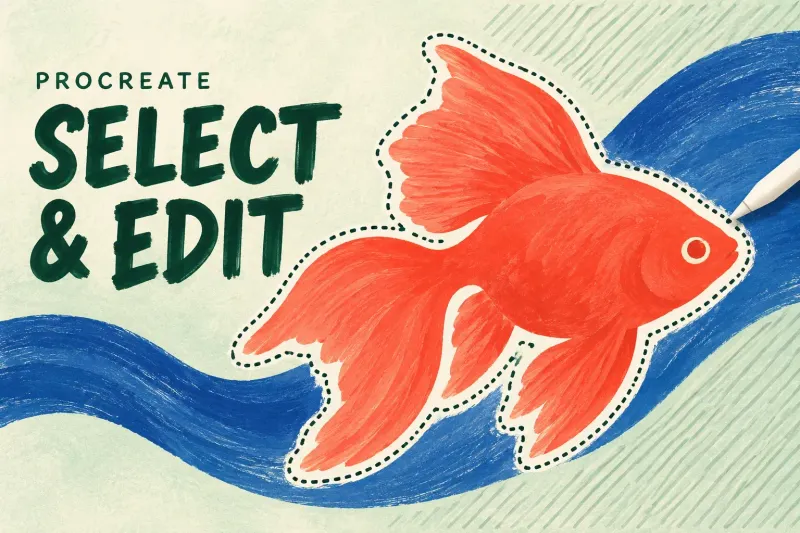
Choose and refine a selection, then copy, recolor, or move the region. Work on a duplicate to retain the original, and save useful selection boundaries.
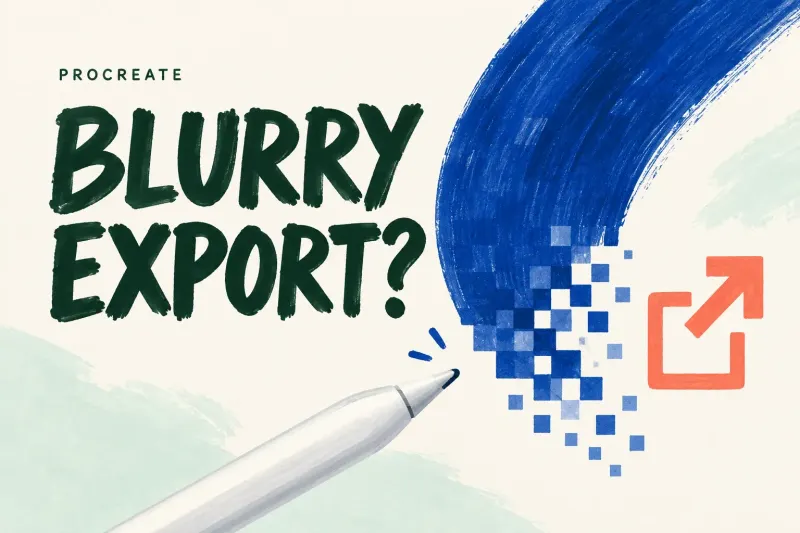
Record source and file pixel dimensions, inspect actual copies in a viewer with a documented native-pixel mode, and find where sharpness first changes.
Check the clipping base and layer order first. In a duplicate, disable Alpha Lock before a temporary full-layer fill, then undo that diagnostic change.

Calculate canvas pixels from the printer's trim size, bleed and requested PPI, then check the aspect ratio, layer capacity and delivery profile.
Hide Background color and any painted backdrop, export PNG, then inspect the actual saved file over light and dark backgrounds before delivery.
Identify the Pencil model first: USB-C has no pressure sensitivity. For pressure-capable models, check pairing and the Classic Library diagnostic brushes.